I’ve been doing a lot of window shopping lately. Perhaps not much of a statement for most – but I’ve never really enjoyed shopping for clothes. My work wardrobe has become somewhat shabby and threadbare of recent times. I’ve discovered two things – my style preferences haven’t changed, and goodness, the average price of the types of dresses I’m drawn too has increased dramatically.
Q: How many shirt dresses can one have?
A: Yes.
So all of a sudden, sewing smart things for myself is actually a cost effective means of dressing myself? I just have to make the time.
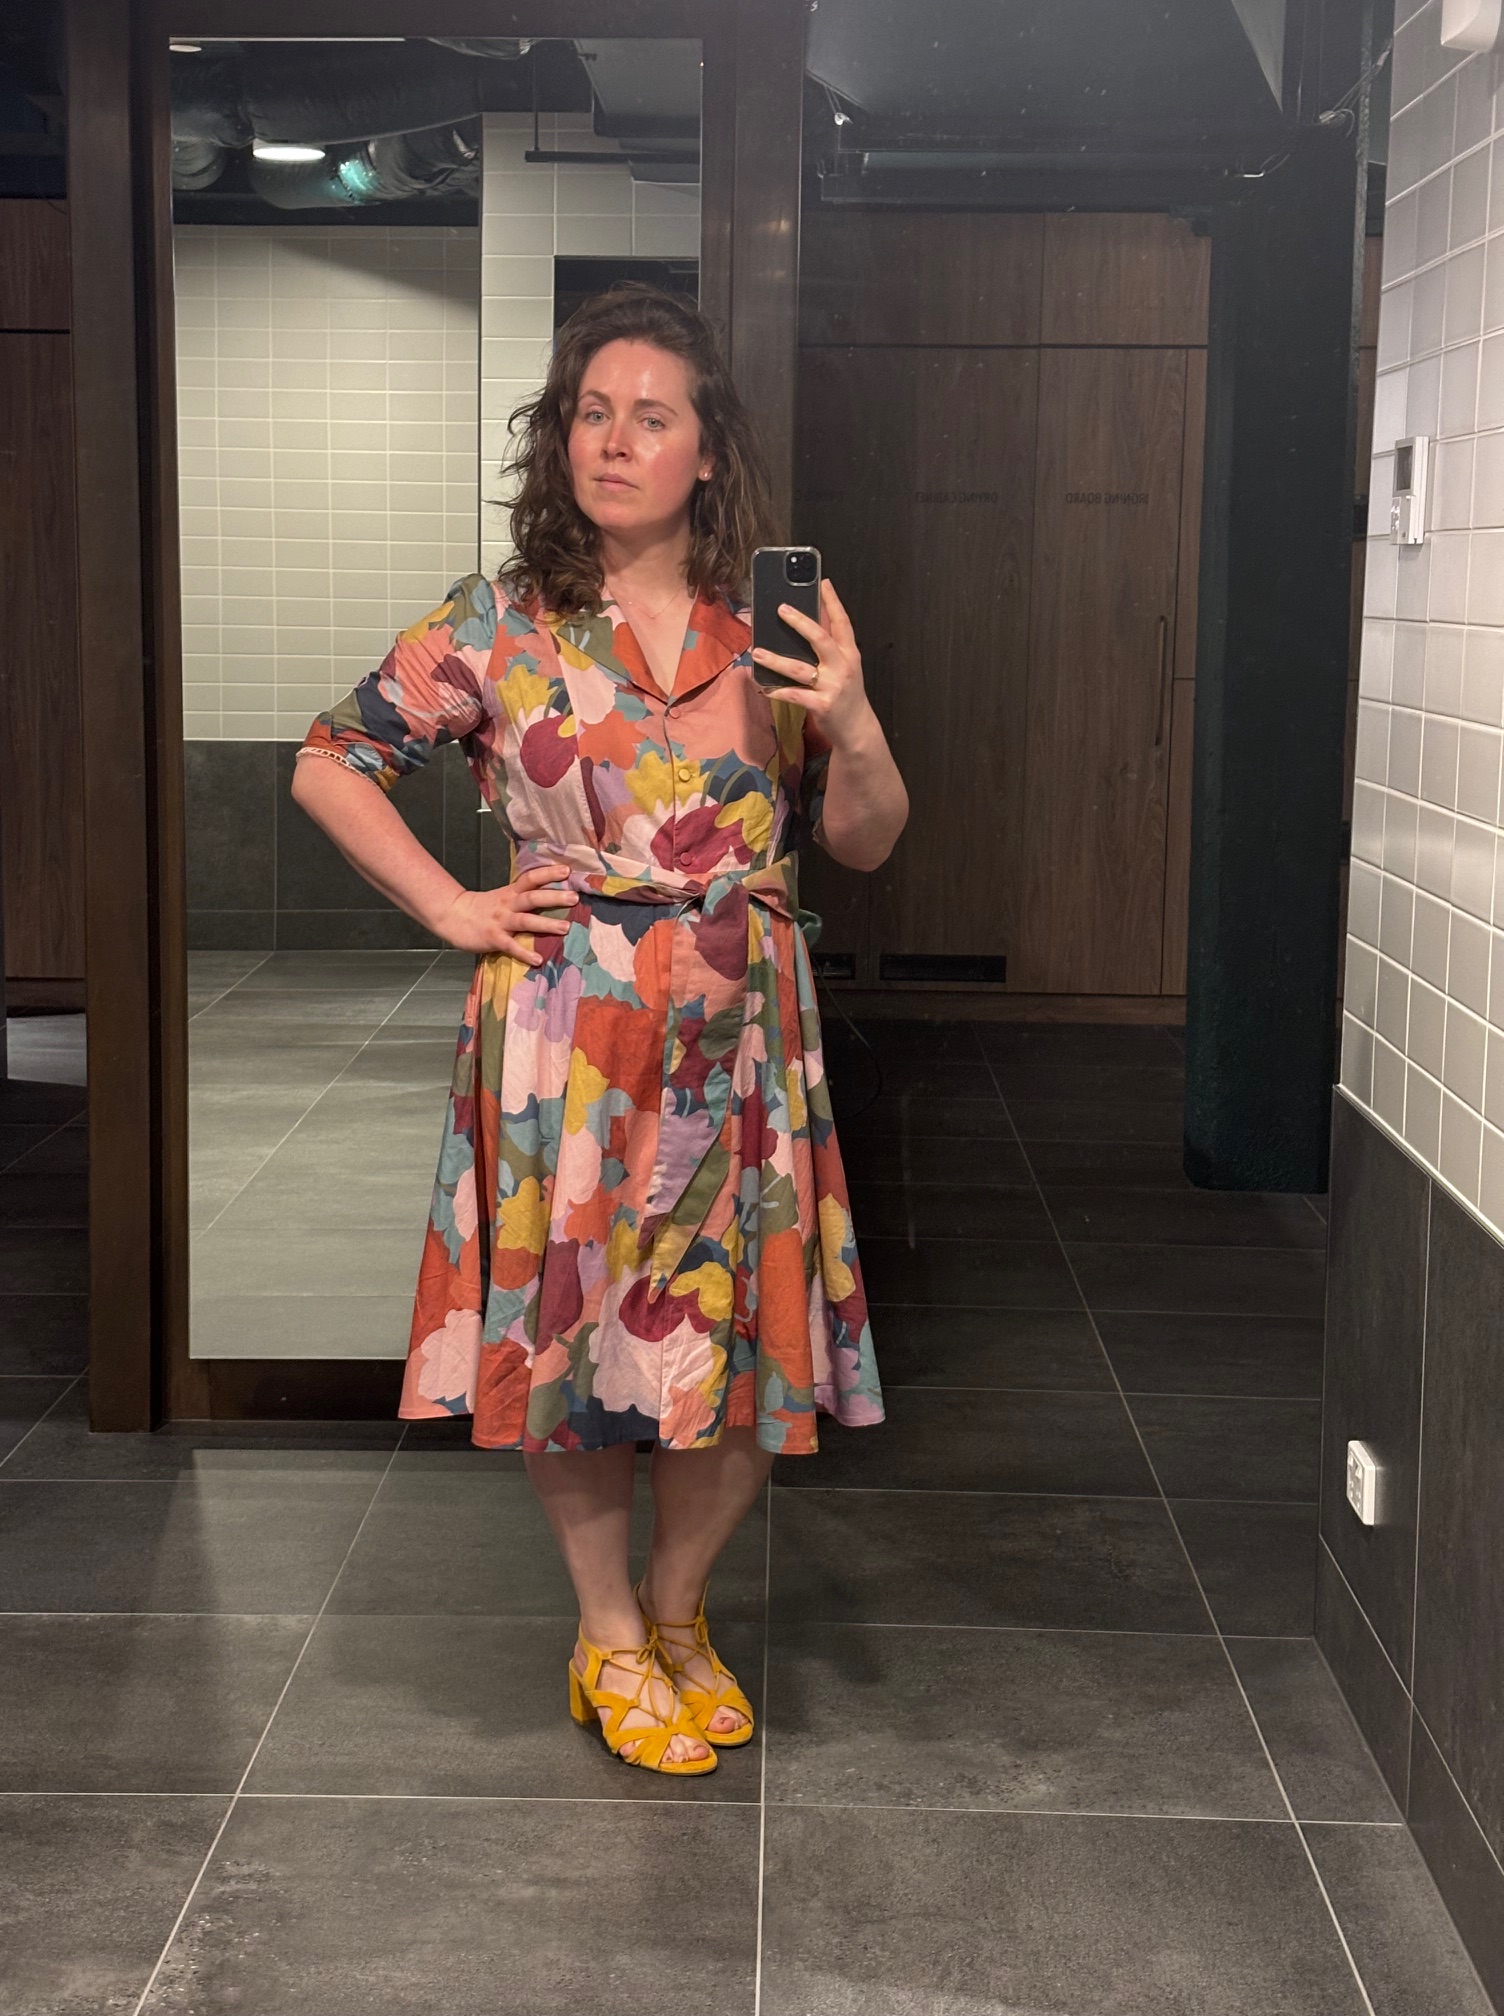
Back in 2022 I made this shirt dress – McCalls 6891 (now being sold as Butterick 6843). Unexpectedly – it’s turned out to be possibly my all time favourite make. I’m not sure whether that’s the silhouette, or the fabric, or perhaps a combination of the two? Either way, I receive more compliments from strangers when I’m wearing this than I’ve ever garnered for anything I’ve worn, ever. Literally 1 of every 3 wears will elicit some form of stranger appreciation. Also – I’ve just loved wearing it! Which shows, as the Liberty print has faded and the tana lawn has lost its crisp-ness.
Time to re-create it.
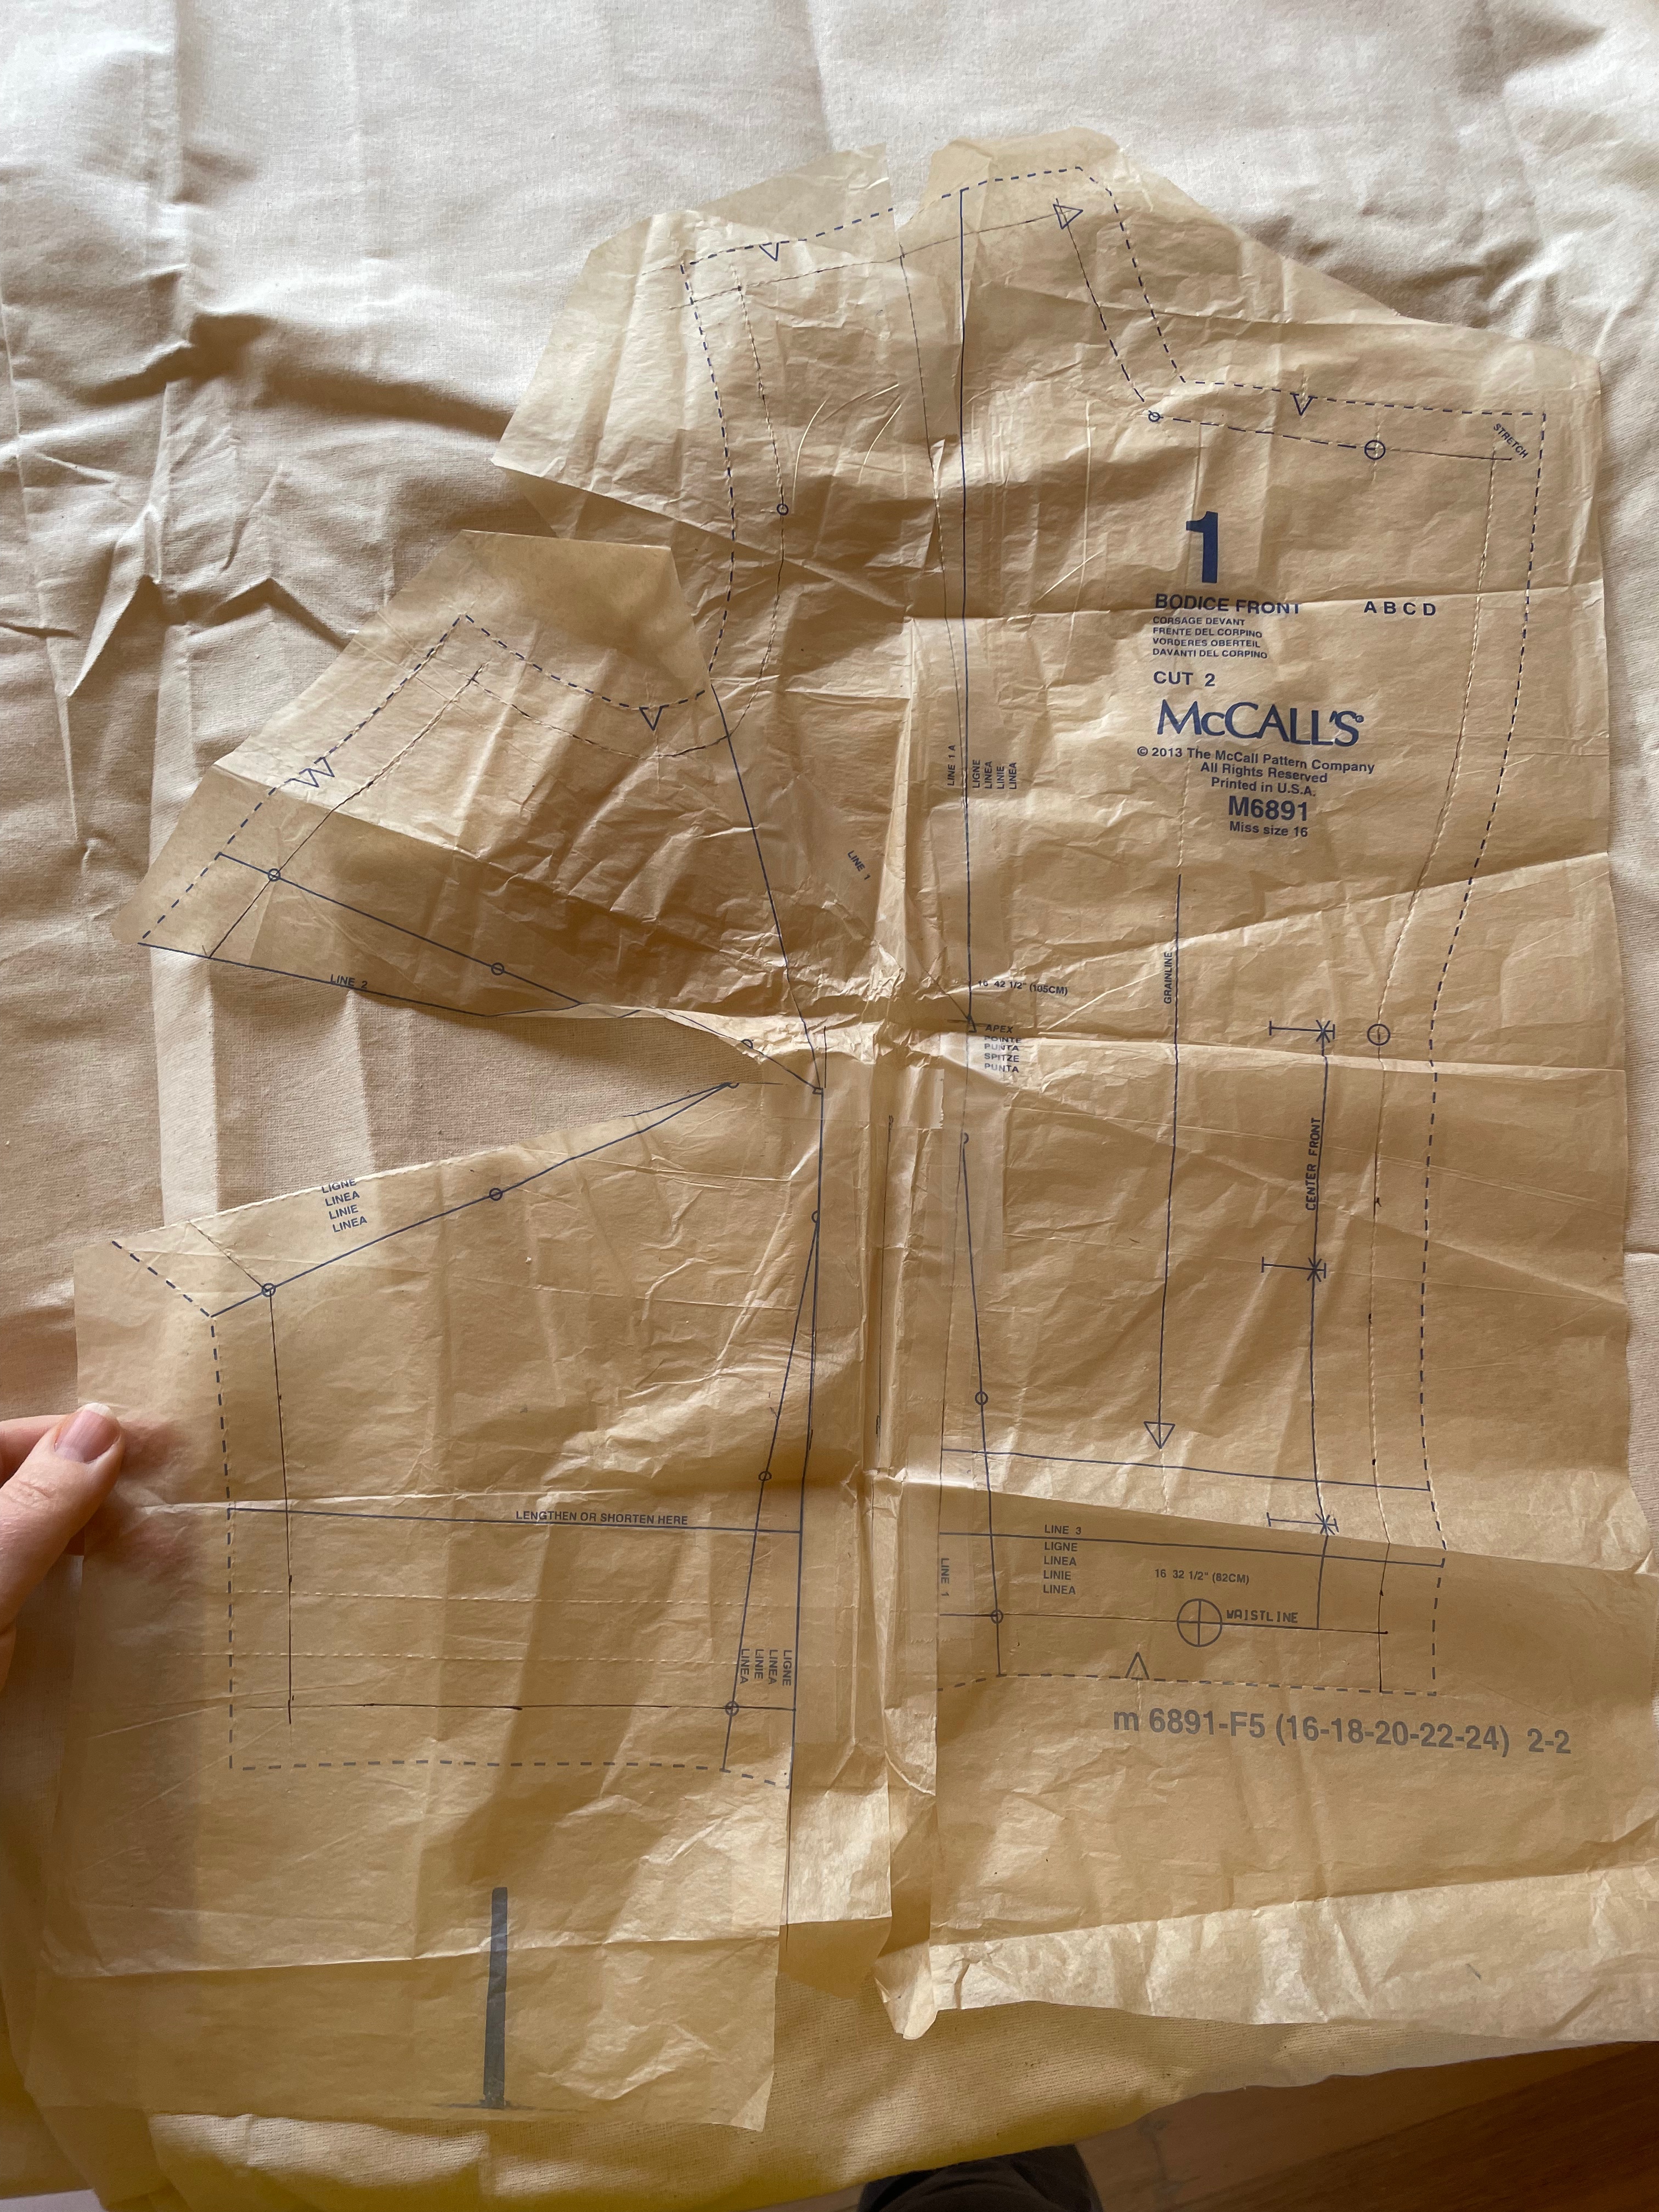
So I went hunting for the muslin I had fitted for this dress… and couldn’t find it anywhere. Odd, as I always keep the muslins I turn into patterns! So I went back to the original pattern – which I discovered I had butchered to make an FBA on (!!!) instead of tracing a new one and adjusting that. I think at the time I was just so desperate for some sewing time (I was getting some sewing time back after having my second baby, and I was hungry for it!) I ignored many of the ‘protocols’ I typically apply to myself whilst fitting a new pattern. But, between the original pattern pieces and the finished dress, I was able to recreate a new adjusted pattern to keep going forward, which is now traced onto muslin and safely archived for future use.
For my own knowledge, this included:
- widening the shoulders and back by about 0.5cm (I worked with the size 16 as a starting point)
- adding in shoulder seam darts on the back bodice to replace the ‘ease’ the pattern requires you to gather in
- changing the front bodice into a two-piece princess seamed bodice, removing the waist dart entirely (my version is less fitted about the torso than the pattern envelope implies – this works well for the lightweight tana lawn I’ve made it with)
- the rear skirt pieces remained the same (I worked with length ‘C’)
- the front skirt pieces were adjusted to account for the increased width across the front bodice waistline. Given the skirts are a 1/4 circle in shape, I did this by shifting the position of the waistline down until it met the width measurement of the bodice front, then extended the hem position down by the same amount.
- the sleeve was originally a 2 piece sleeve – there was no curvature in the joining seams so I converted this back to a one piece sleeve (I suspect the two piece sleeve was more to accommodate the cuff placket in the long sleeve version, than to introduce any shaping)
- increased the sleeve cap height by 2cm to remove vertical drag lines along the sleeve
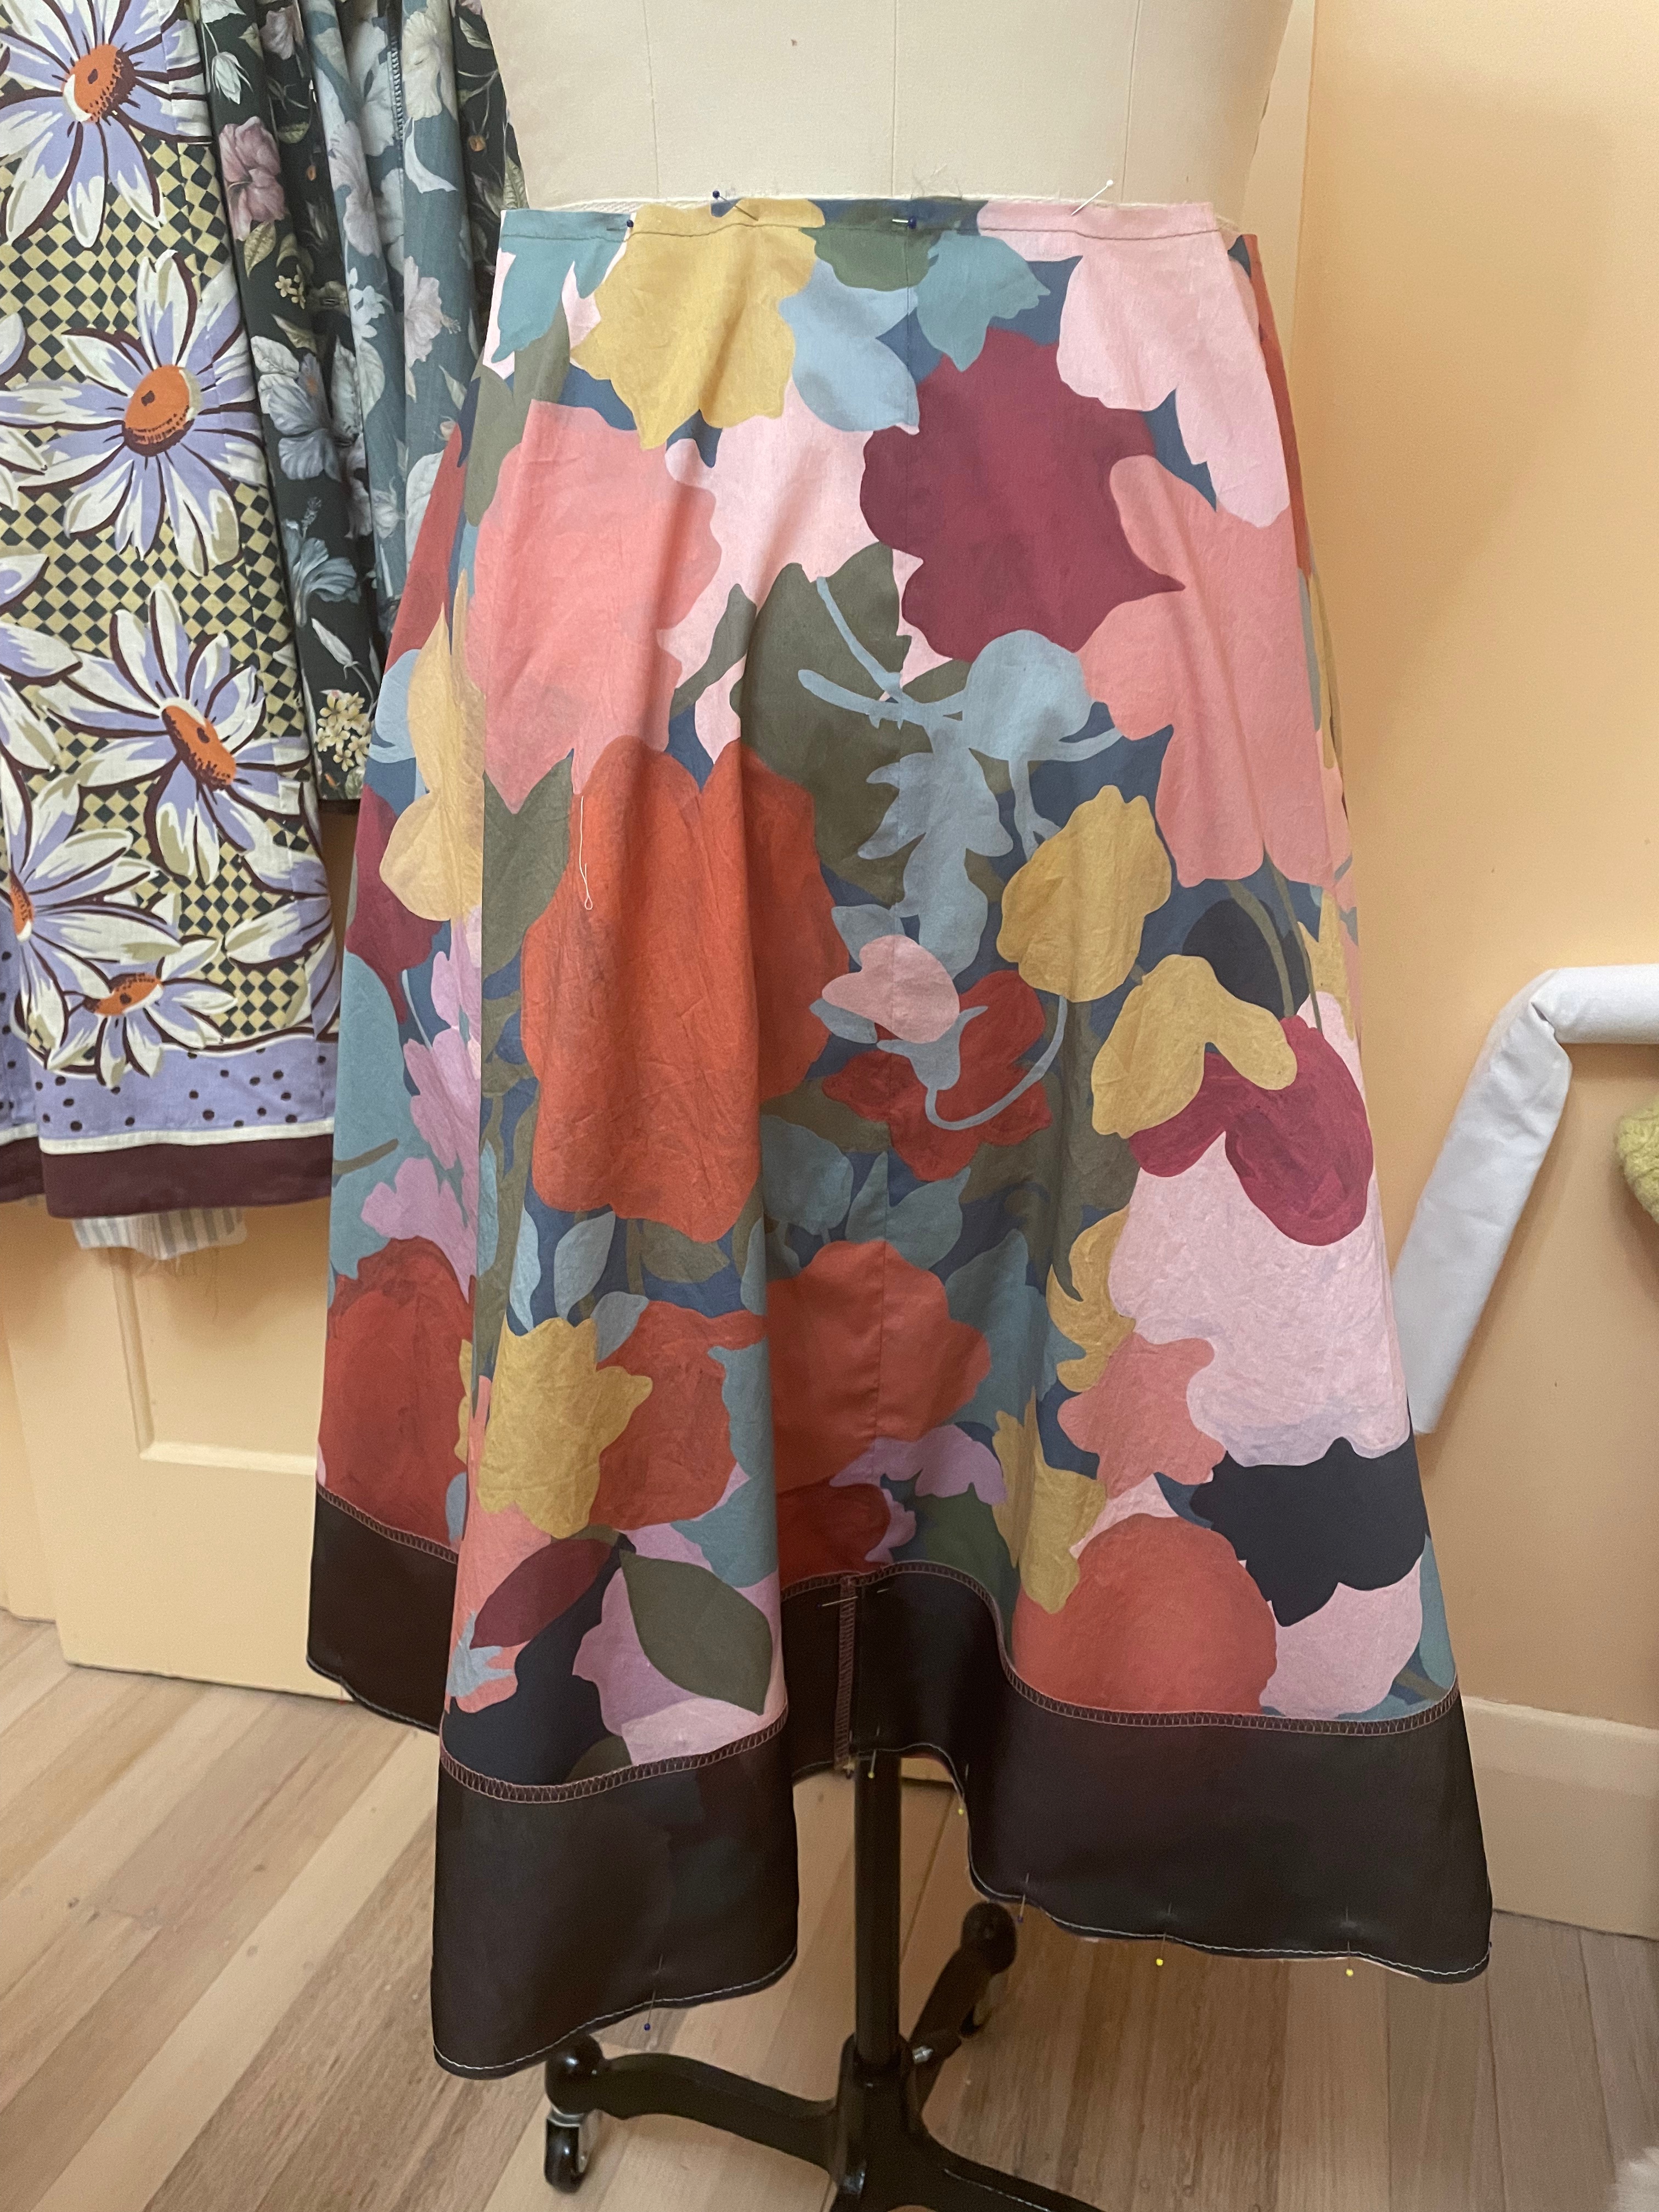
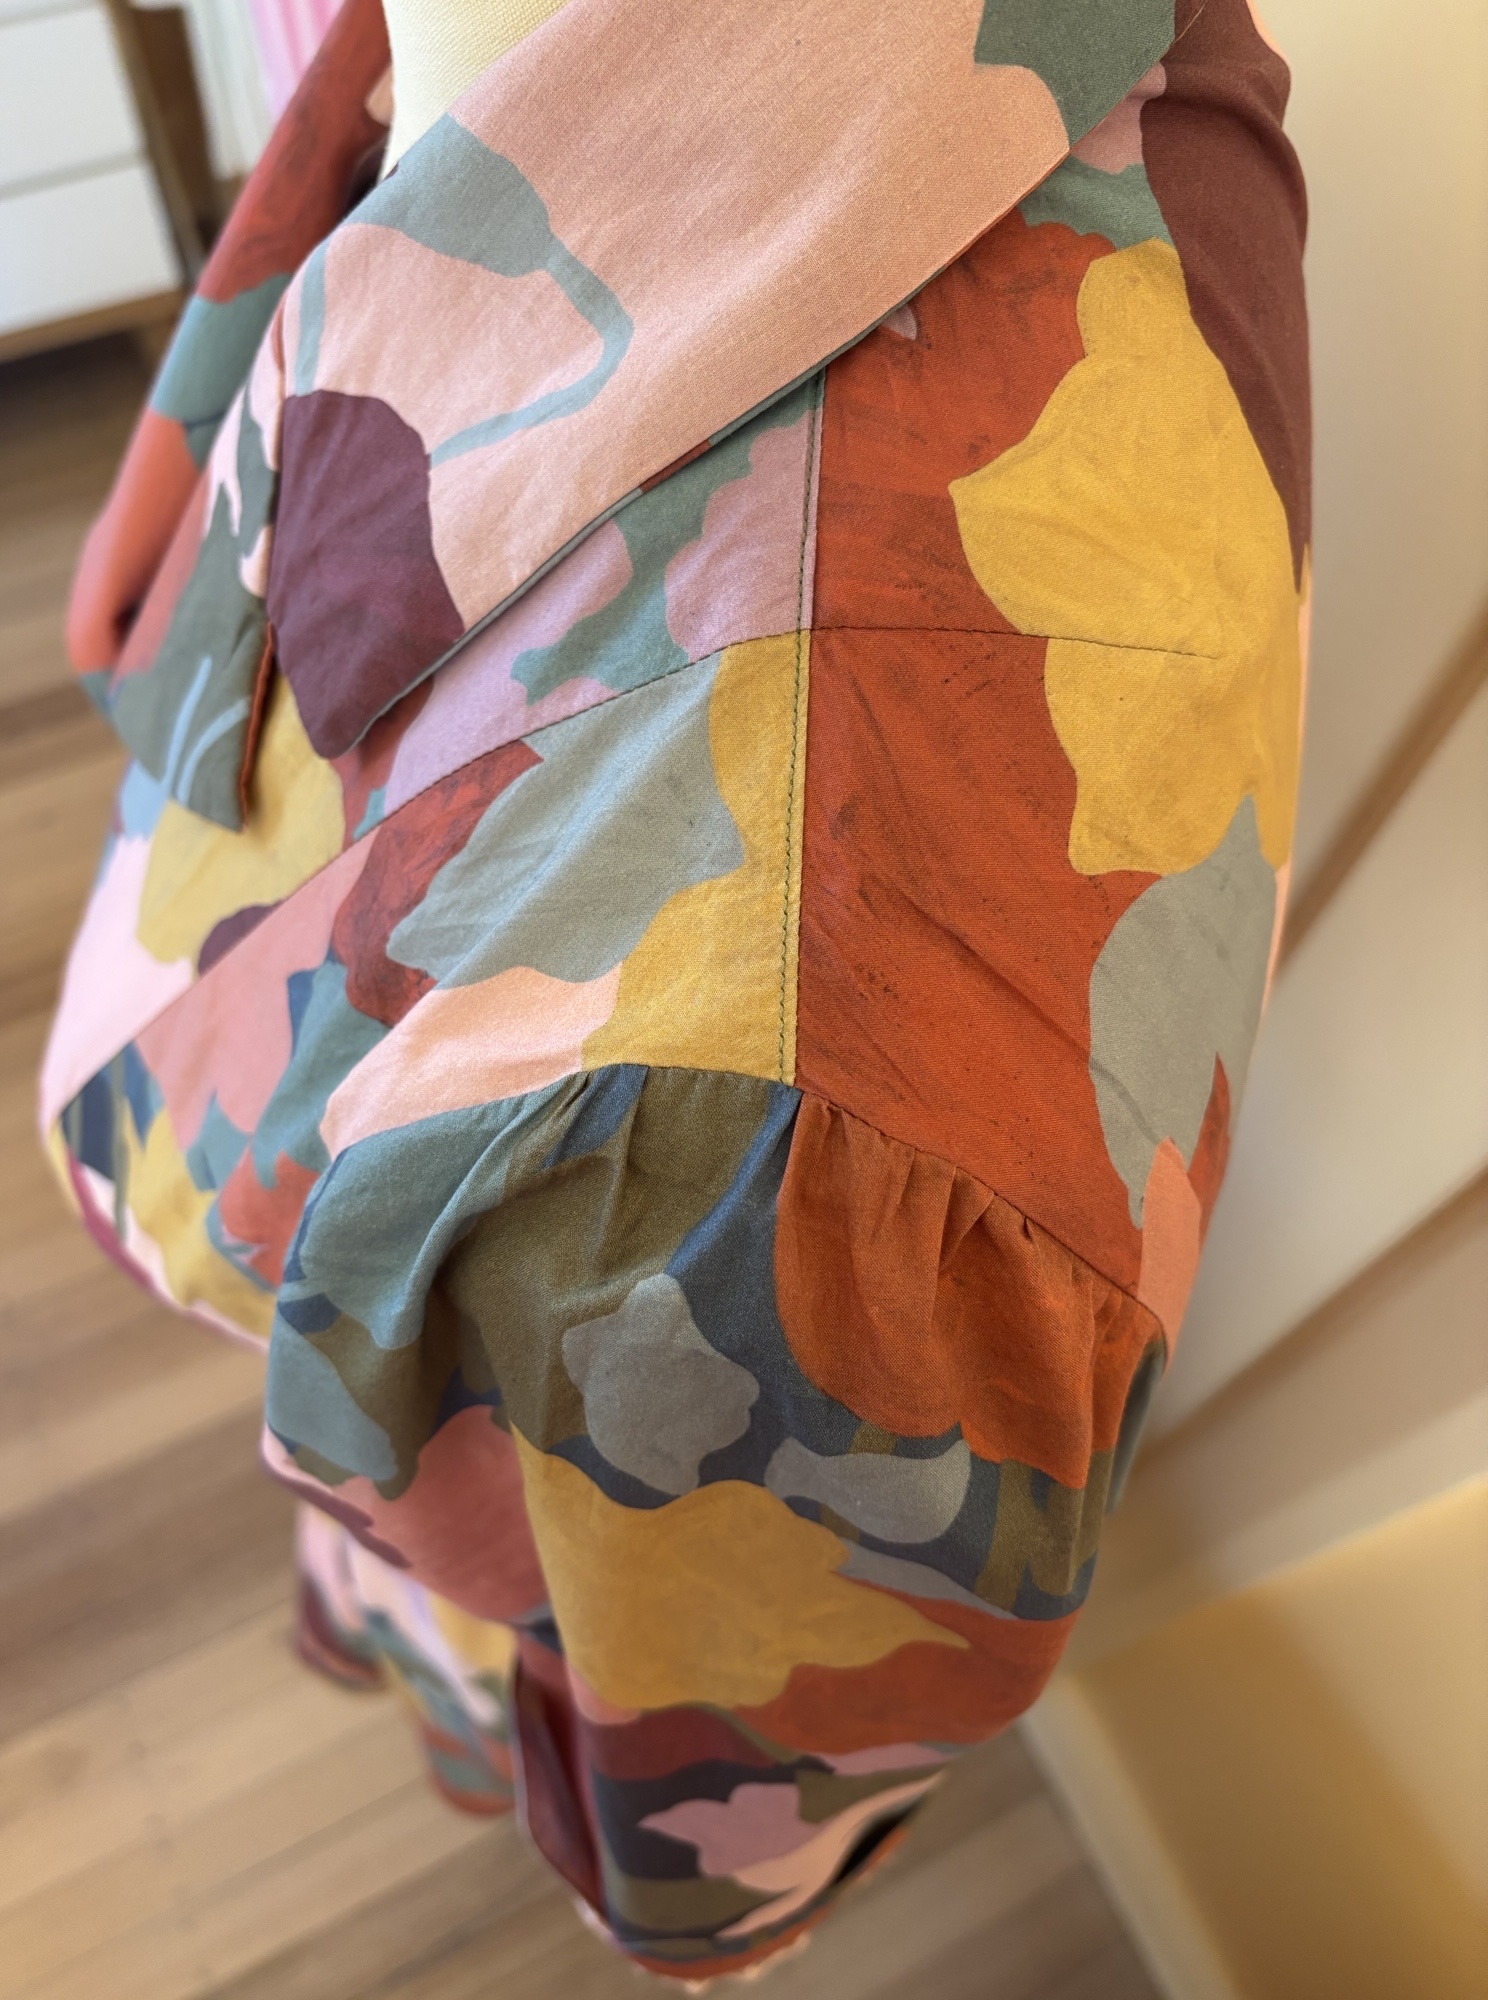
- created my own pattern pieces for a super wide hem facing (~12cm), because I love the secret luxe-ness of this as a feature on a skirt shaped thus.
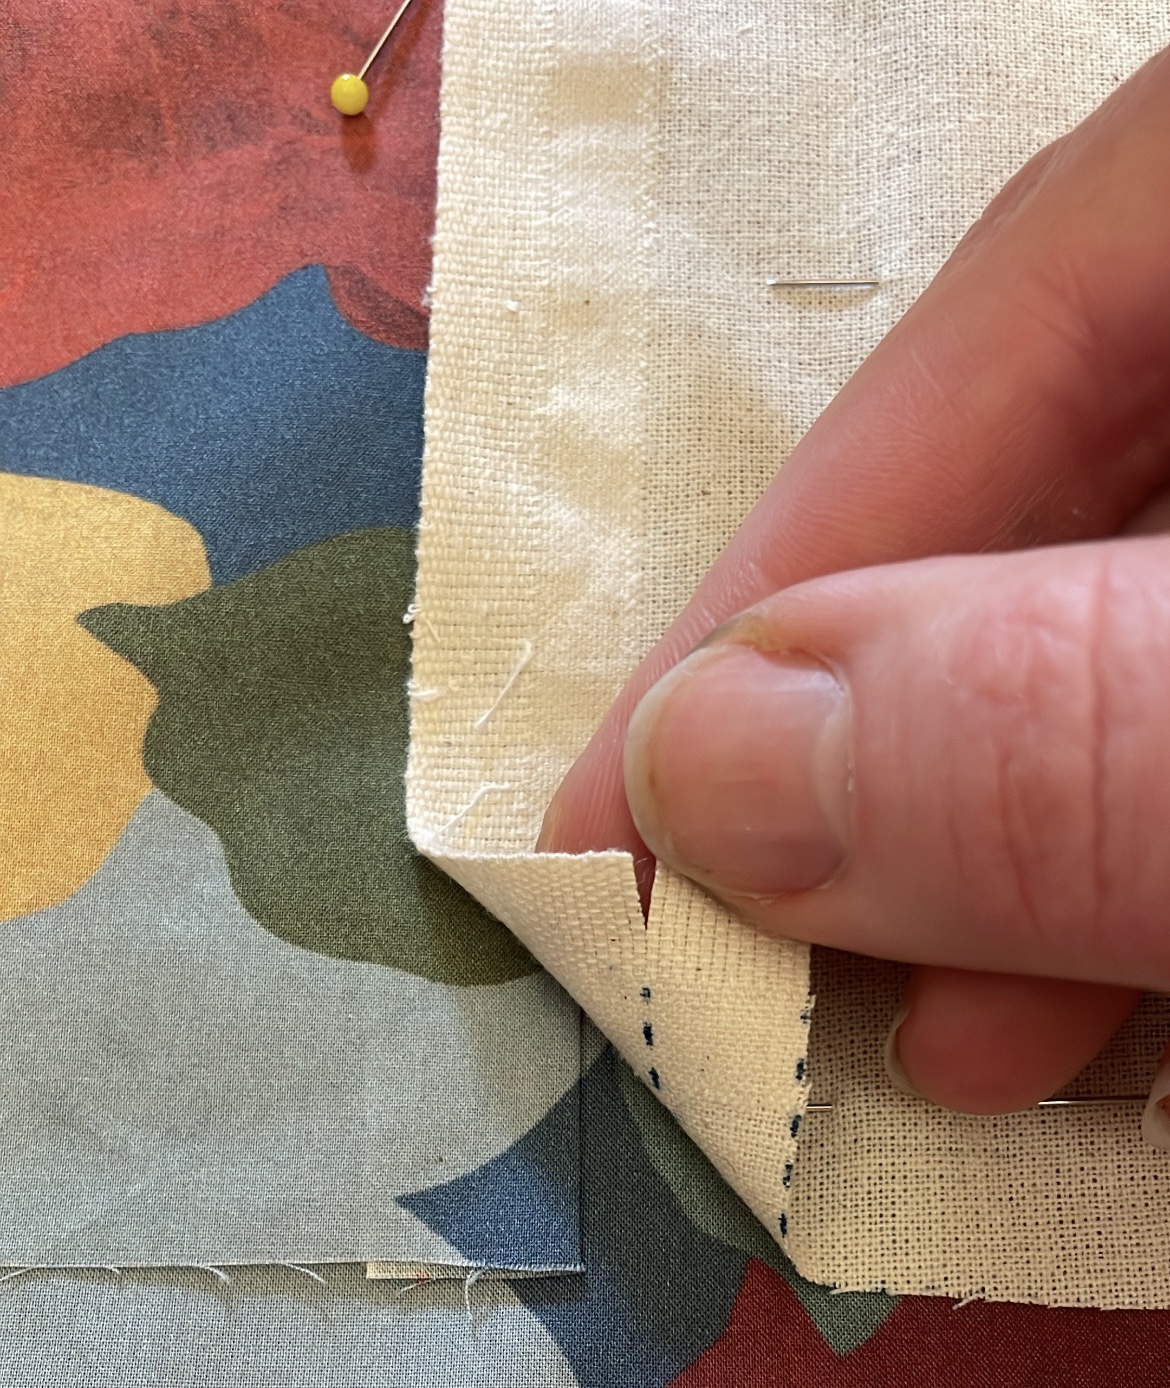
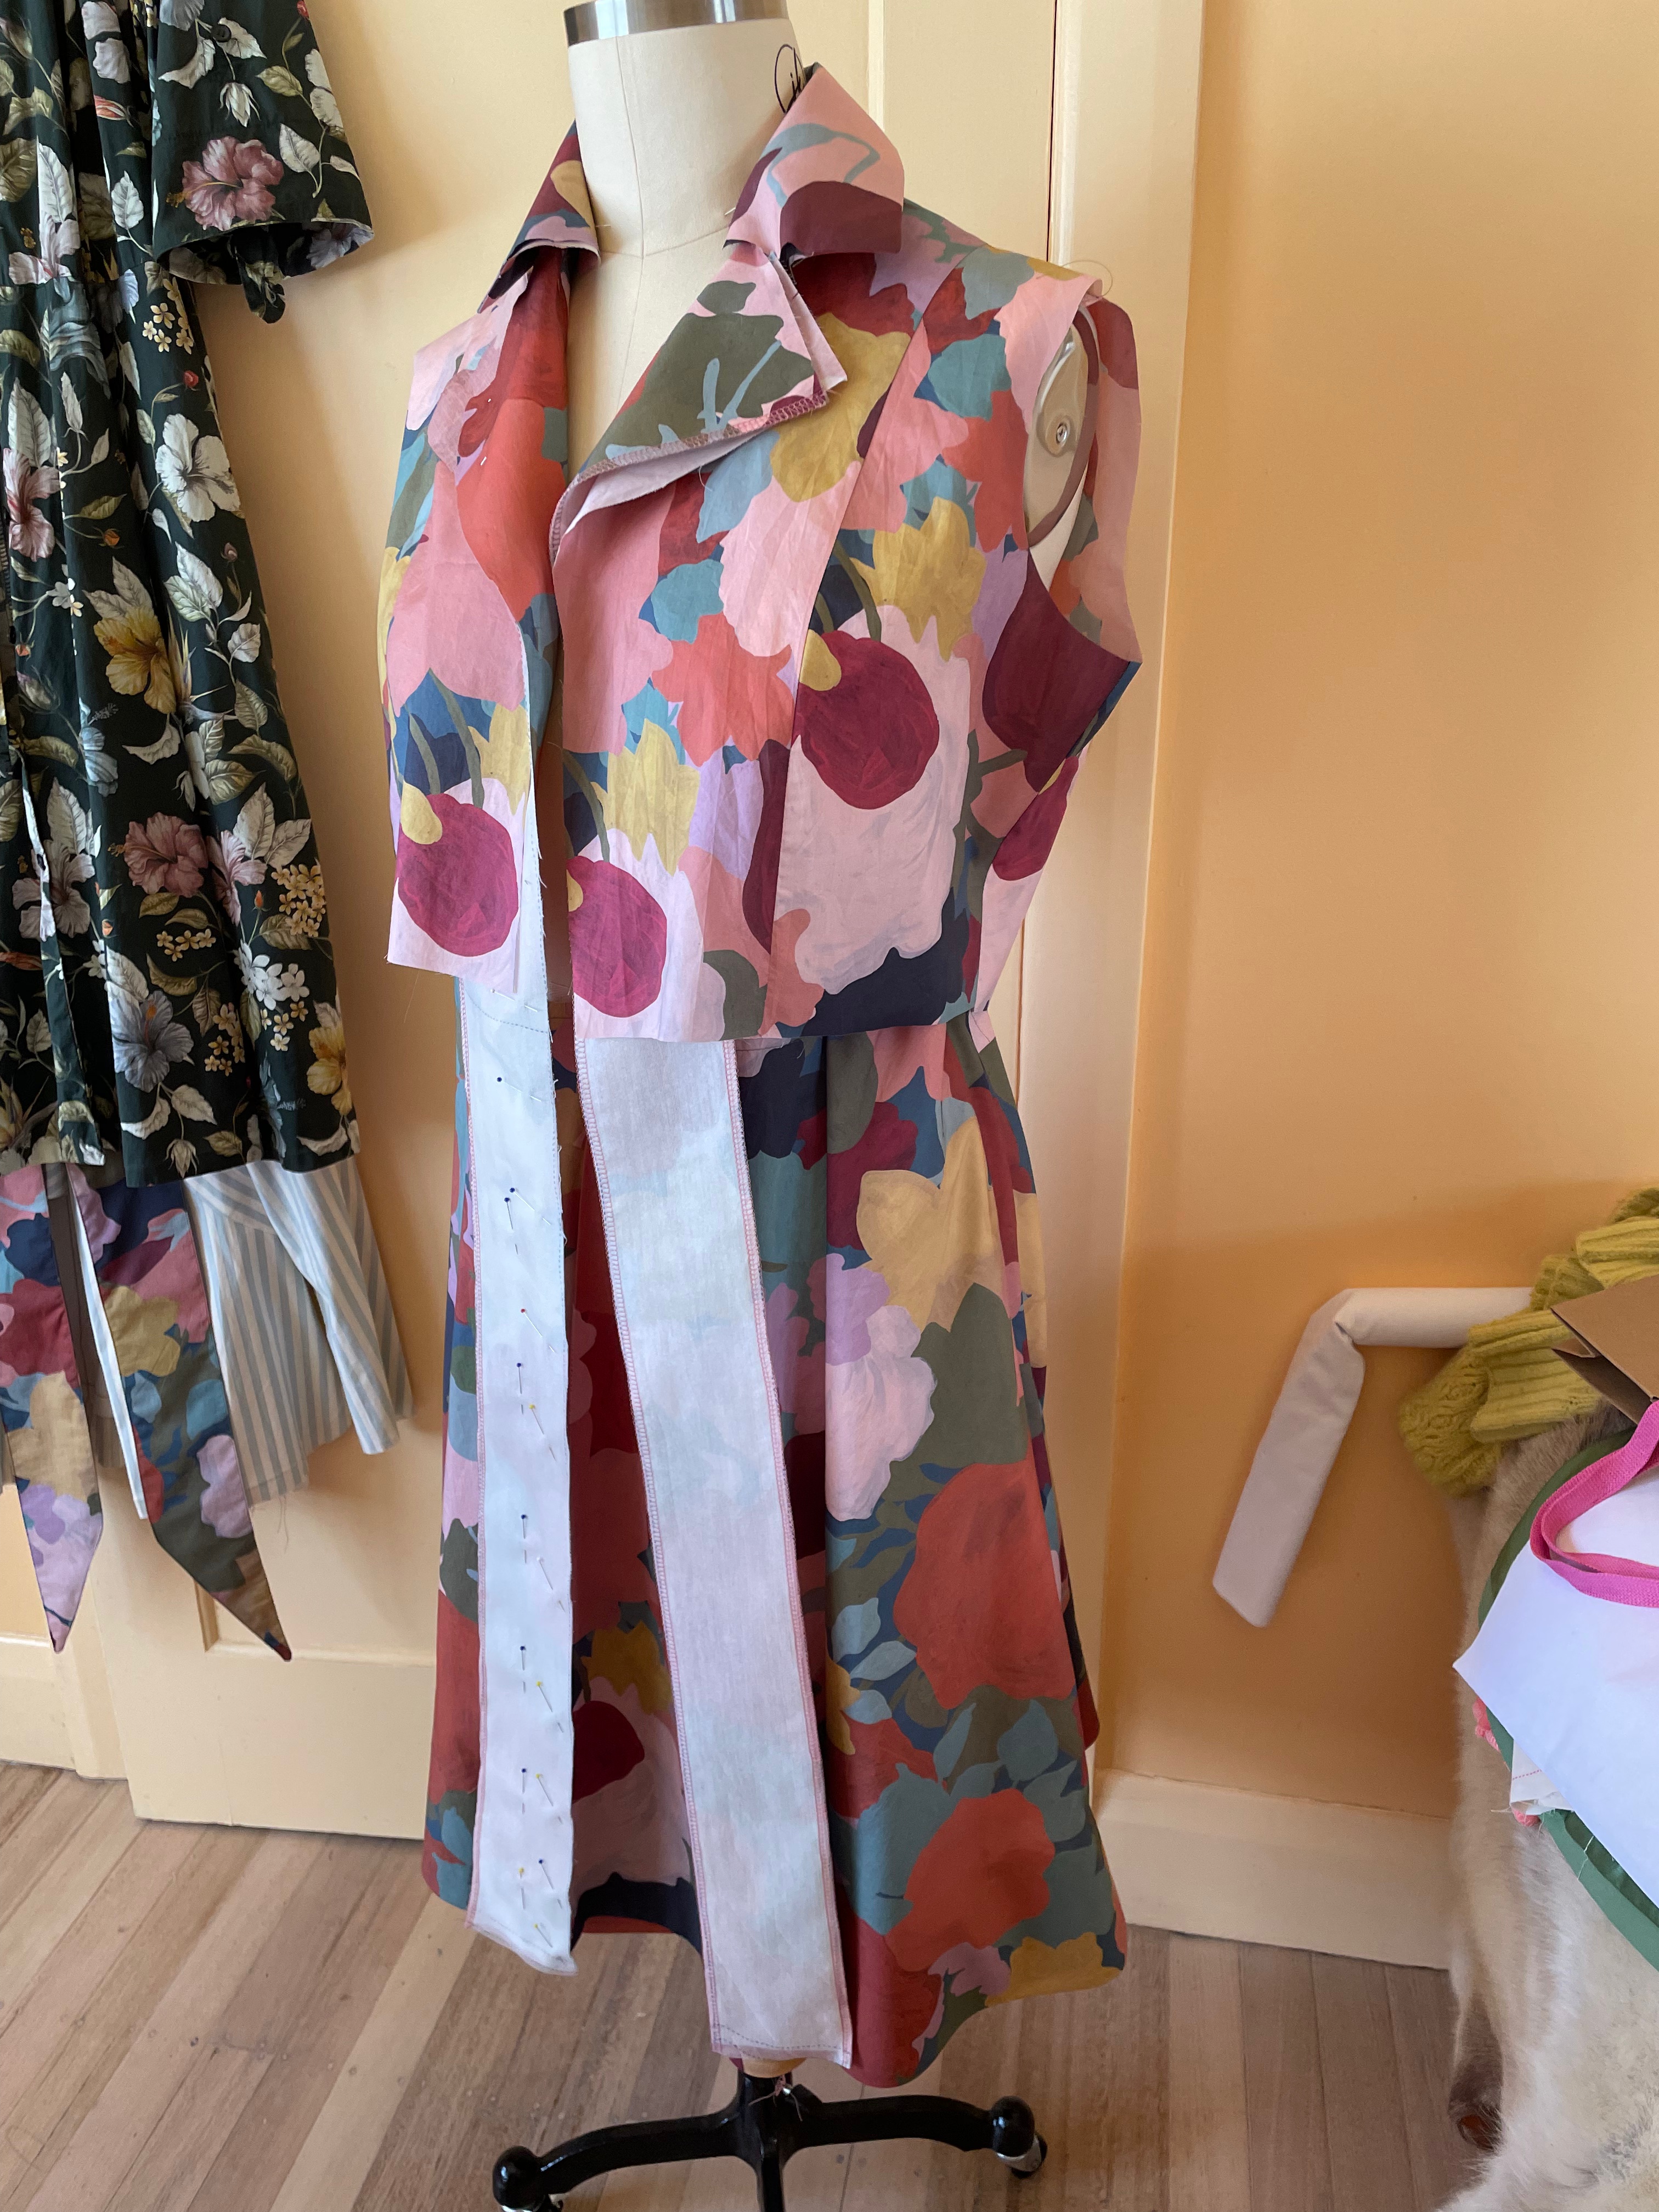
- incorporated silk organza selvedge along the seams (front and back) of the pockets to stabilise the bias grainline here
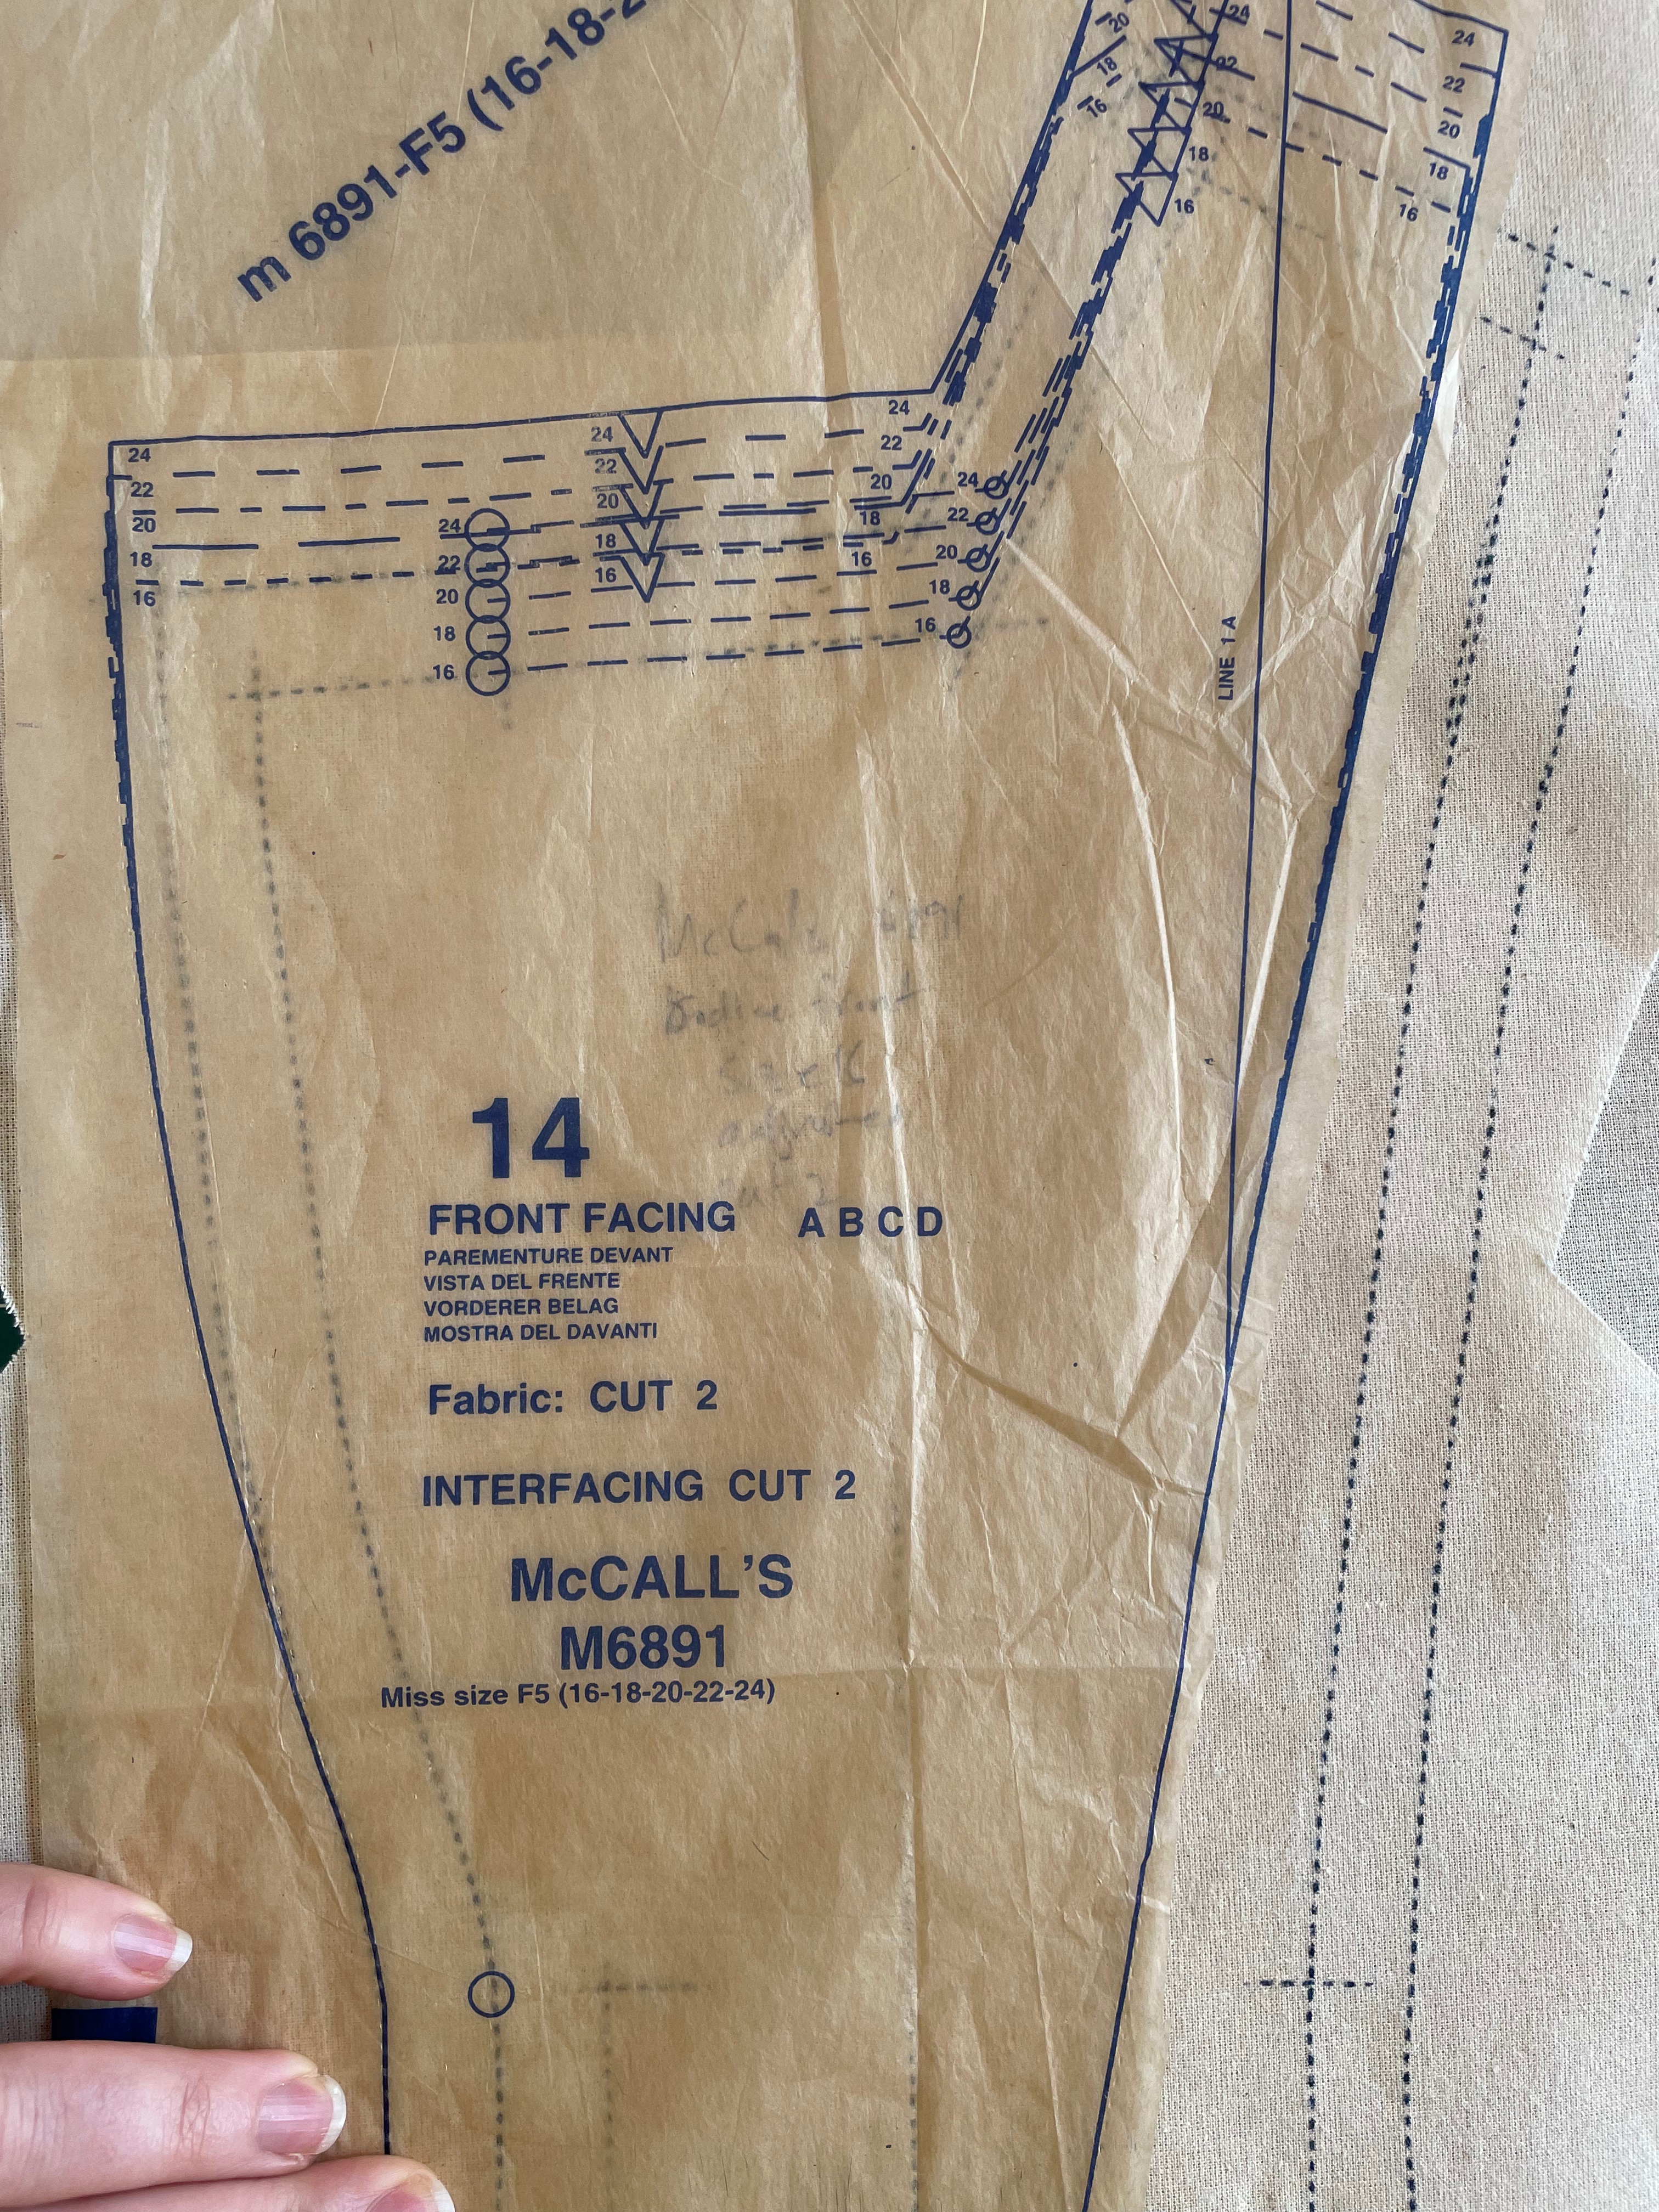
I also spent an inordinately large amount of time trying to understand the logic behind the front facing pattern piece, and how it corresponds to the Front bodice pattern piece. It makes more sense if one considers that this 2 dimensional piece is trying to shape itself in a 3d fashion – if you pull it so it was curving around an imaginary boob, the shoulder seam and collar point align, with a far more reasonable looking allowance for turn-of-cloth than there would be just considering the pieces flat. I recall struggling somewhat with the facing (especially where it meets the shoulder) the first time I made this pattern.
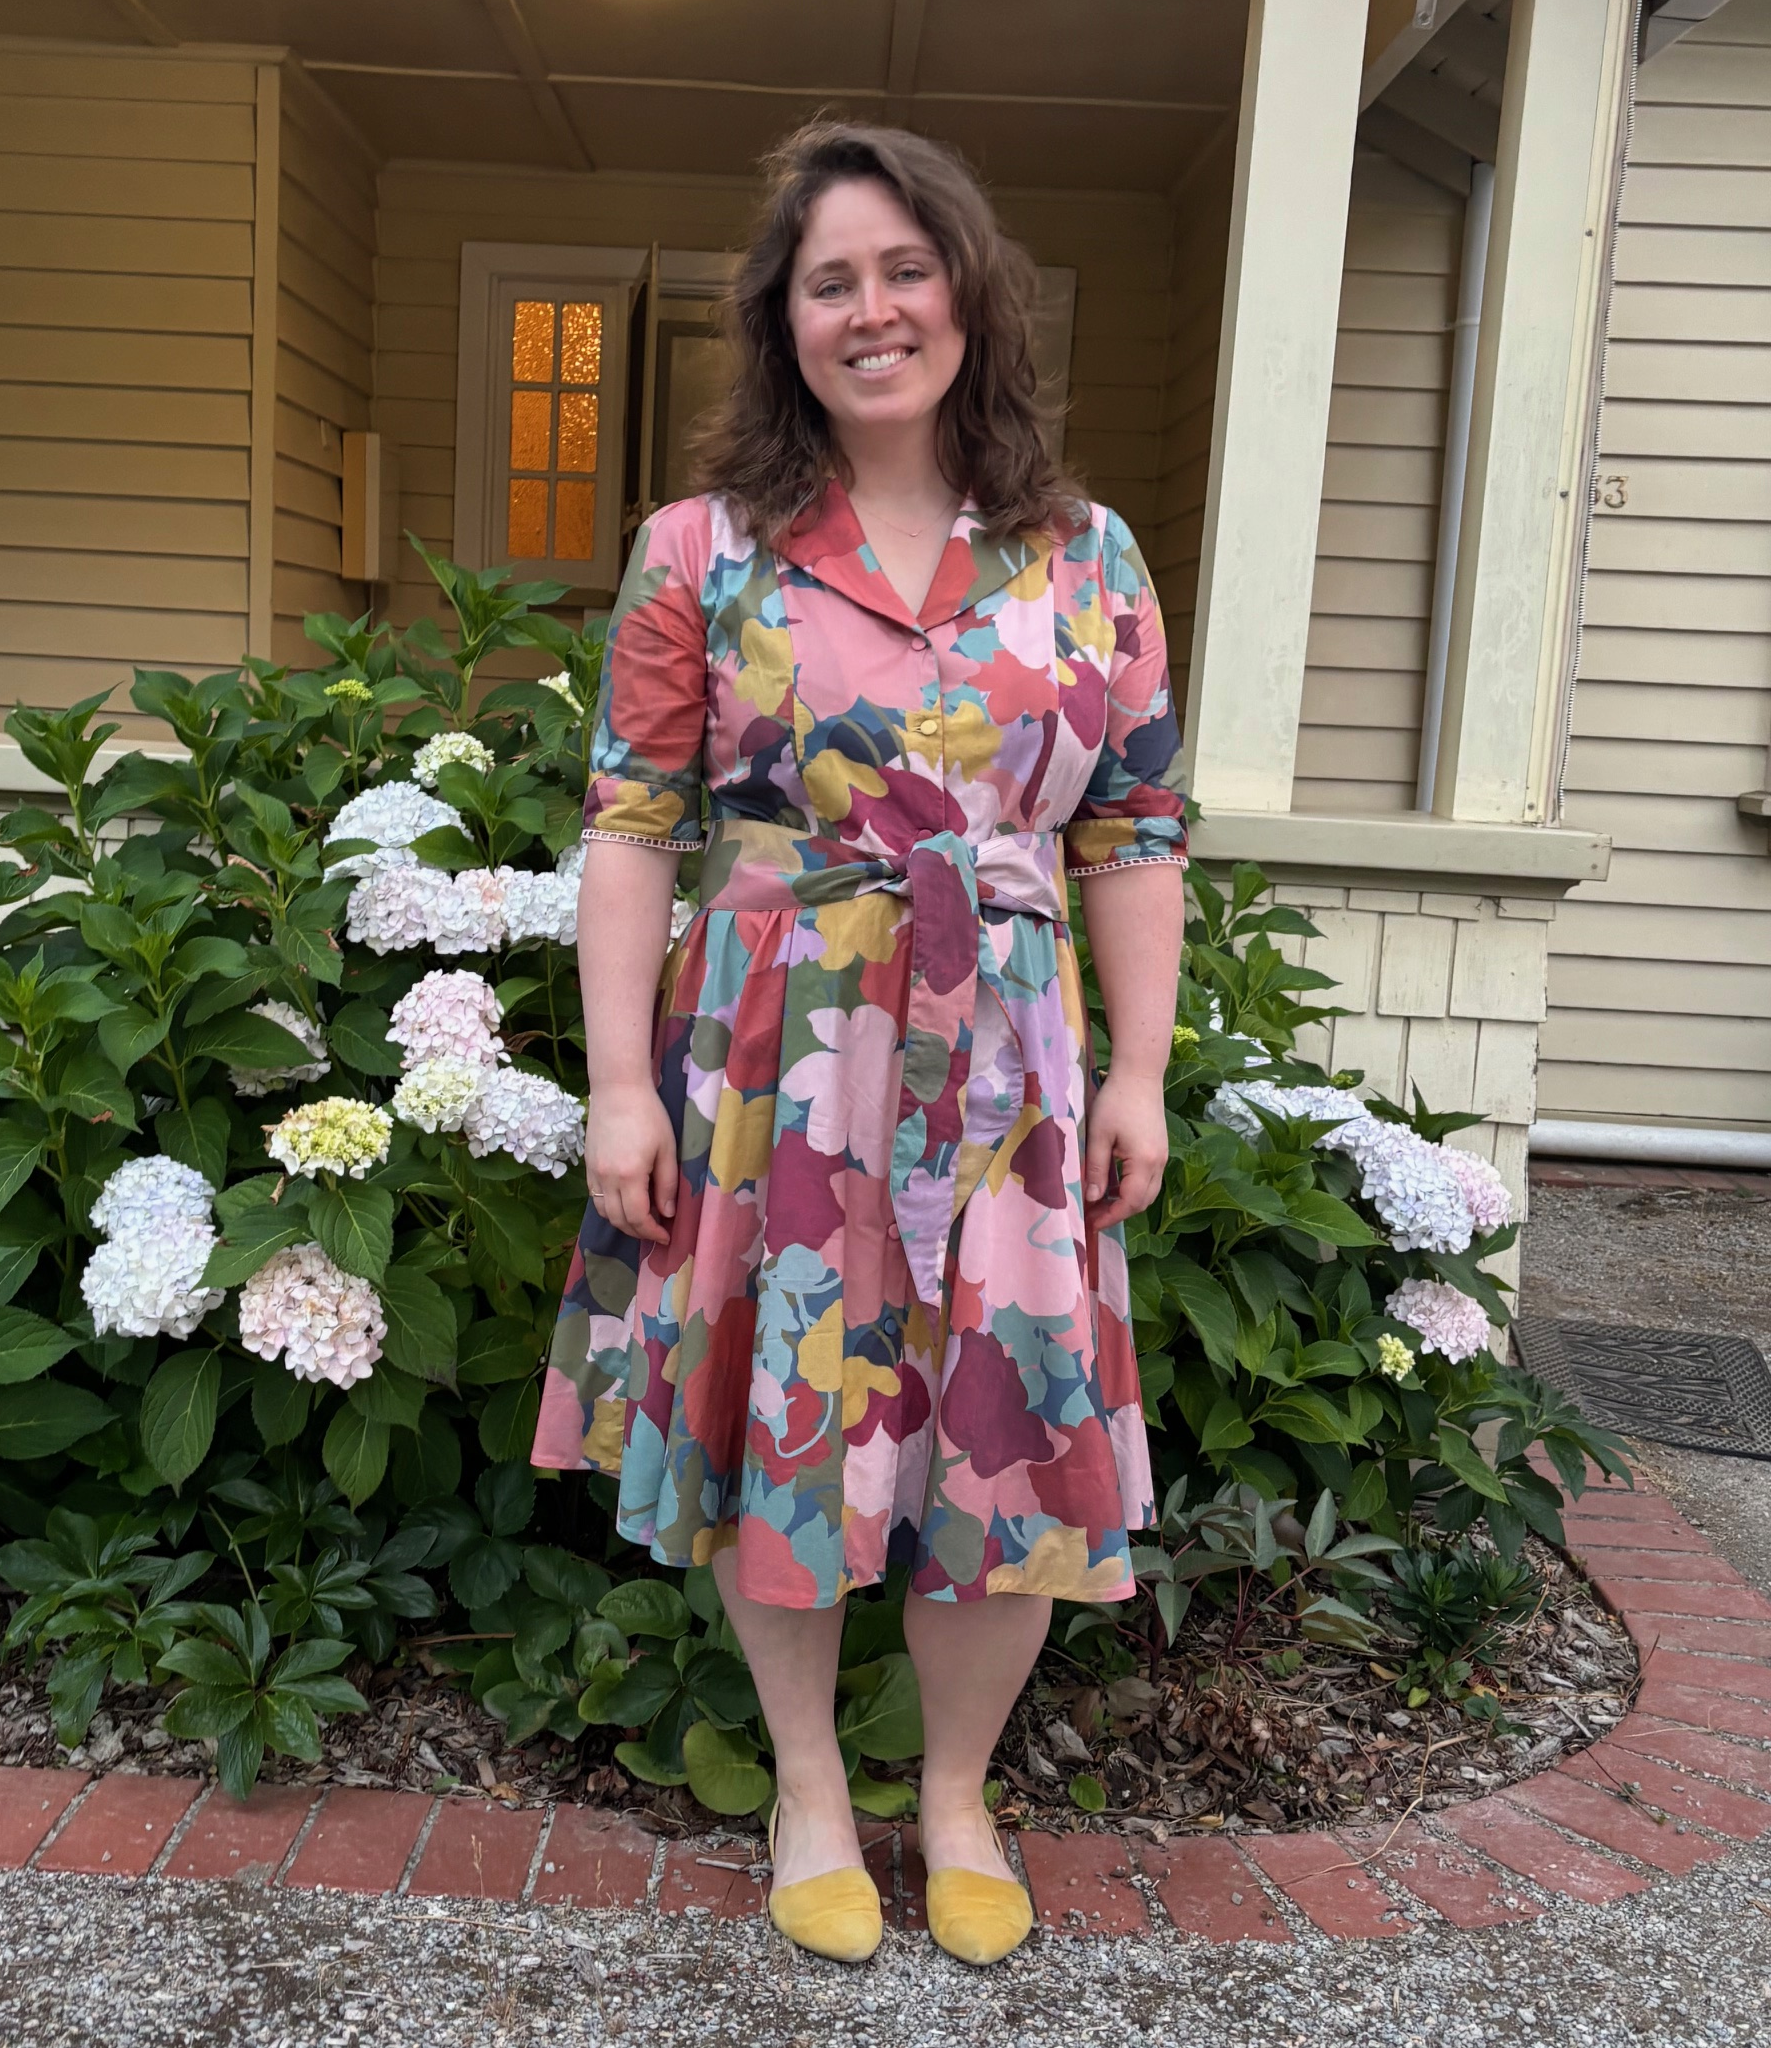
As for fabric, I was pondering two stash lengths – one I adore and am dying to sew with but ultimately decreed as a little too playful, fun and girly for my workplace (yes – it matters) – this is a Nerida Hansen largescale print (a tad on the nose too given the latest drama unfolding in that corner of the sewing interwebs). The other a Nani Iro in the print ‘As It Is’ in the pink, orange and yellow. But you already know I didn’t pick this – I made a different shirt dress from the Nani Iro!

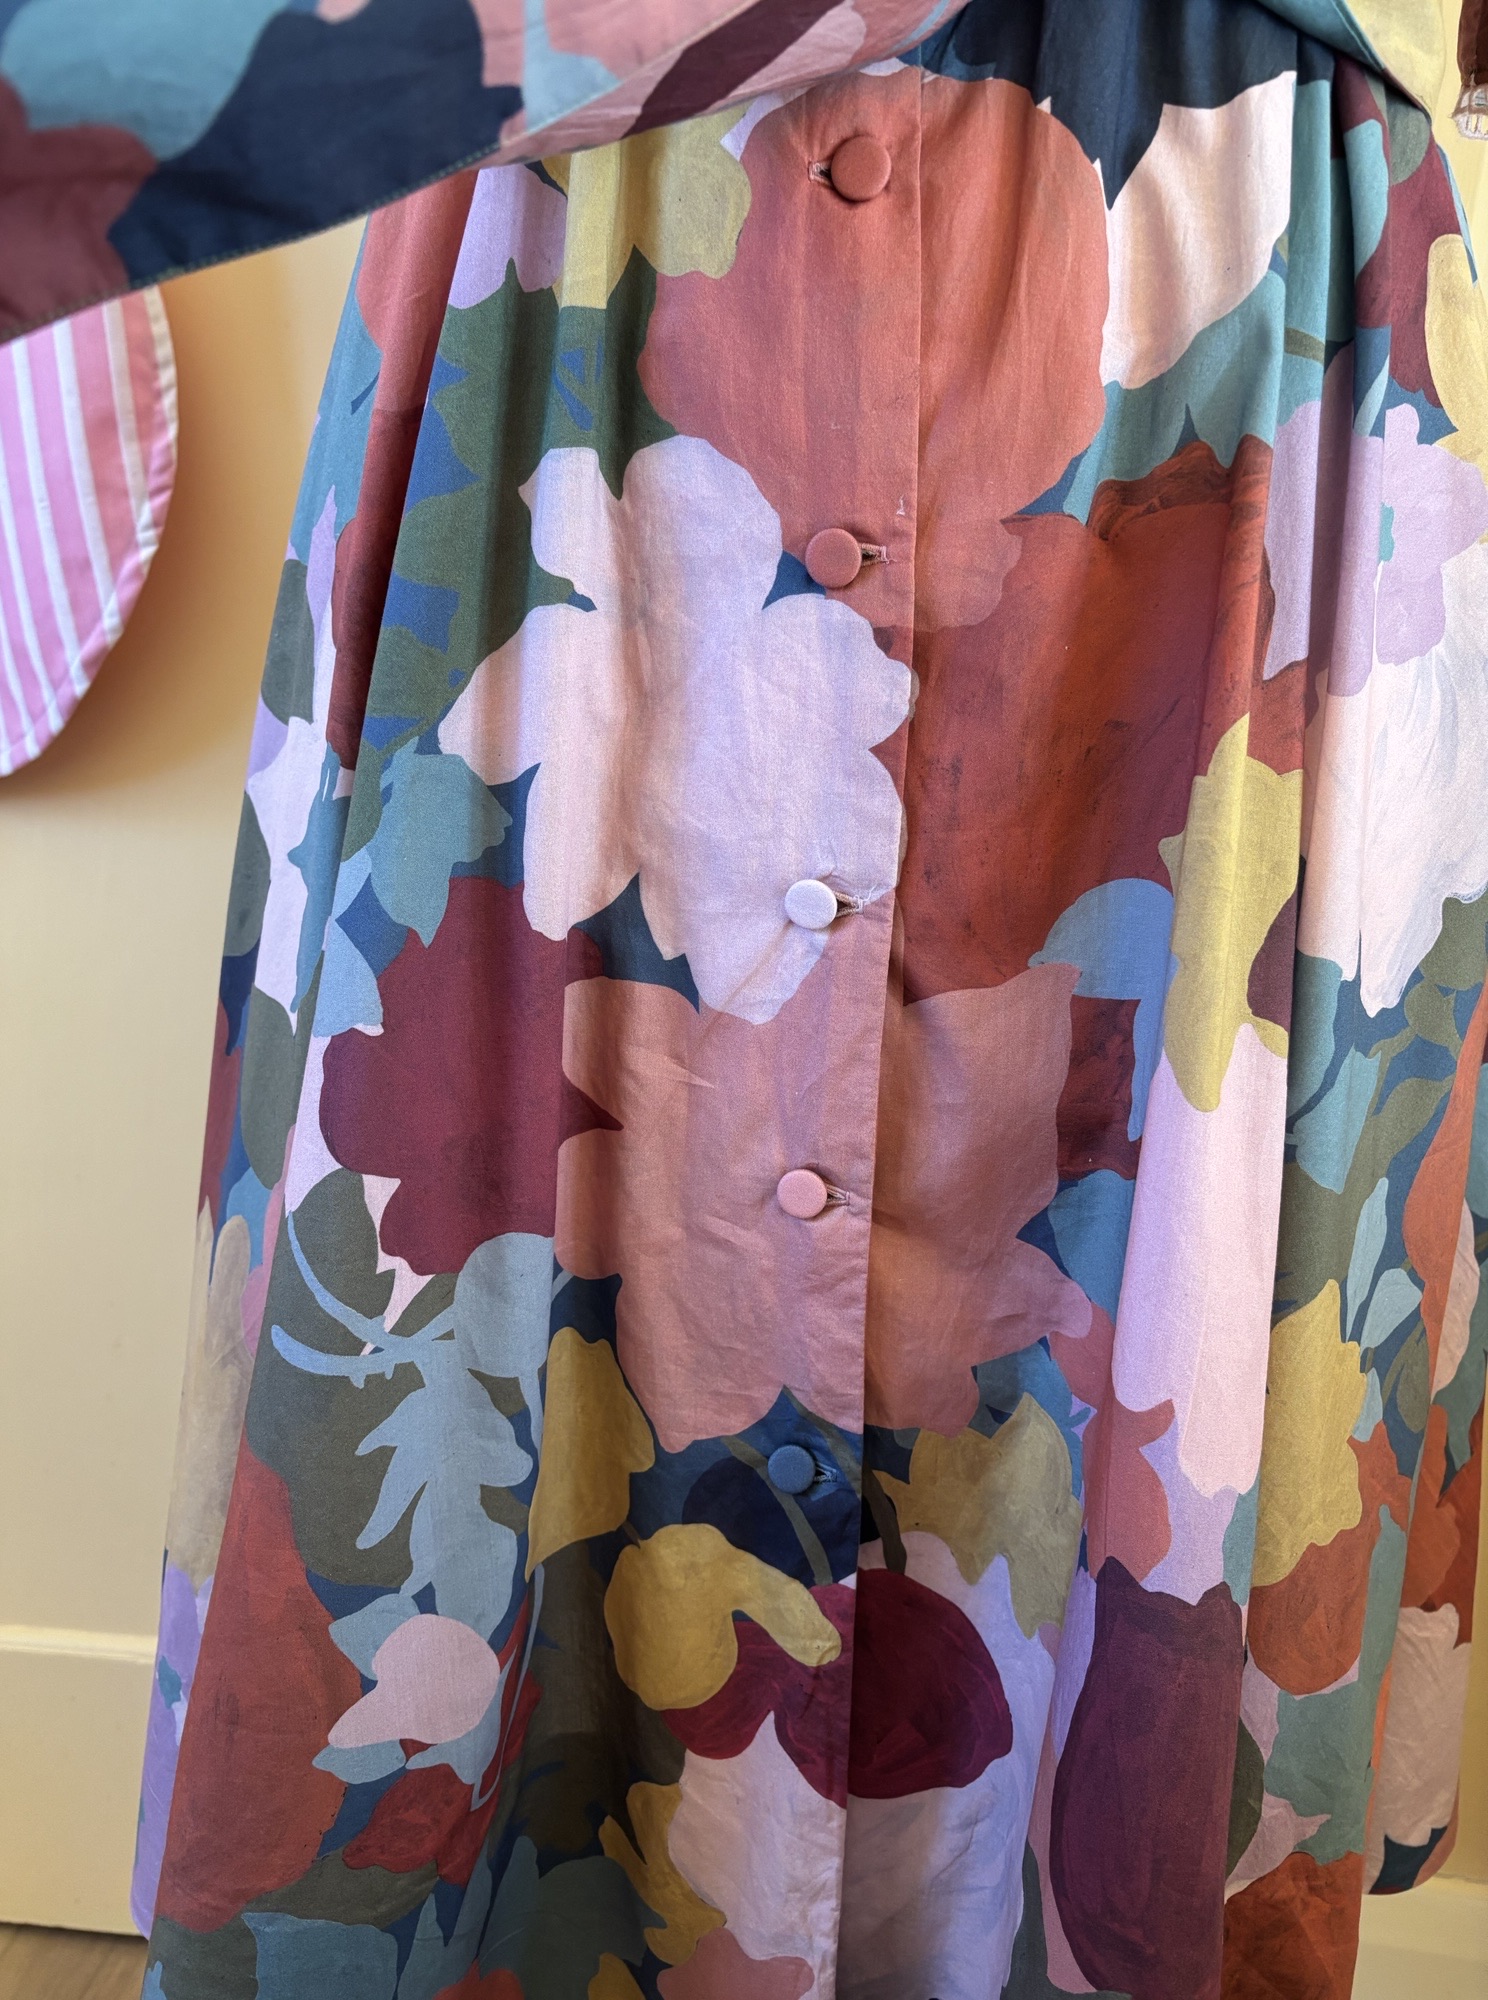
Liberty was having a sale at the time – and I picked up 4m of ‘Marina’s Garden’ and what I thought would be a co-ordinating solid pink (‘Baby Pink tana lawn’) – this ultimately felt too pale up against the patterned fabric. All up the on sale patterned fabric cost me $220, plus the use of some organza from my stash (say, $15 worth), plus covered buttons ($15) plus thread ($5) – so even with a fancy brand name fabric, DIY sewing comes in for less than purchasing something?
Gosh. That’s new.
I discovered that my Liberty had a printing fault (lots of little white spots), which I did email them about (expecting nothing in return, because #enshitification).
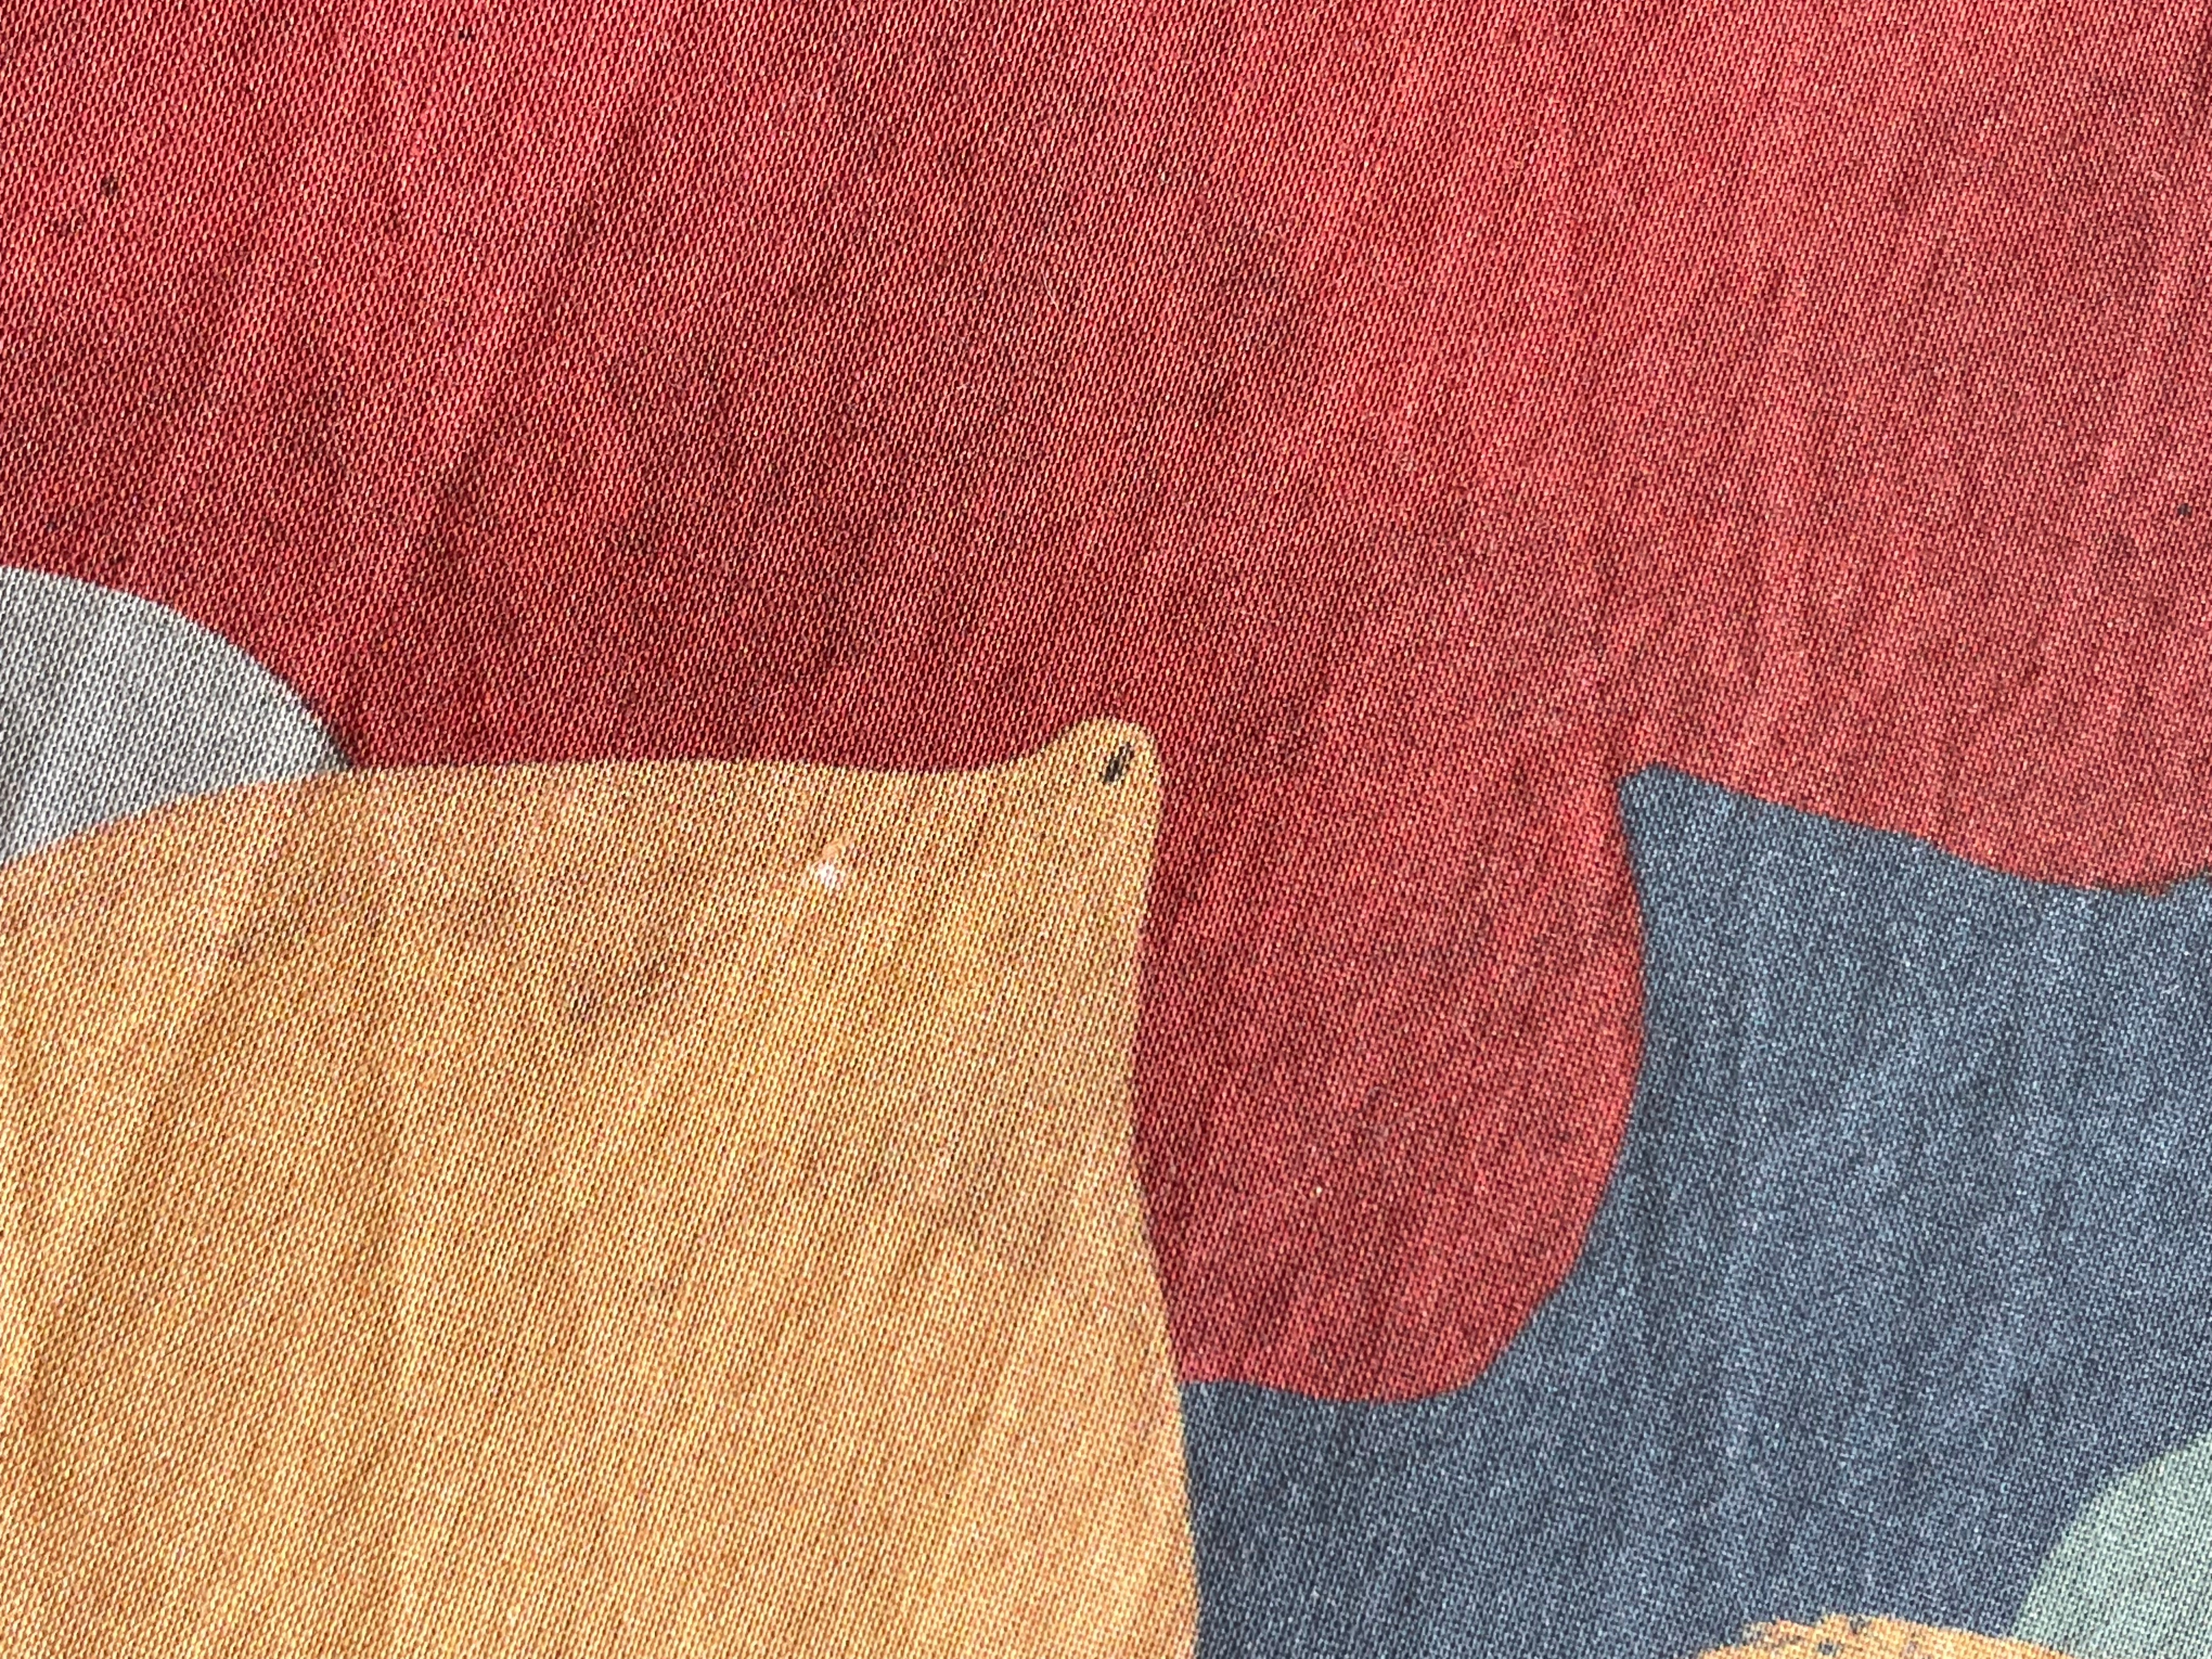
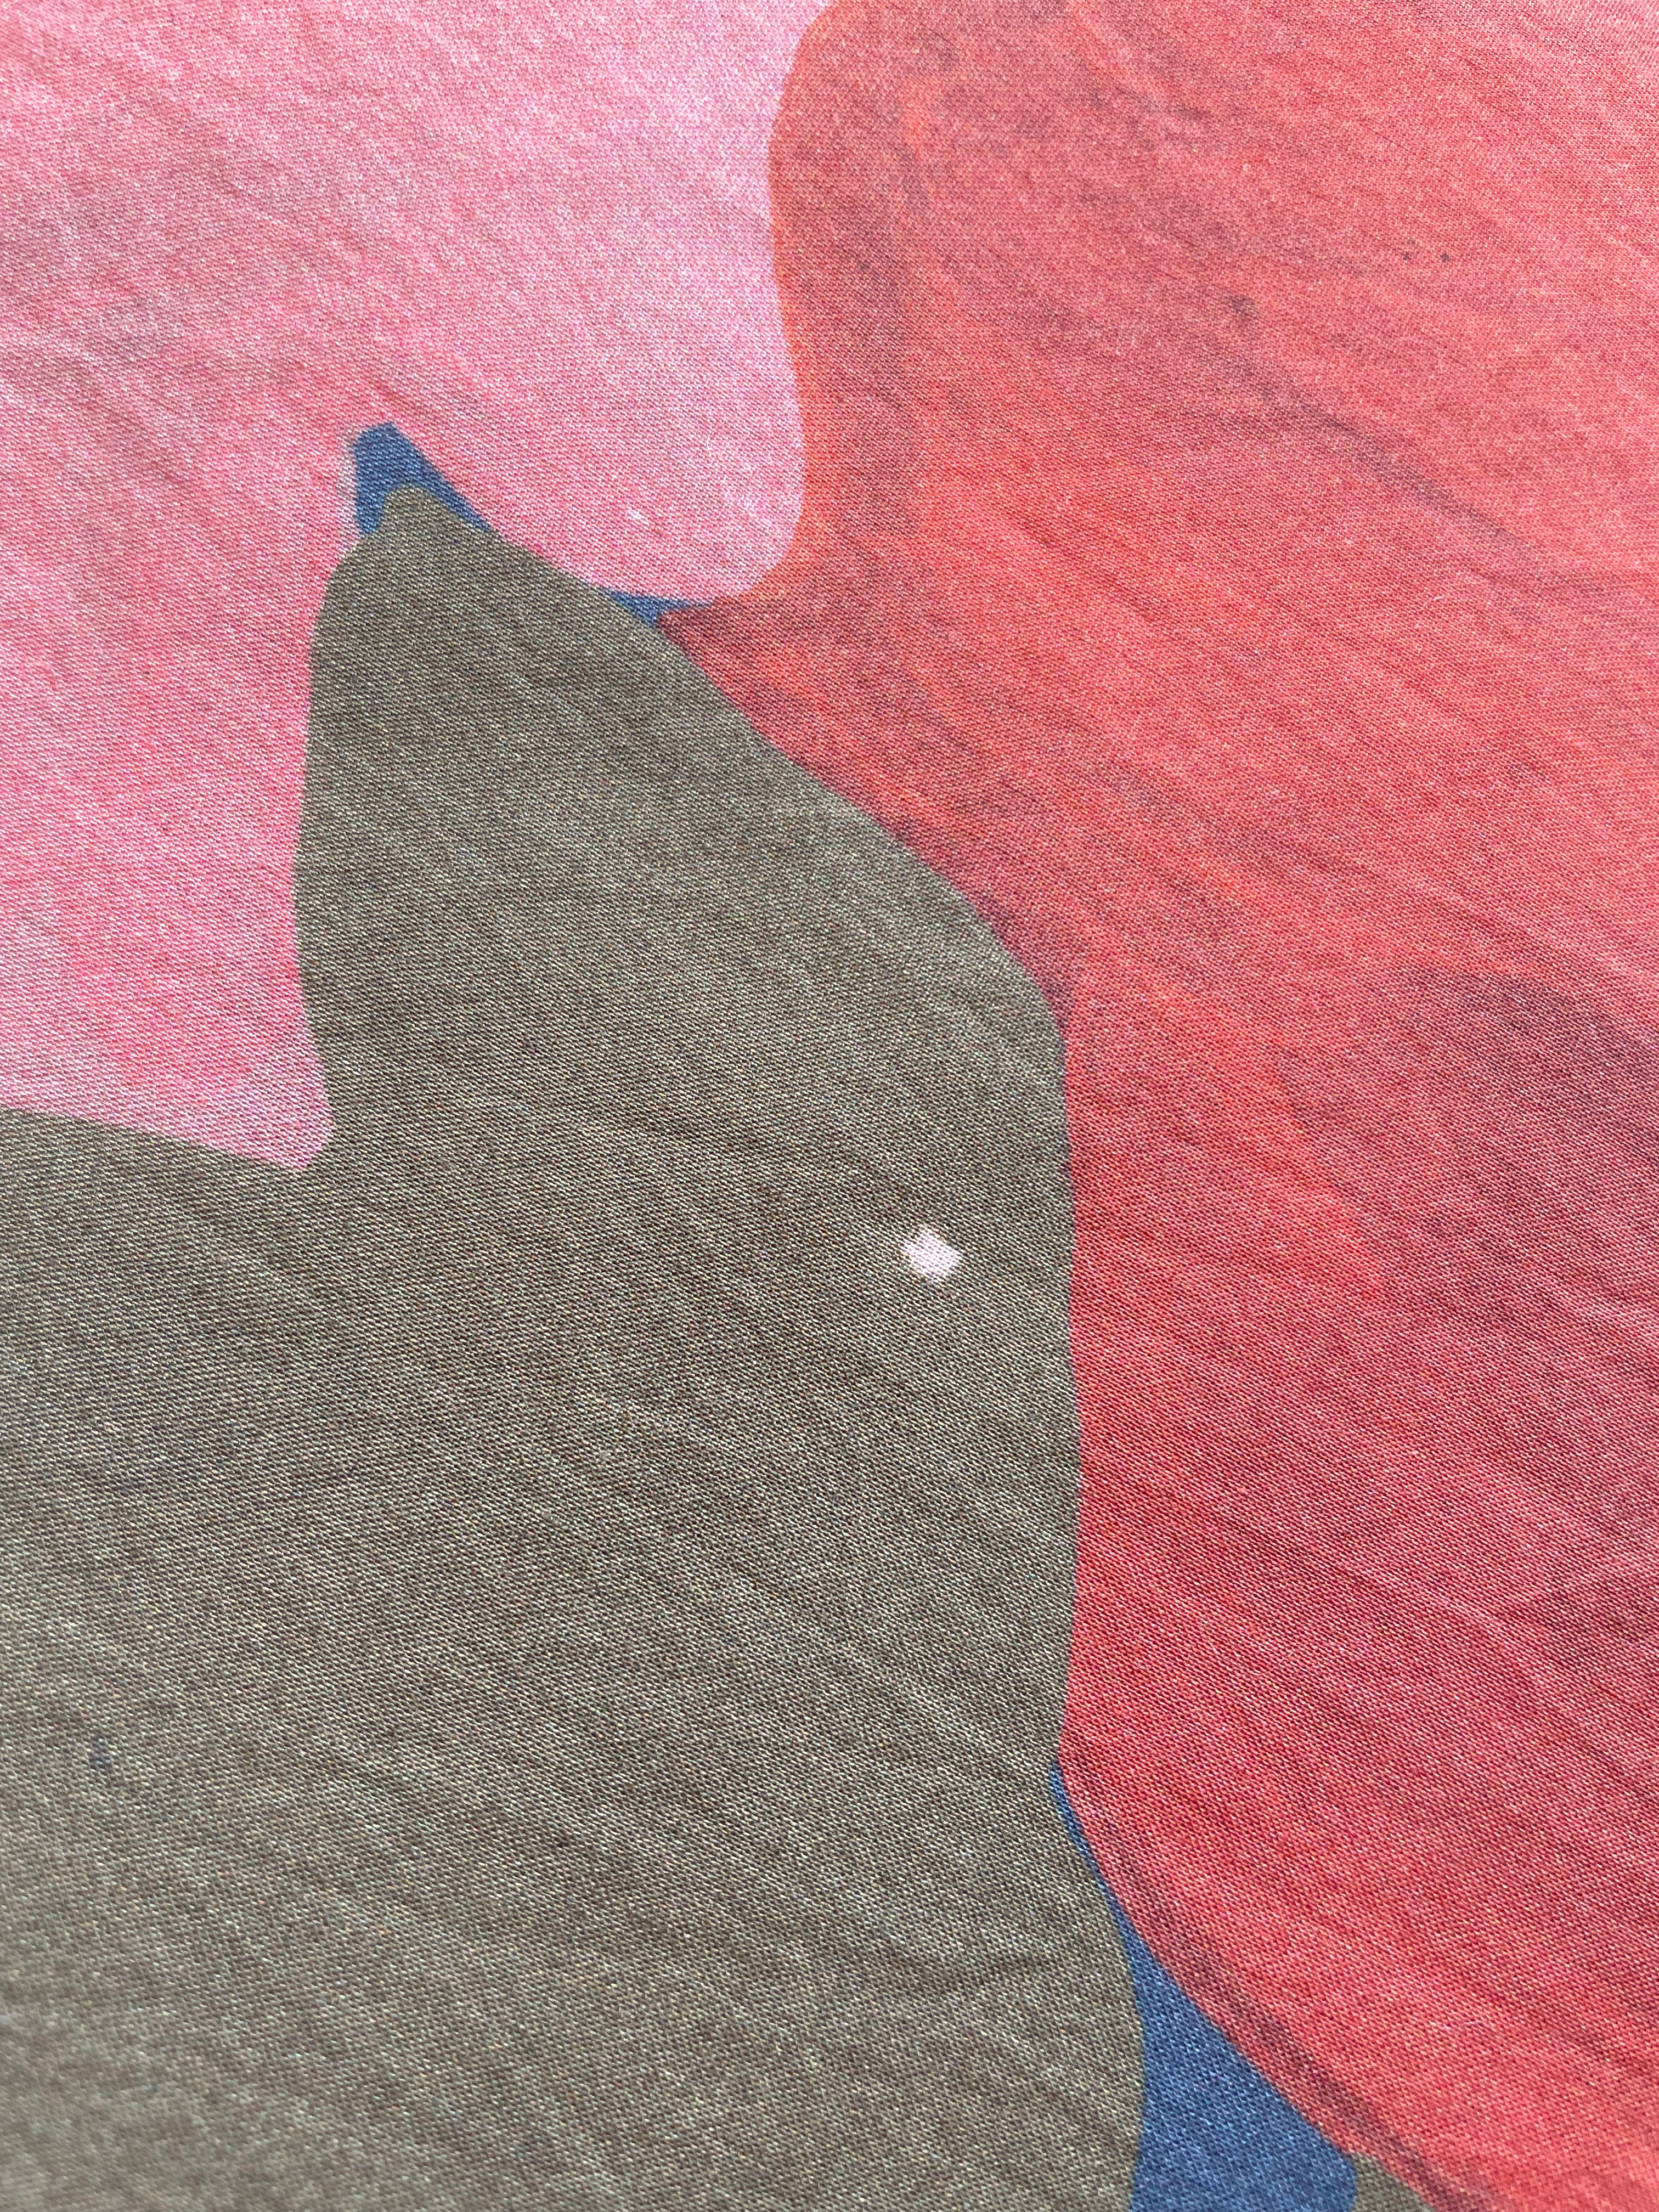
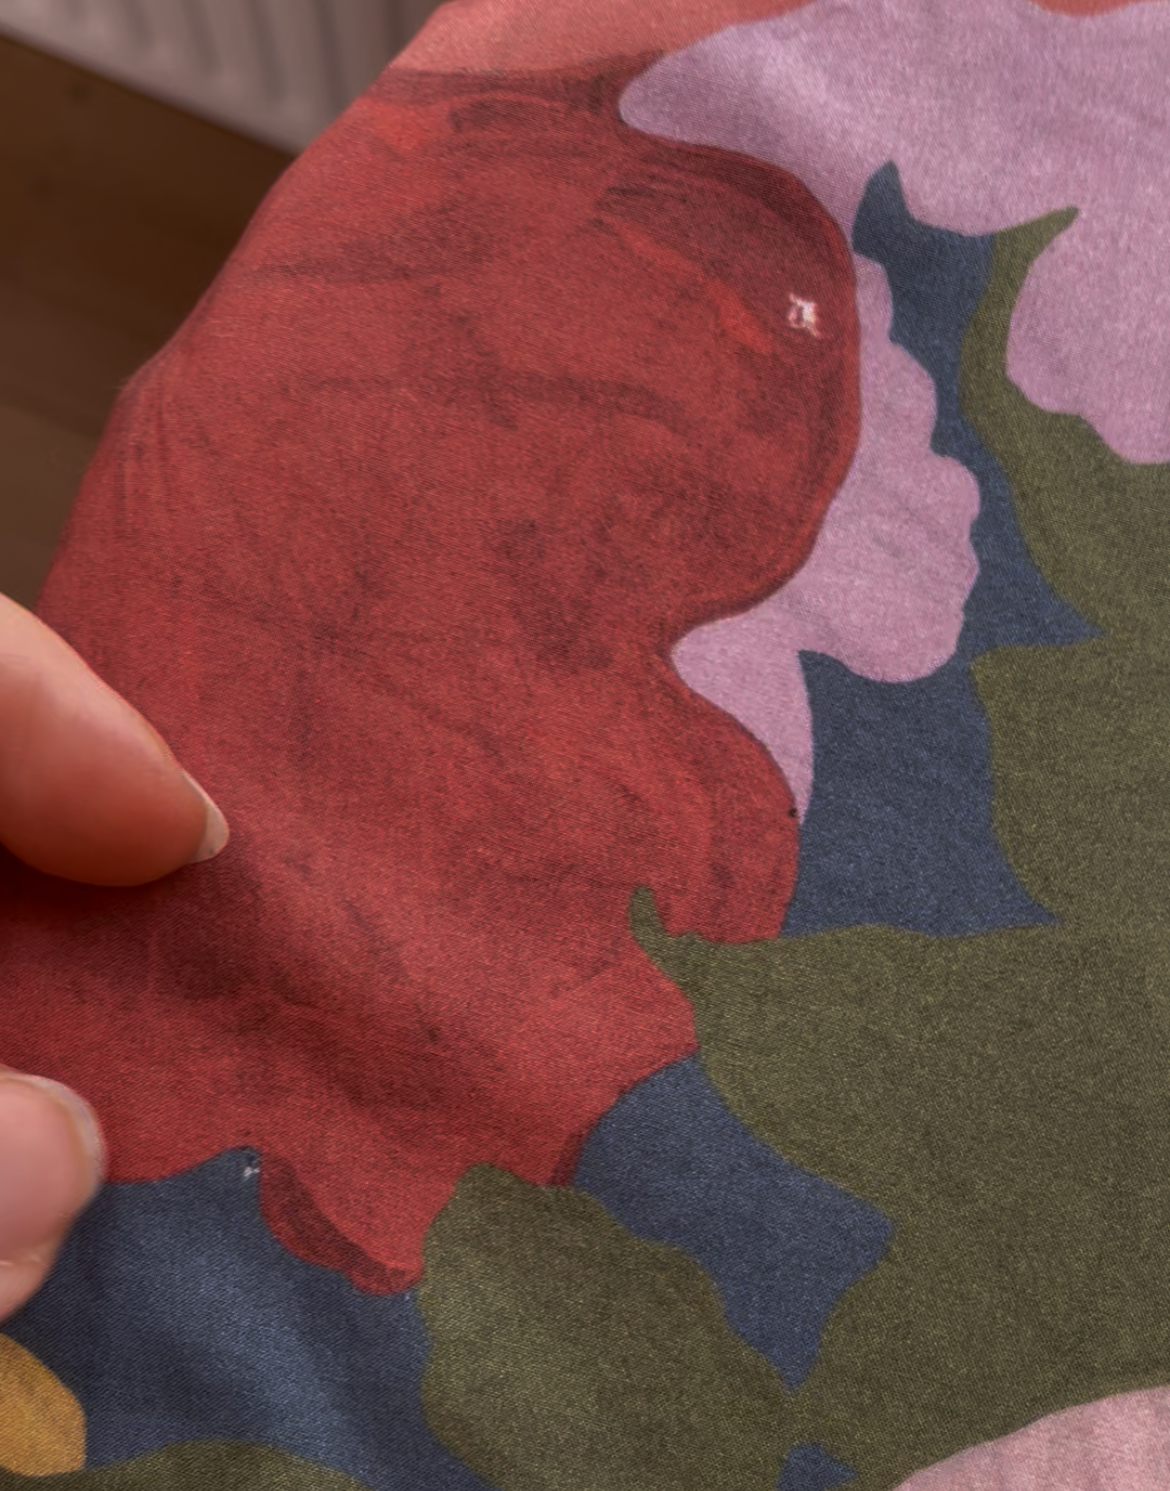

Liberty absolutely did surprise me with their kind and responsive customer service – they replaced the faulty fabric! I had another sewist with some digital printing knowledge via Instagram indicate that this would be due to bits of fluff on the fabric before it went it for printing – a printing quality control issue.
PATTERN MATCHING
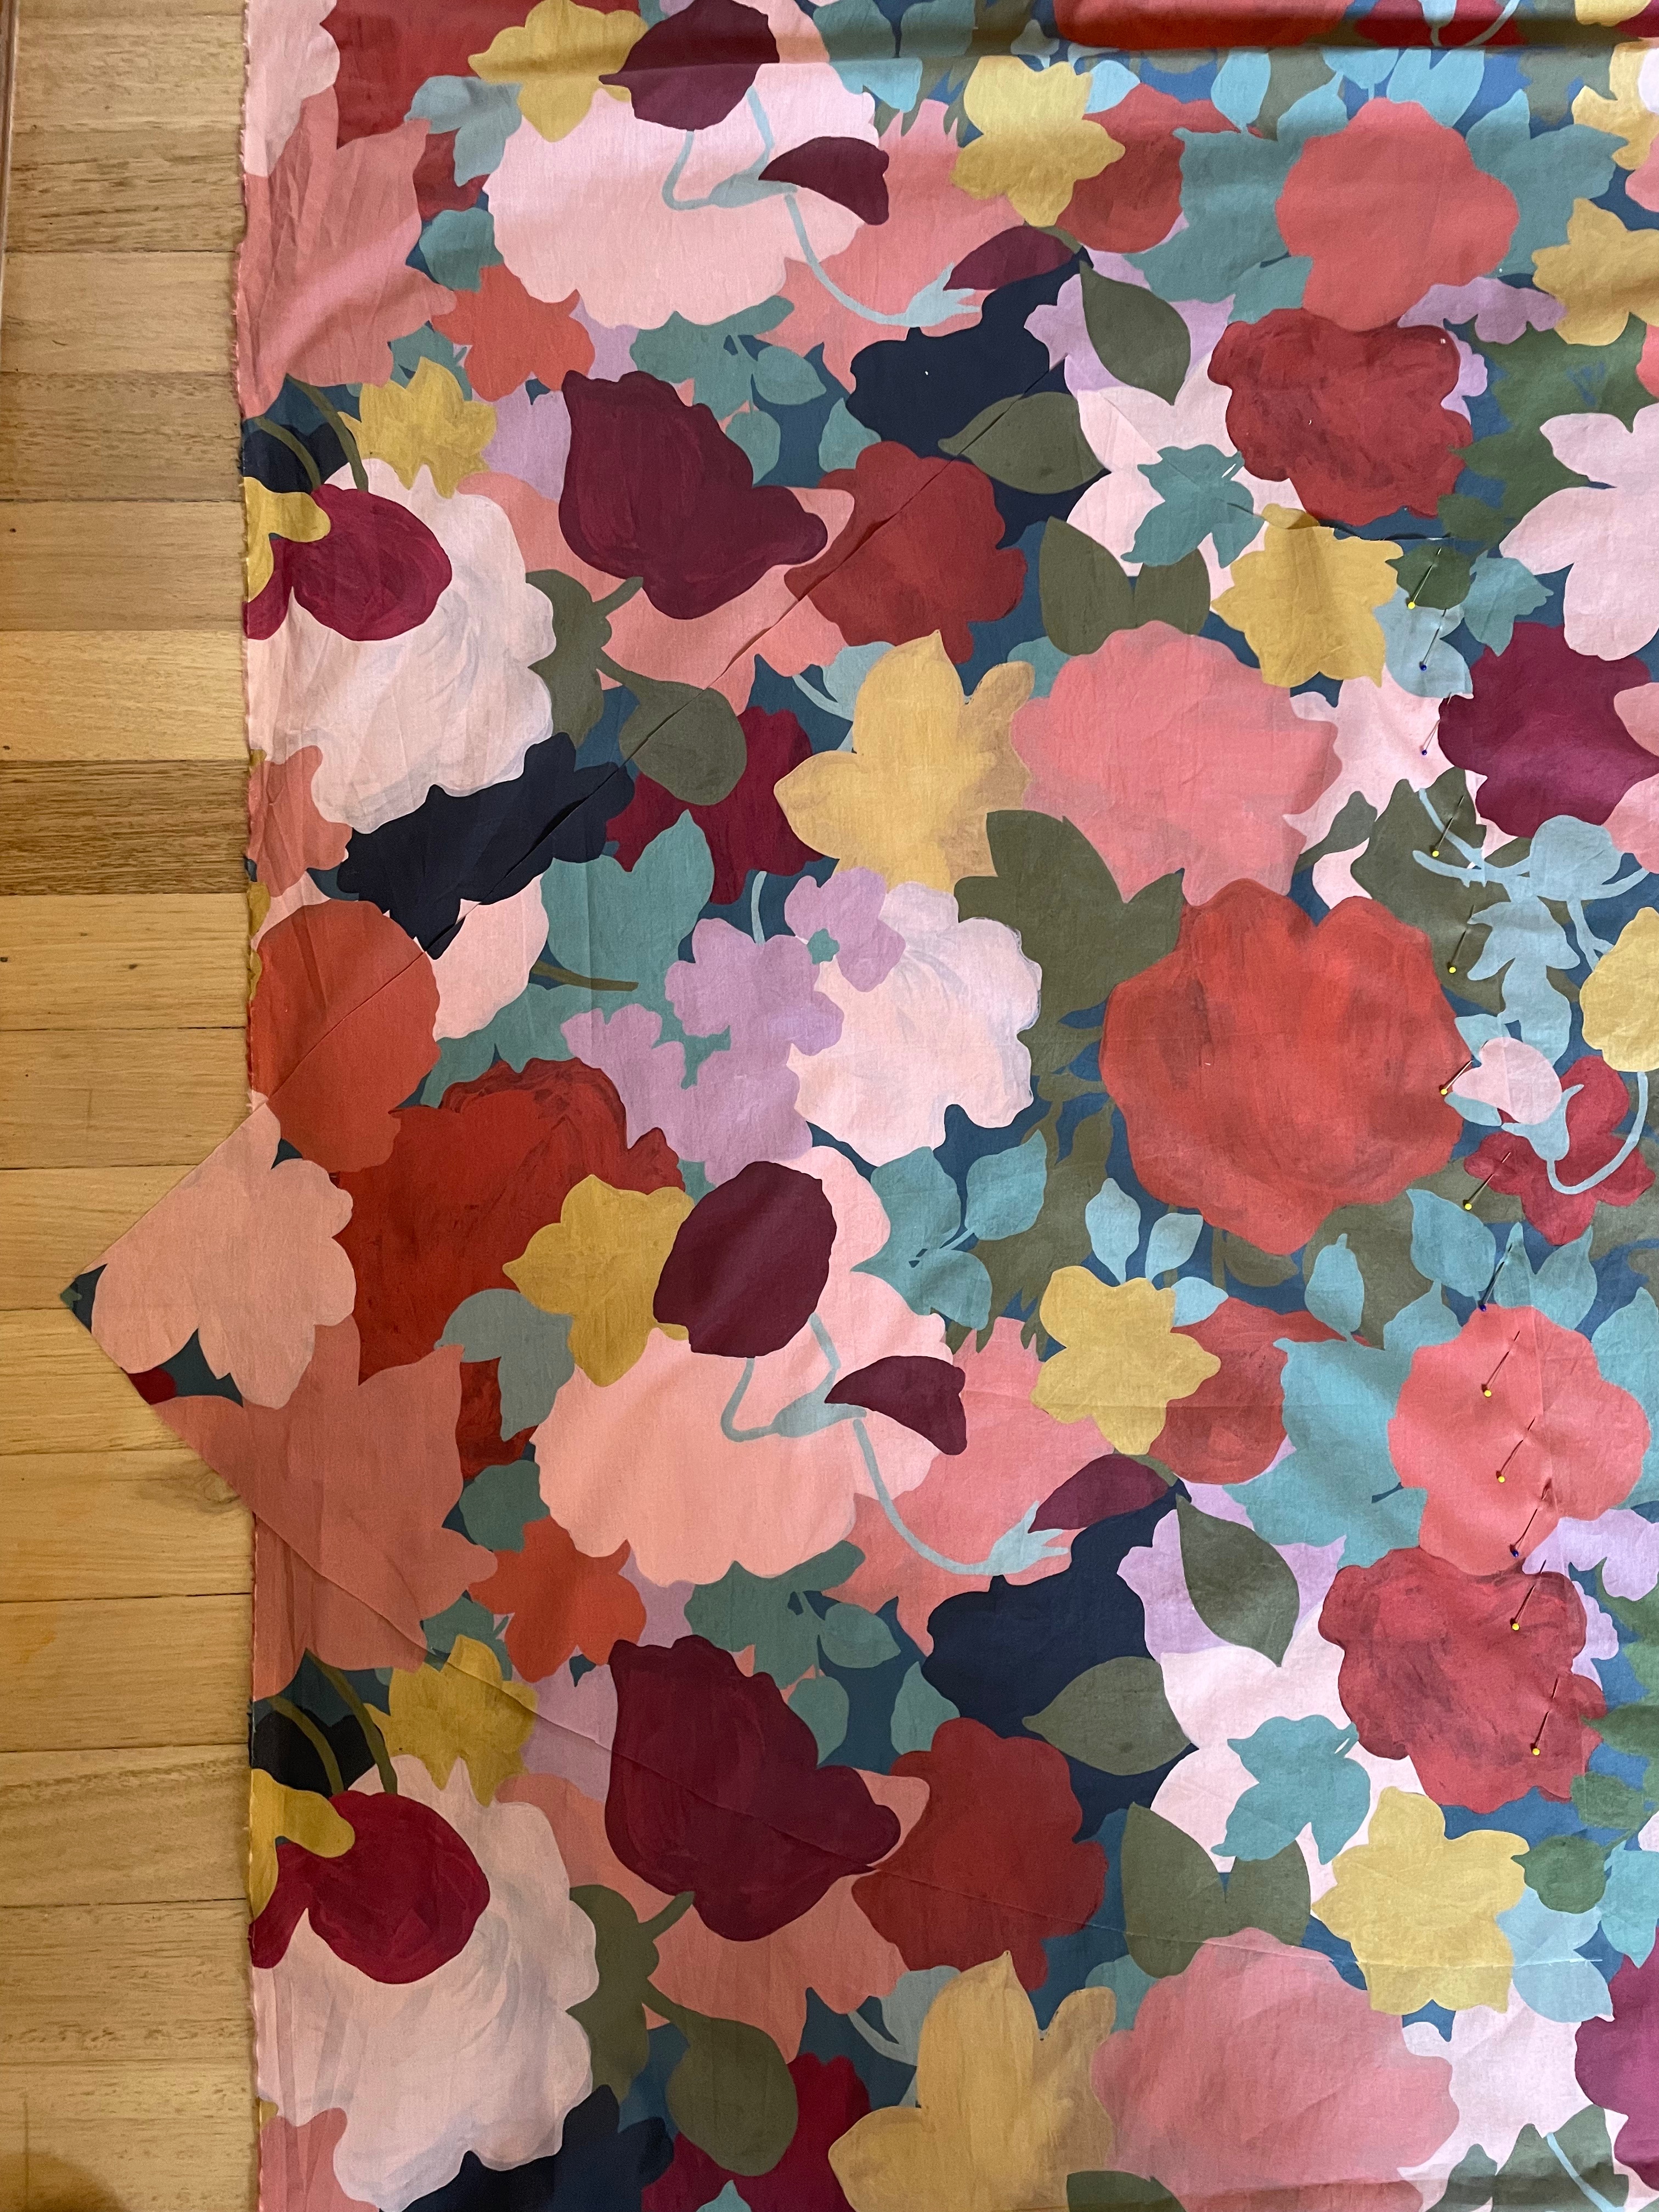
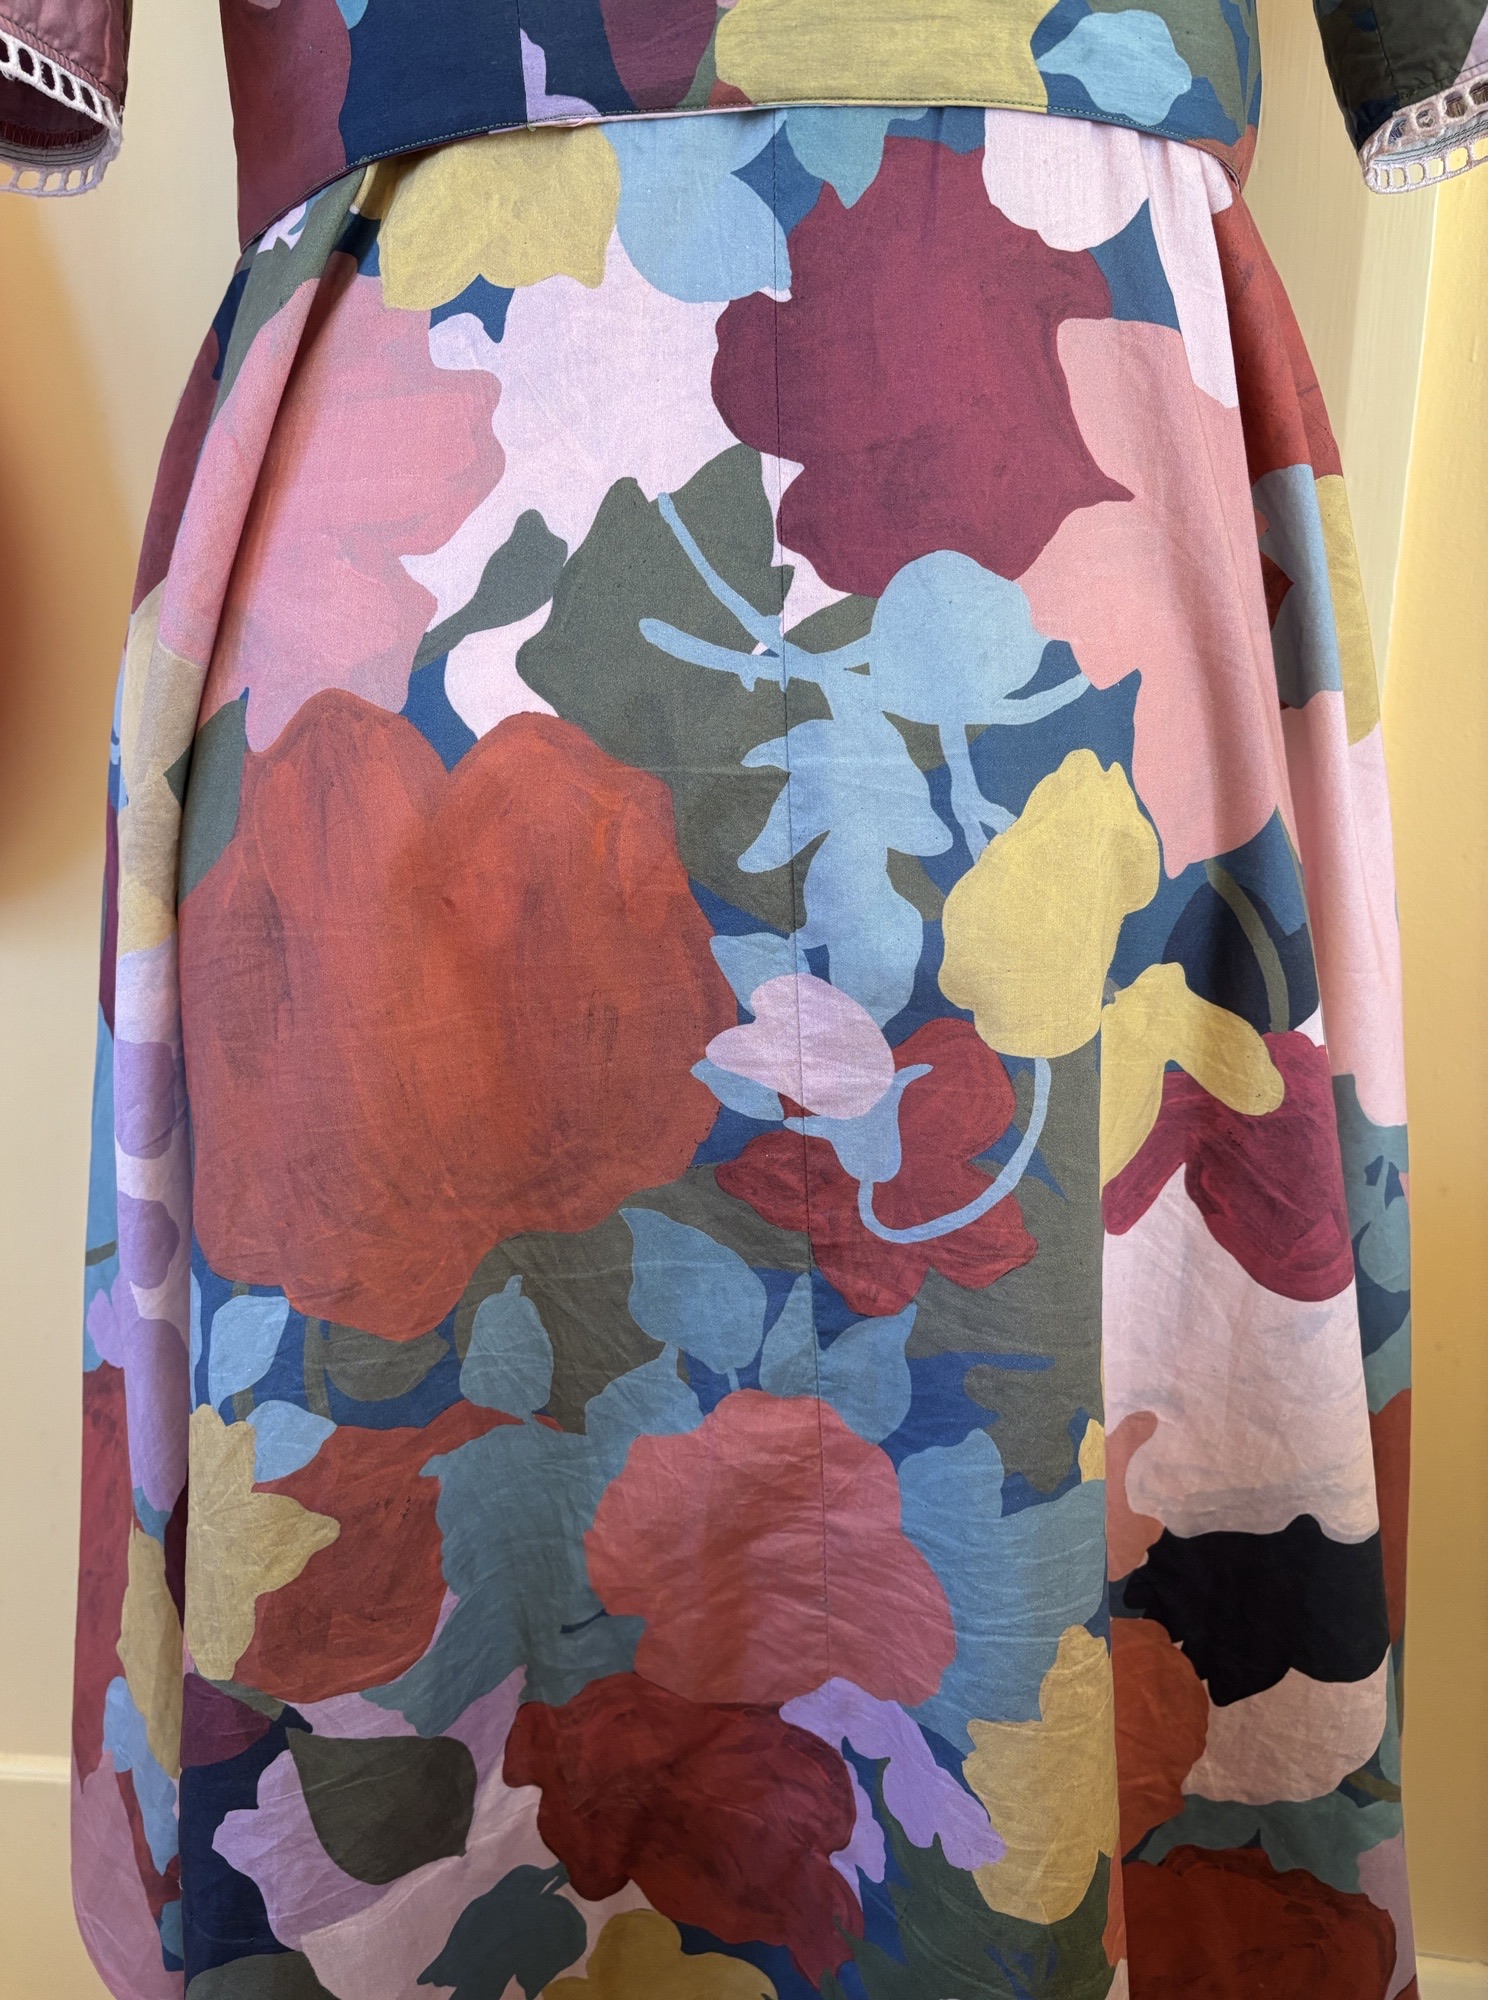
I spent nearly a day cutting all the skirt pieces out – matching the skirt rear seam and front button placket patterns… I’d cut one panel, then find the pattern repeat, and put the next panel up against the now camouflaged piece to get the right placement. It worked really well – I got it right on both the centre front and centre back skirt seams – perfect match. Looks like I picked the wrong ‘join’ spot with the front bodice unfortunately – this ended up being a way off! It’s harder when there is a button placket in the mix.
I used 4.5m of fabric for this dress – and presumed that my pattern matching approach would use up more fabric than indicated is required by the pattern. Checking the back of the sleeve – it calls for 4.4m for the size I made, so not much difference!
And then chugged away at this in 20-30 min blocks on weeknights – quite literally the allotment of free time as I have each day as a working mum. My consistency here surely means my sewjo is well and truly back! (and – I’ve got my low iron levels reliably back in range, haha!) Typically I would be bludging on the couch with my husband of an evening, but through working with my GP and my wholistic health people – I’ve got more energy back than I’ve had for a long time – so can spend my late evenings doing the things my brain would be dreaming of but my body said no to.
Anyway. I thoroughly enjoyed constructing this dress.
I broke with my usual protocols and used fusible interfacing to interface the facing. And I regret it immensely – you can already see bubbled texture as a result! I threw the rest of this fusible out so I wouldn’t be tempted to use it in a pinch again.
Typically I interface with Organza – multiple layers of it to get the wanted effect. But the organza I bought to interface this dress was quite frankly – weak. Once I’d washed it, I discovered it had been starched, and the grainline was wavey and completely unstable. (It resulted in me ordering white/ivory organza samples from a range of different sources to compare to be ready for future projects).
So I used fusibile on the facing. But it disappointed me so much I went ahead and sourced some really good structural organza (ie the organza itself had some body heft to it, and the grainline was a lovely grid pattern and would snap back into that grid if you pulled it on the bias). Despite the tana lawn having some lighter patches, the black didn’t seem to show through.
I used the black organza for the skirt hem, with a double layer for the collar.
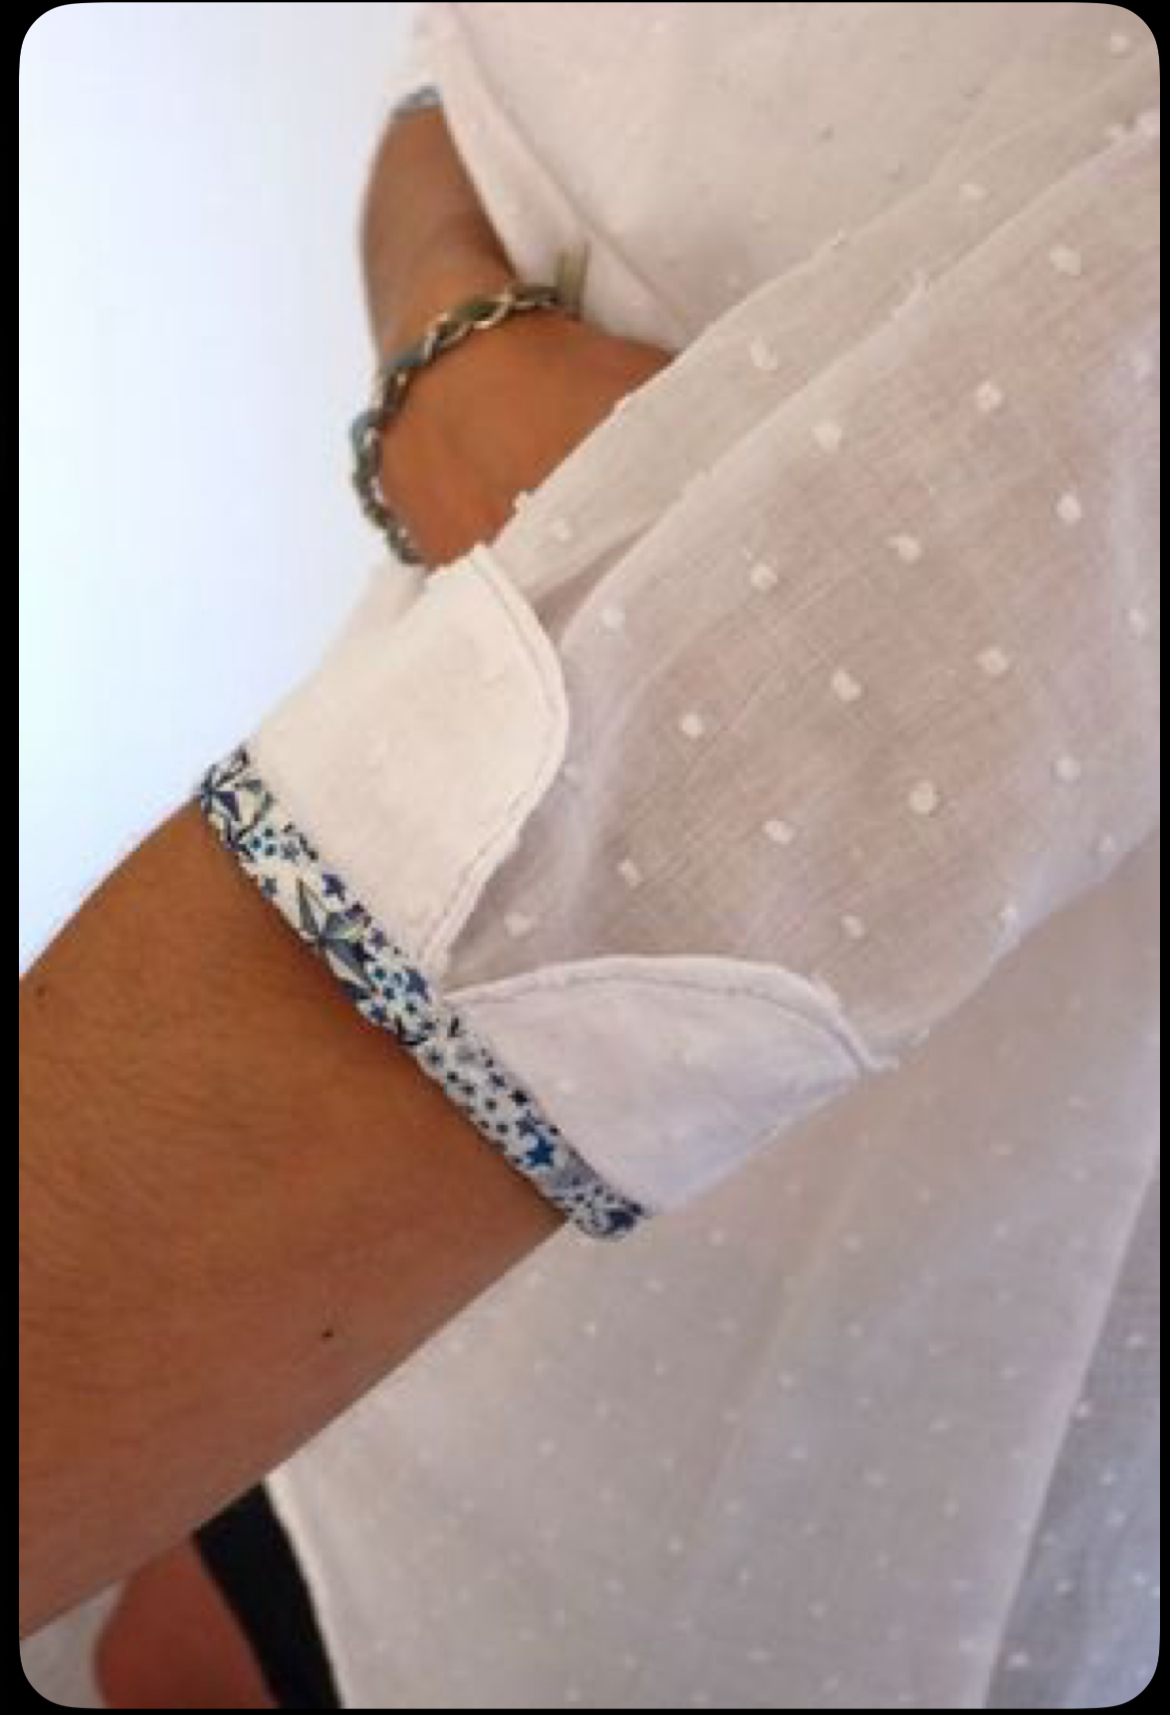
Given nearly all my shirt dresses have the fold up cuff and sleeve tab detail, I decided to go something different for this one, using the inspiration of the left to draft up something identical:
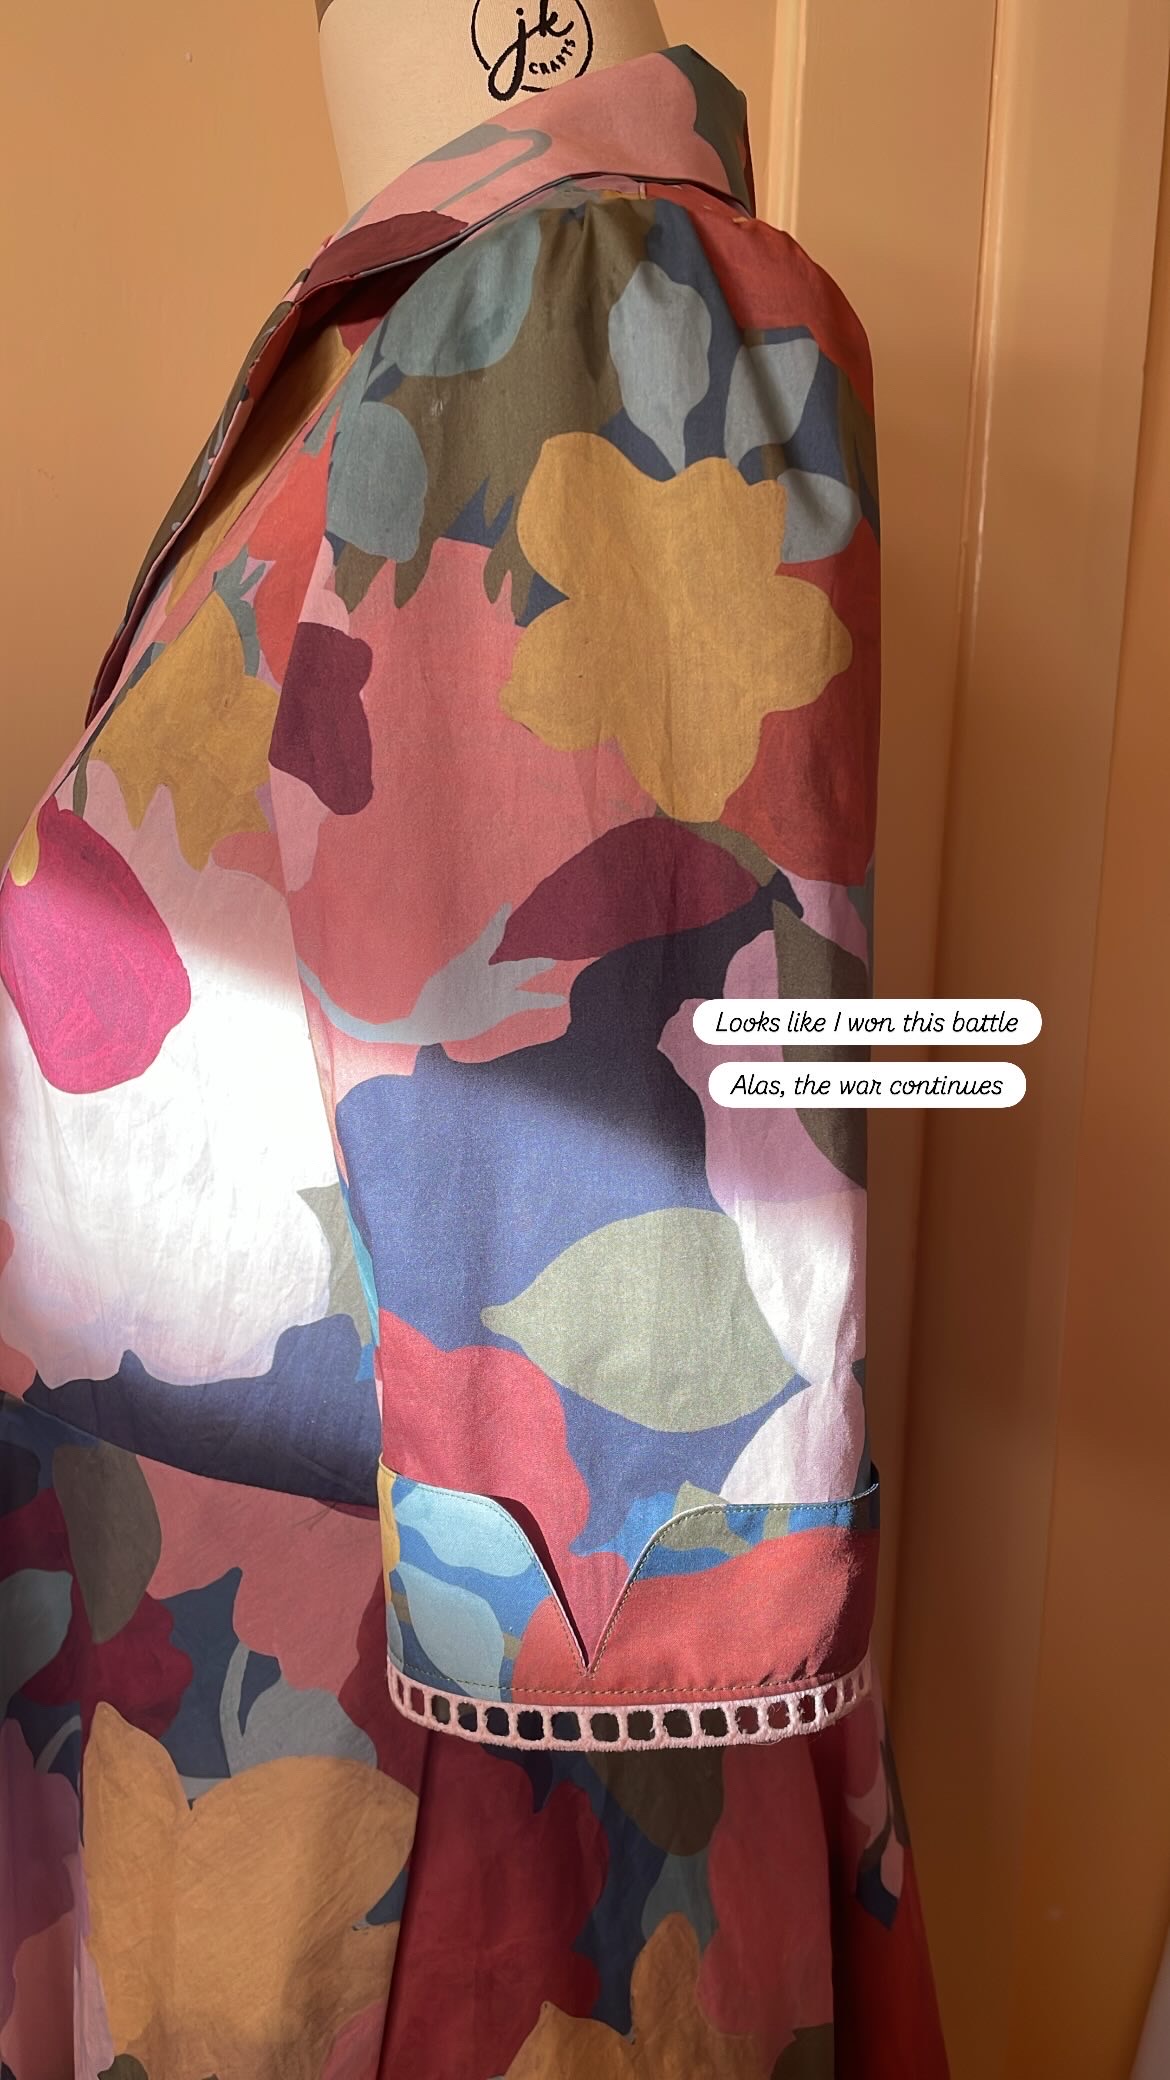
I had bought a stack of different fagot trims to go with the Nani Iro fabric – to do some inserts to emmulate a Zoe Kratzmann style effect (a brand I’d describe as Zimmermann’s off duty sister), but none of the shades seemed to work with the grey base of the Nani Iro Linen. One of the pinks ended up going surprisingly well with the Liberty, so on it went.
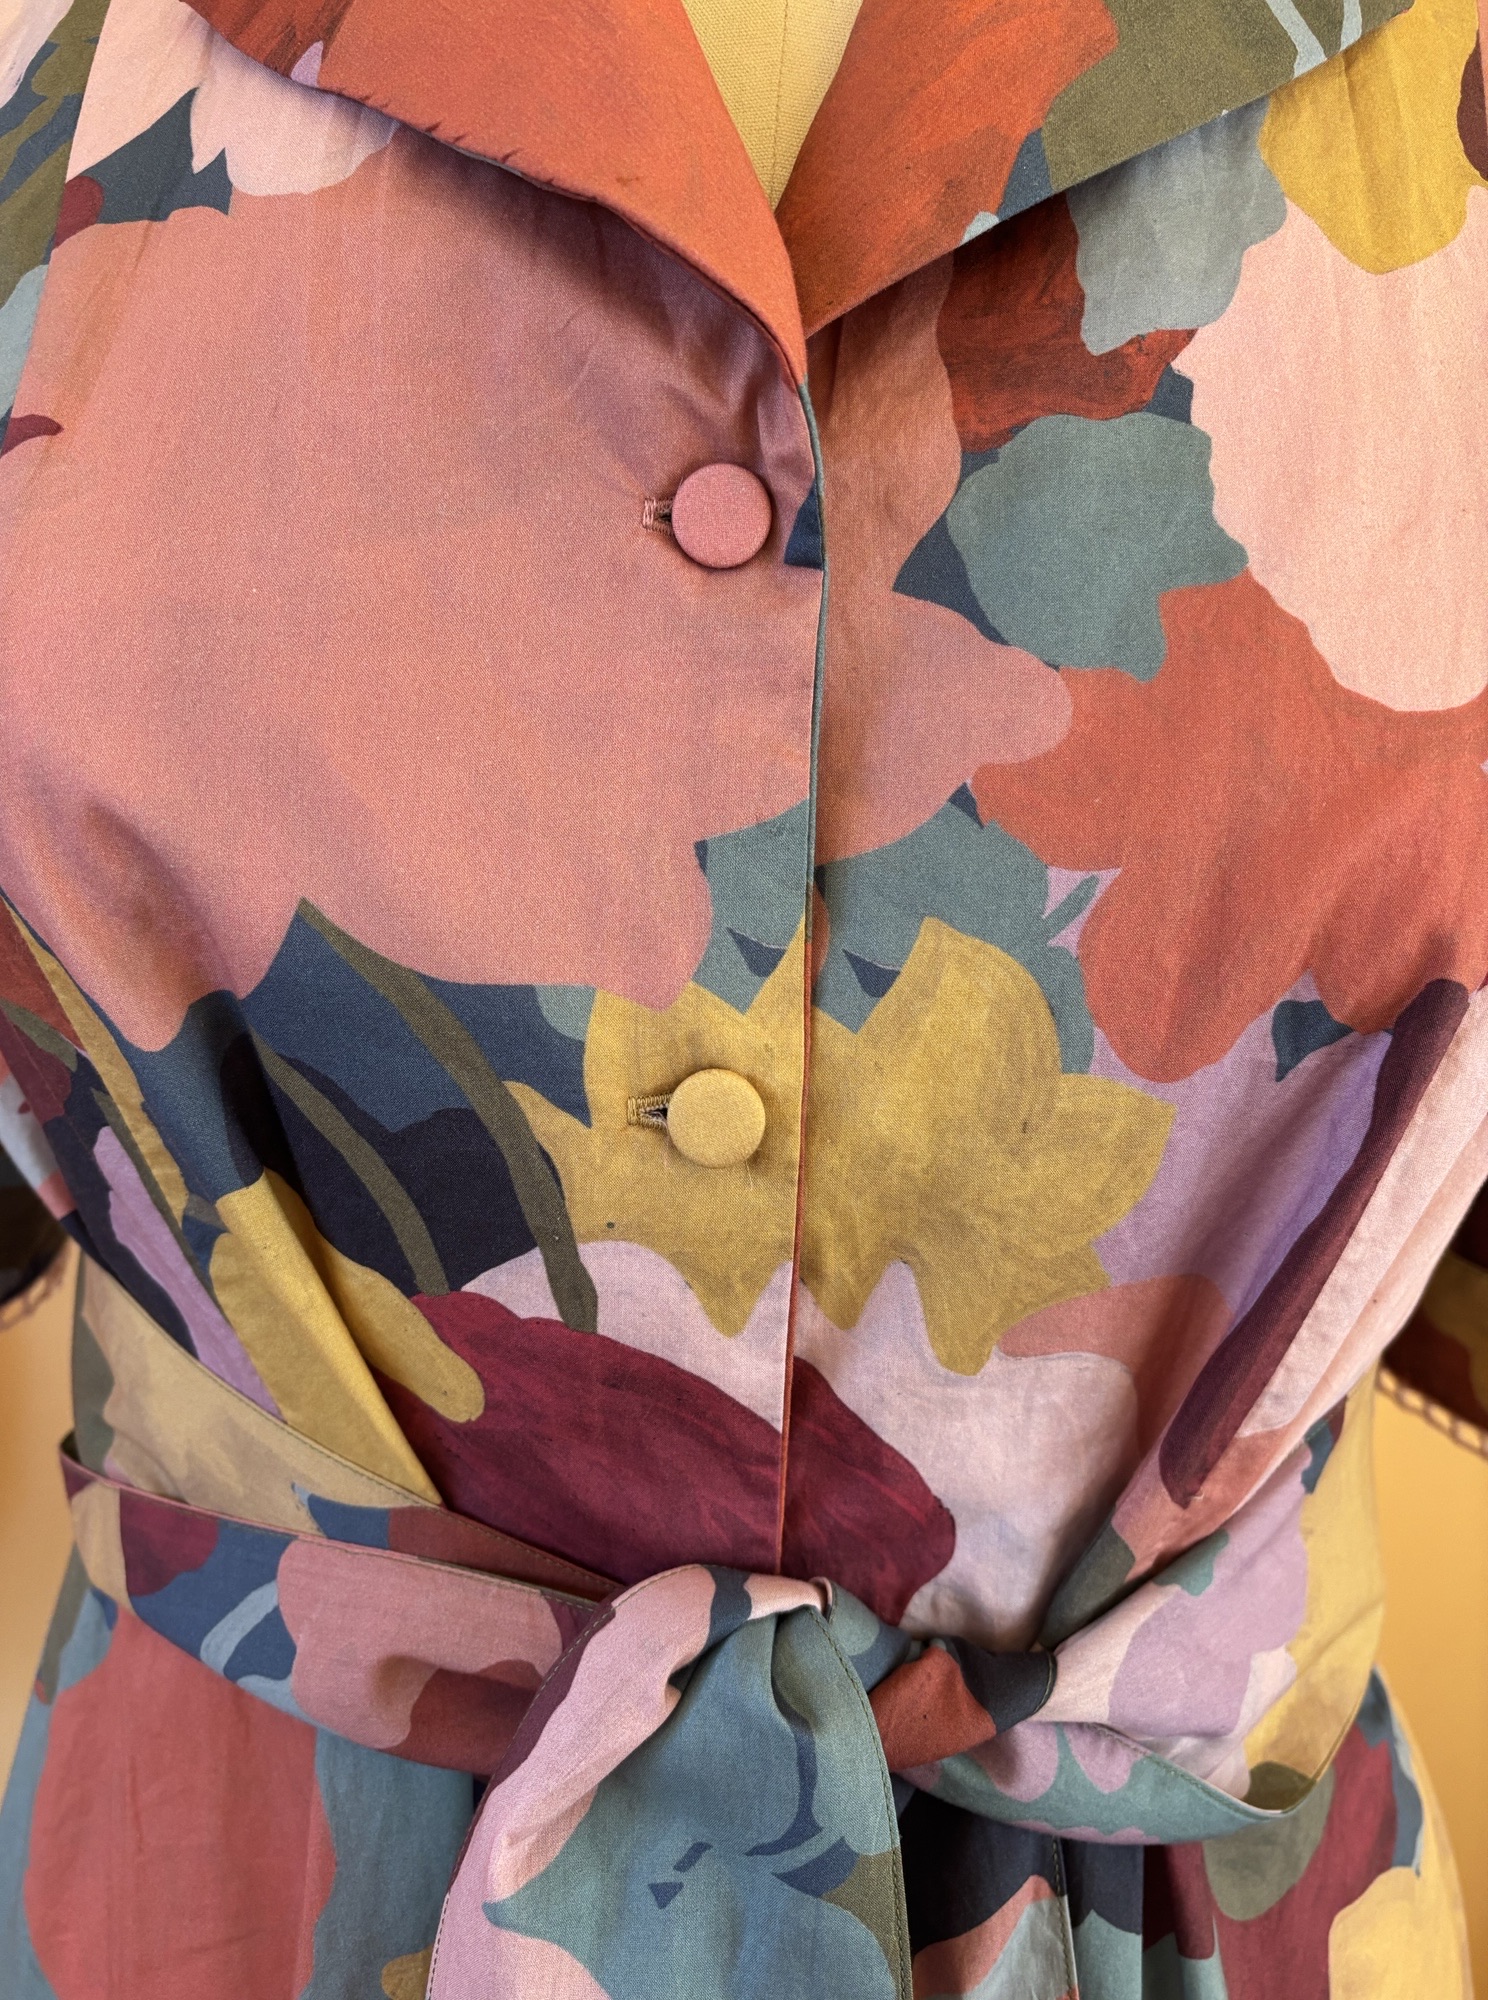
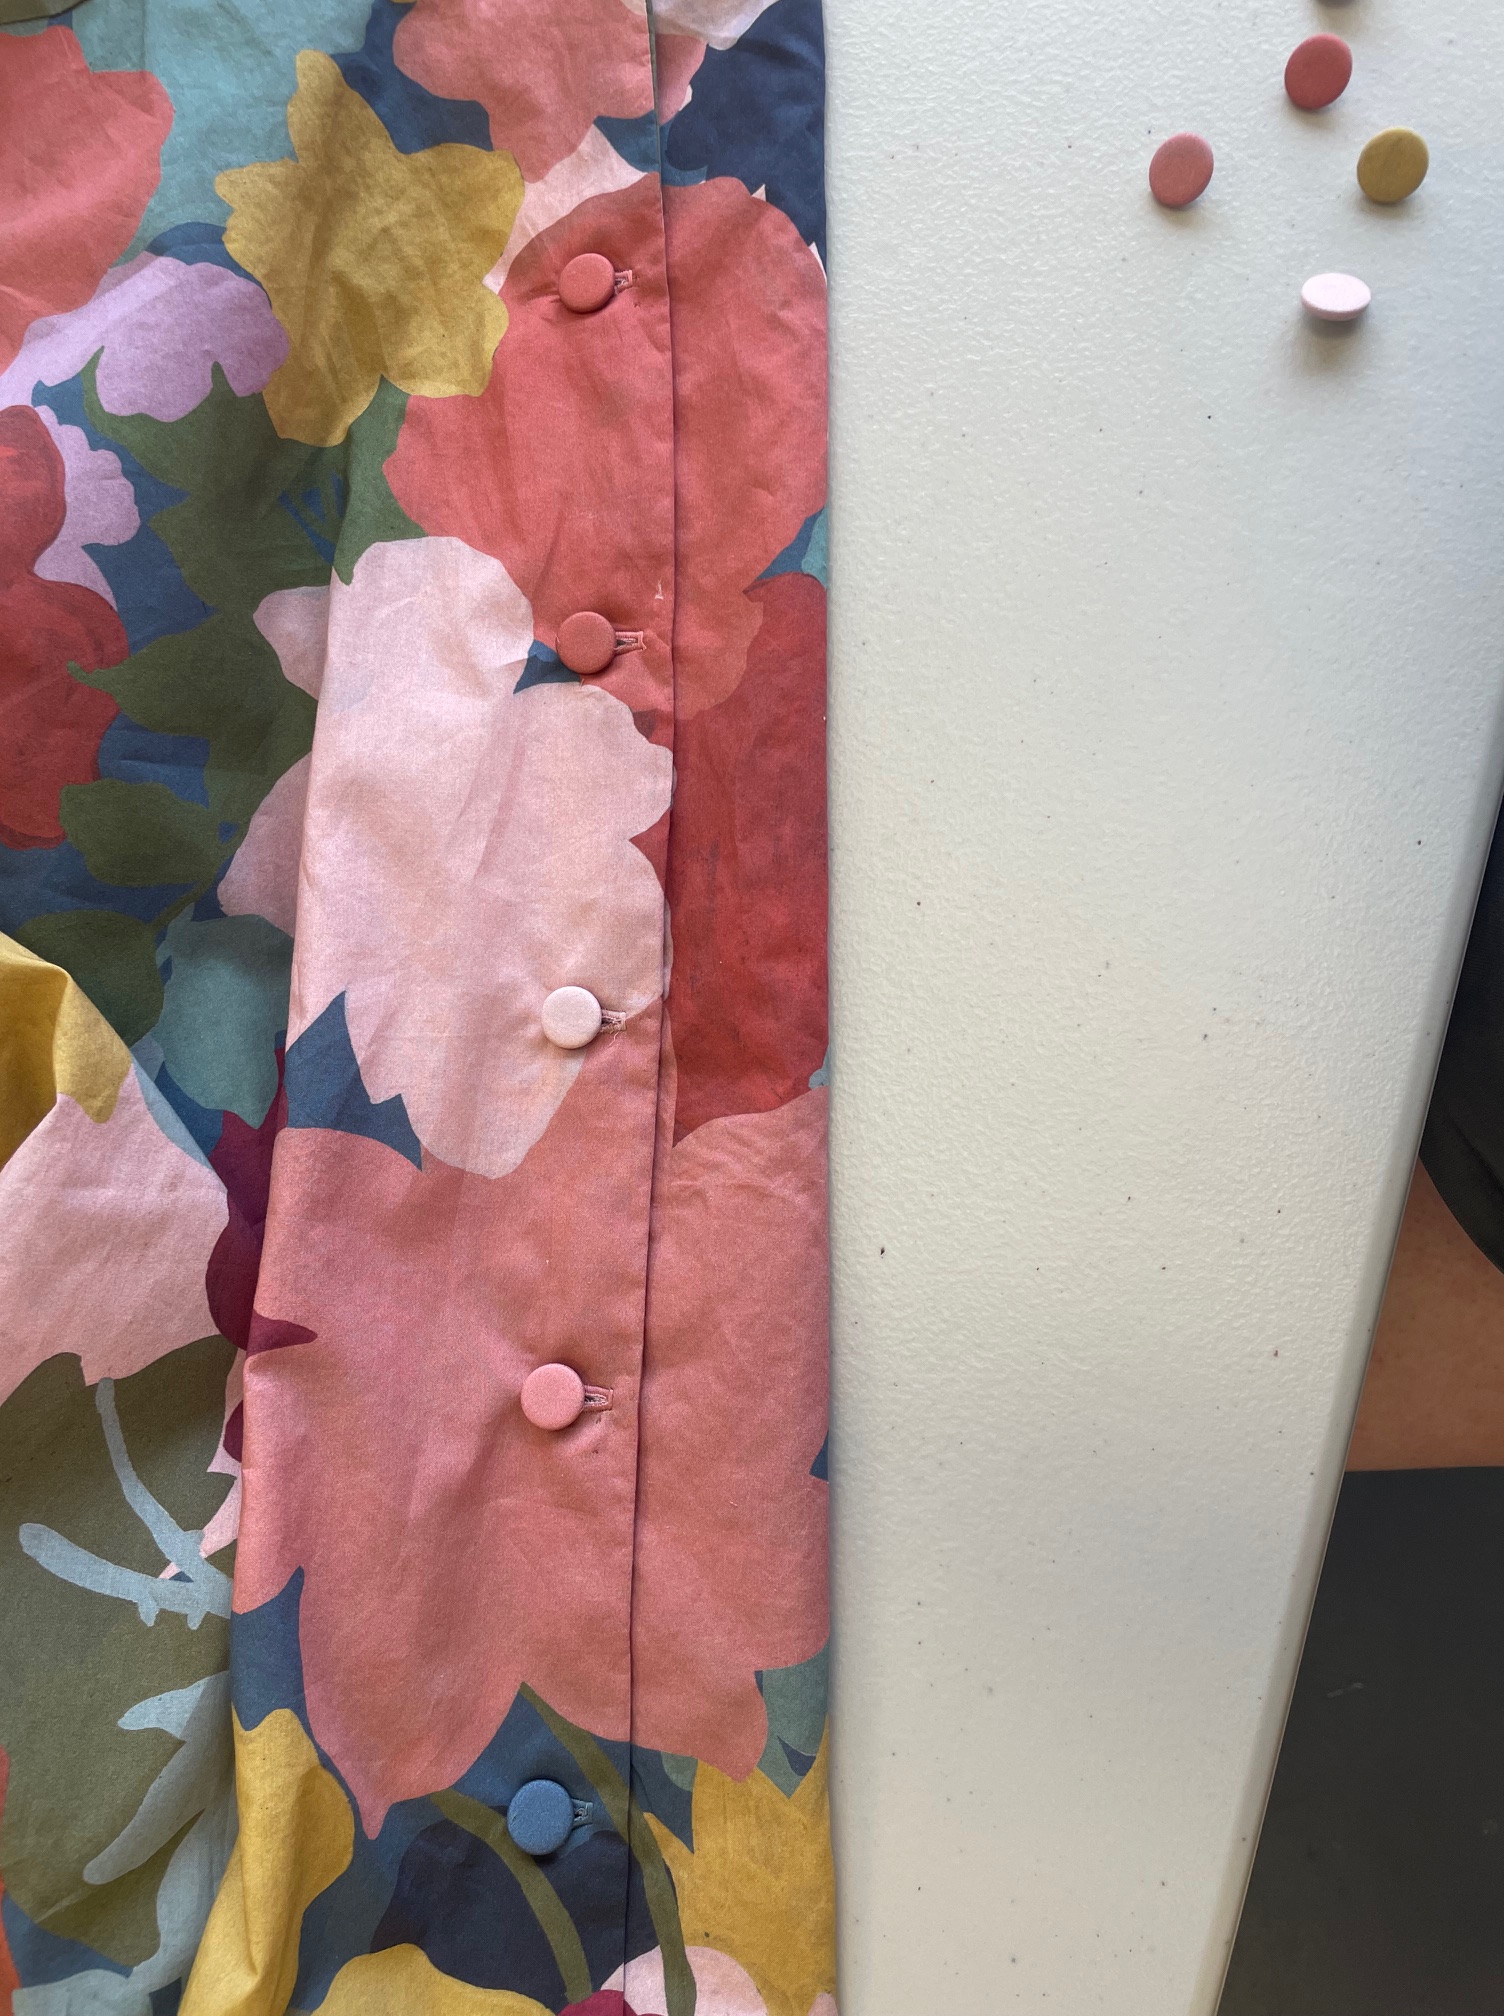
BUTTONS
I decided it was definitely the right thing to do to have fabric covered buttons that matched the location where each button would be. So off I posted a stack of fabric and samples to ButtonMania to get them all made up! They were everything I hoped they would be, and yes I absolutely went off to buy matching thread so each button hole could #dresslikeacrayon. This feature puts a big smile on my face.

GARMENT LONGEVITY
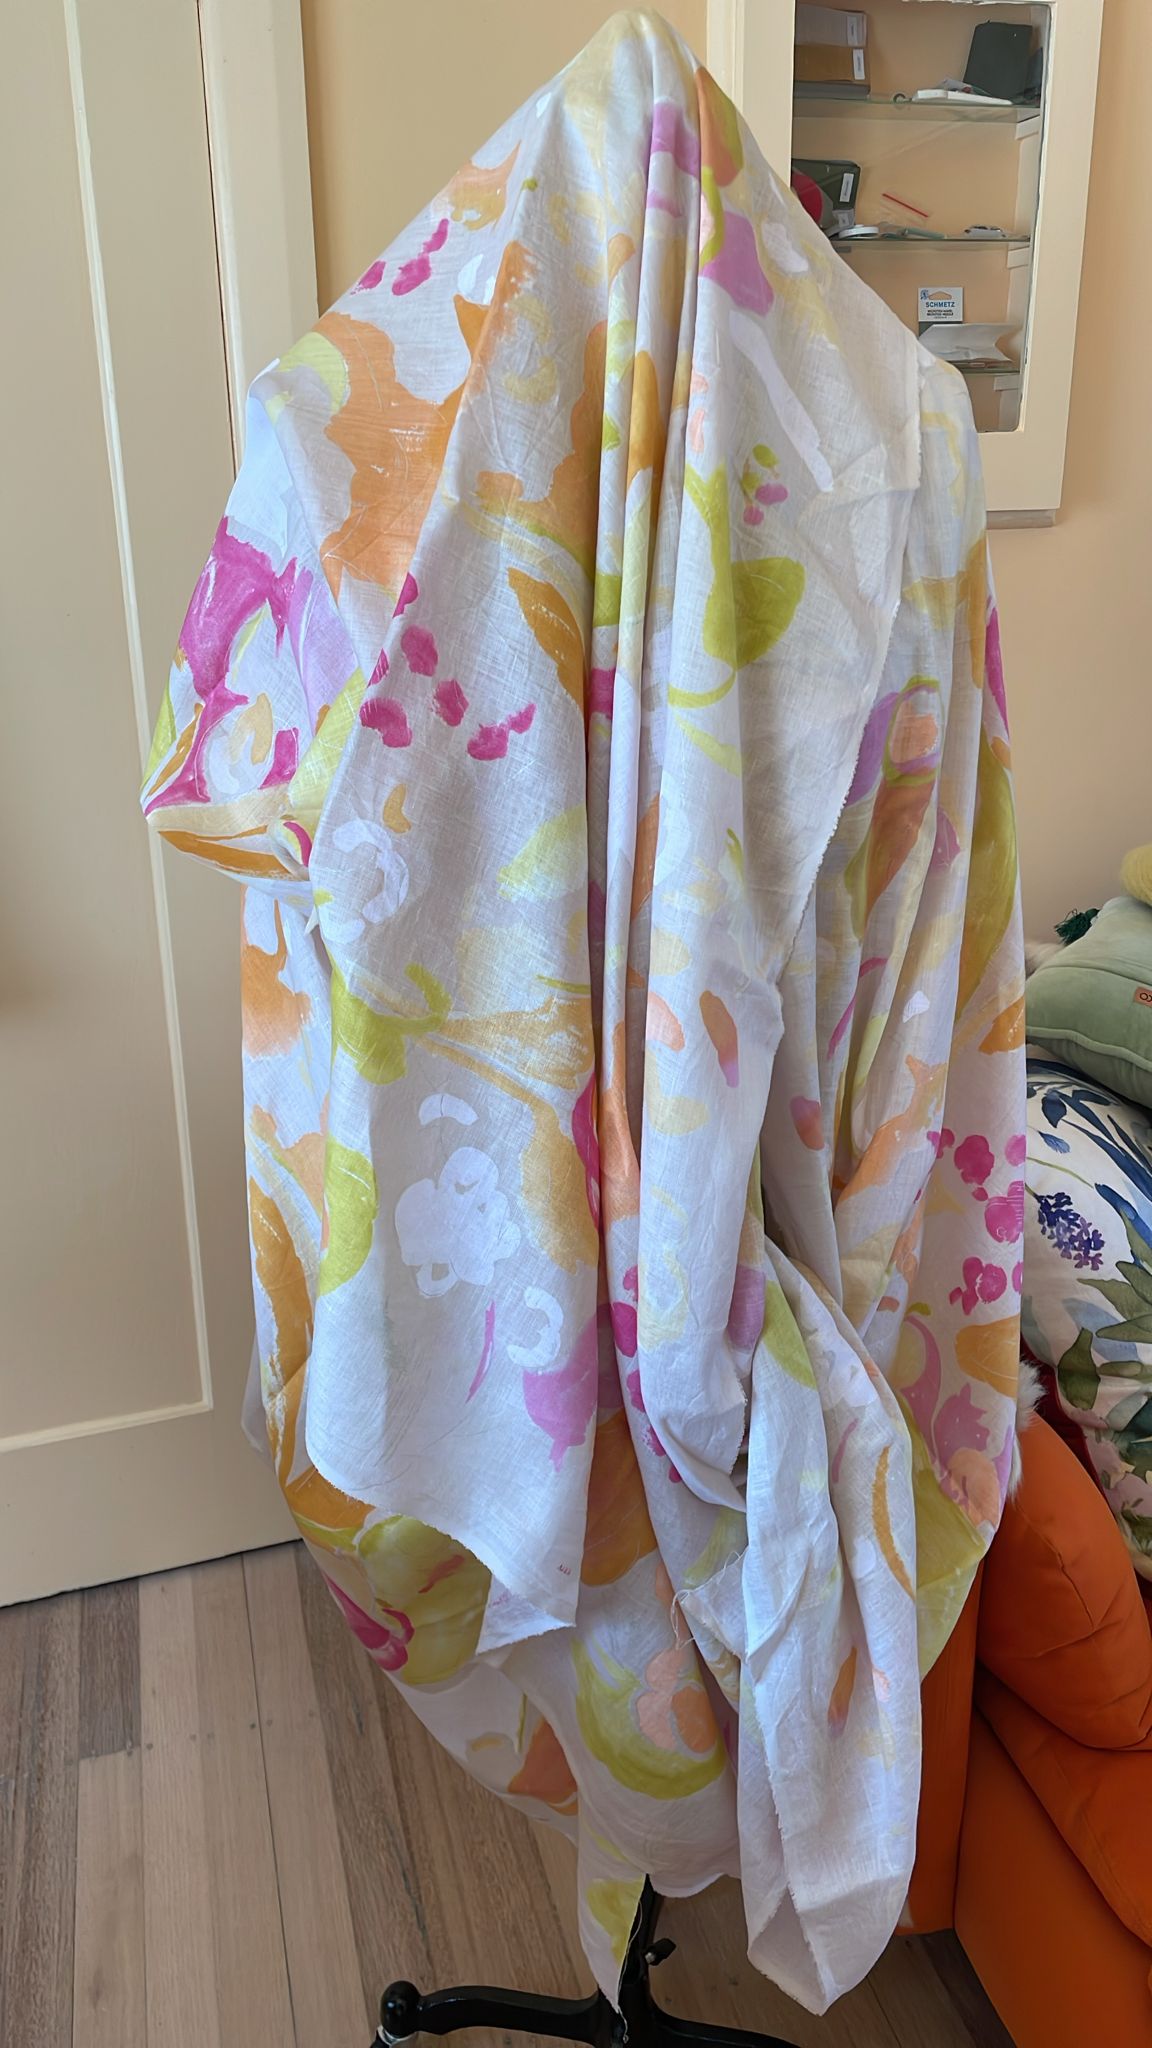
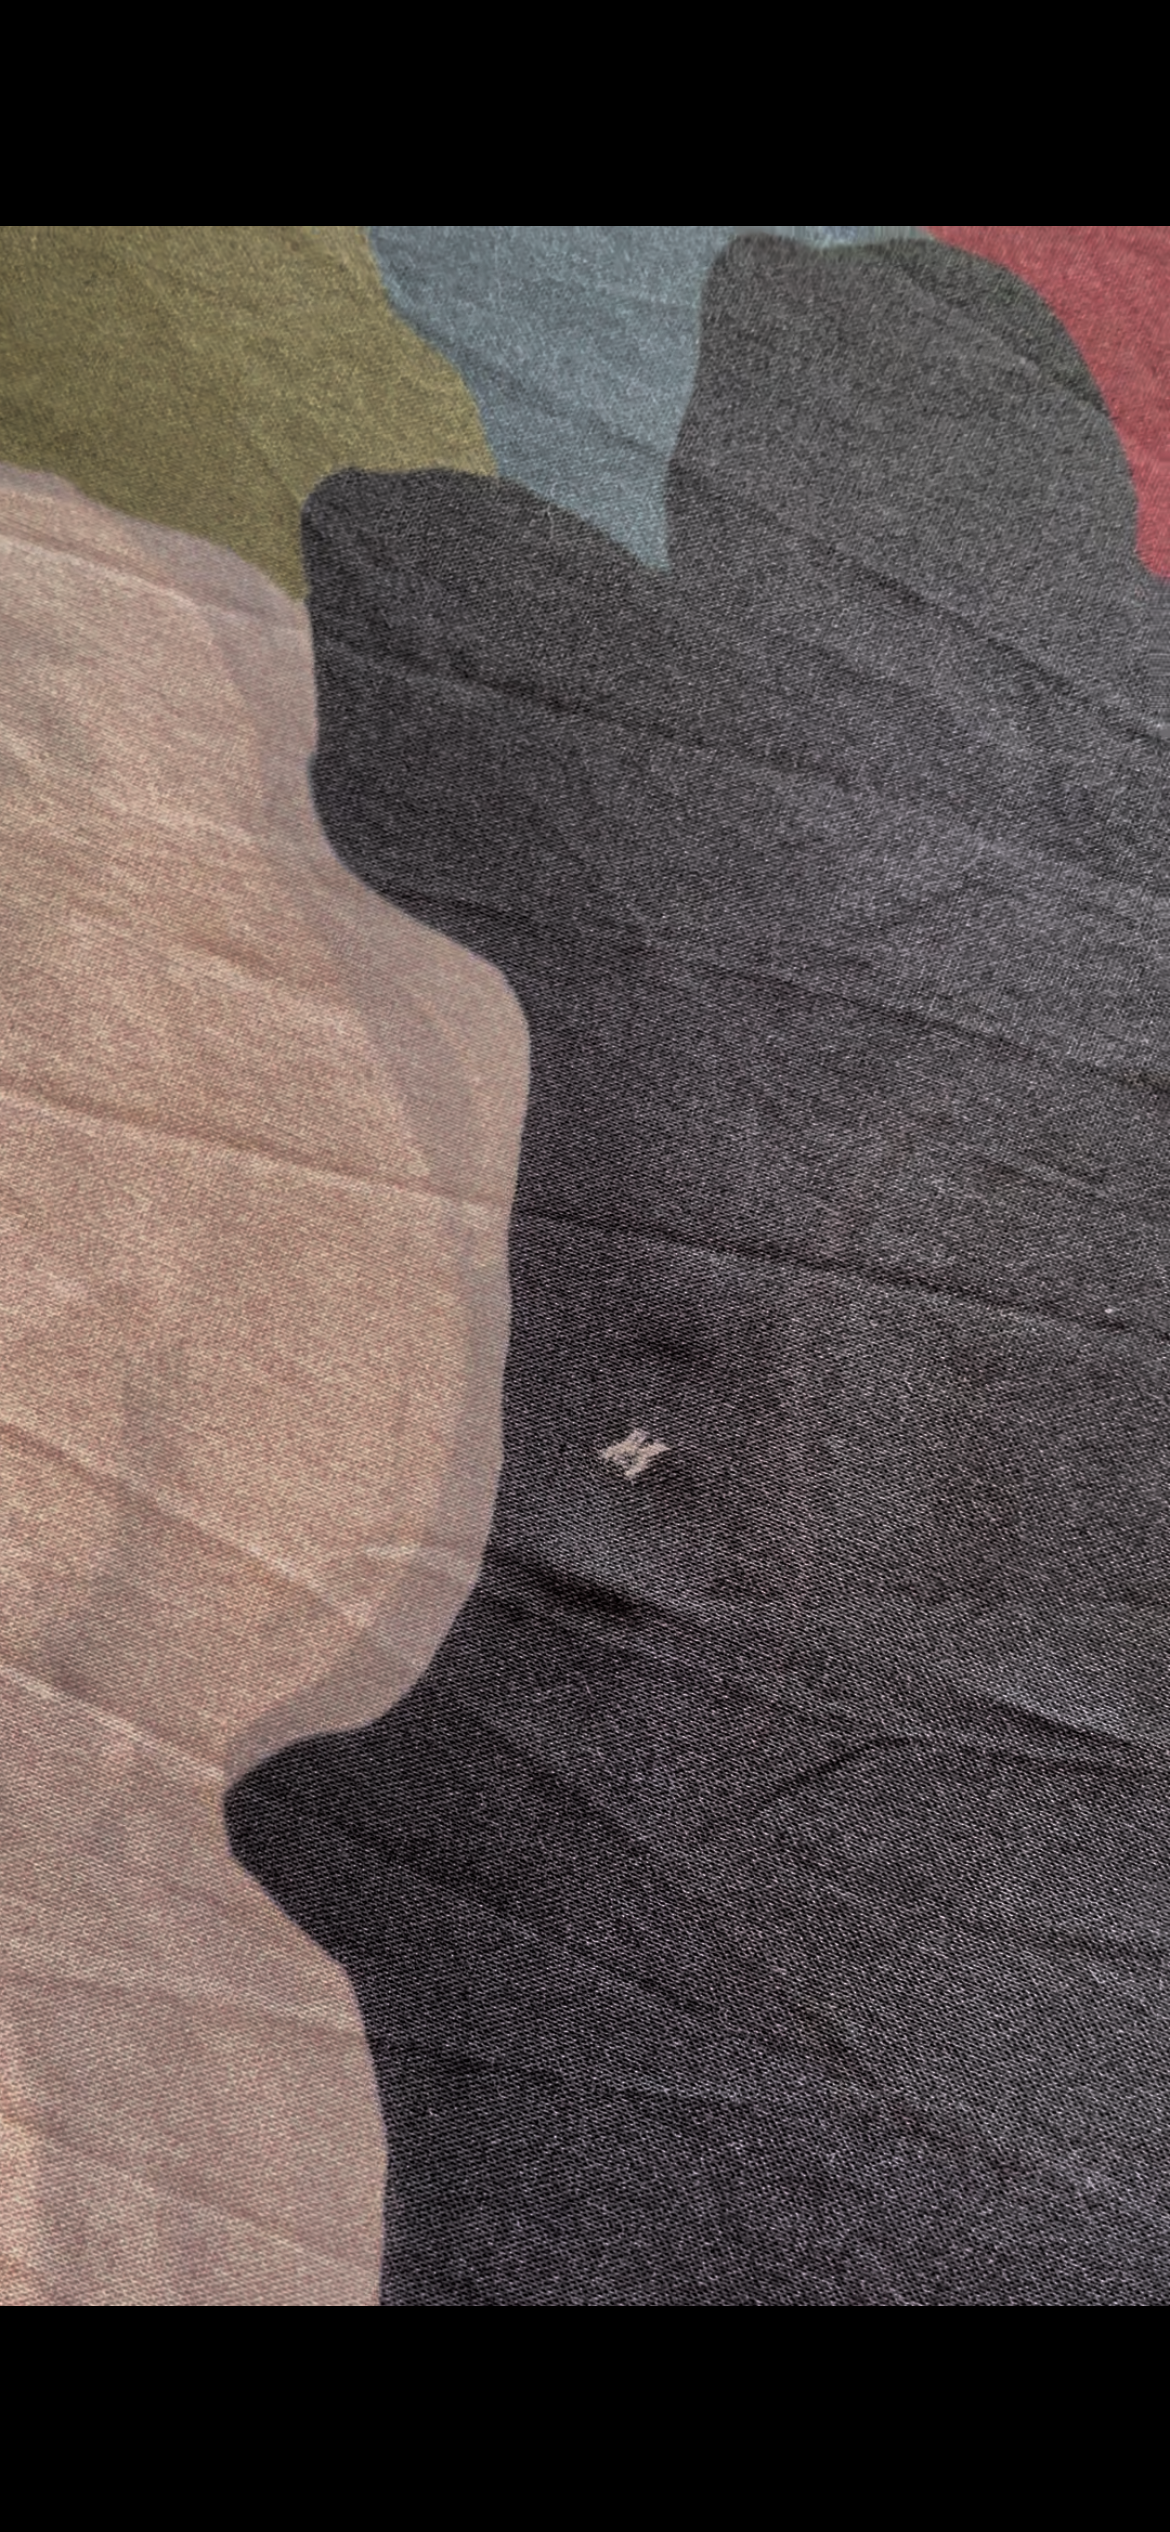
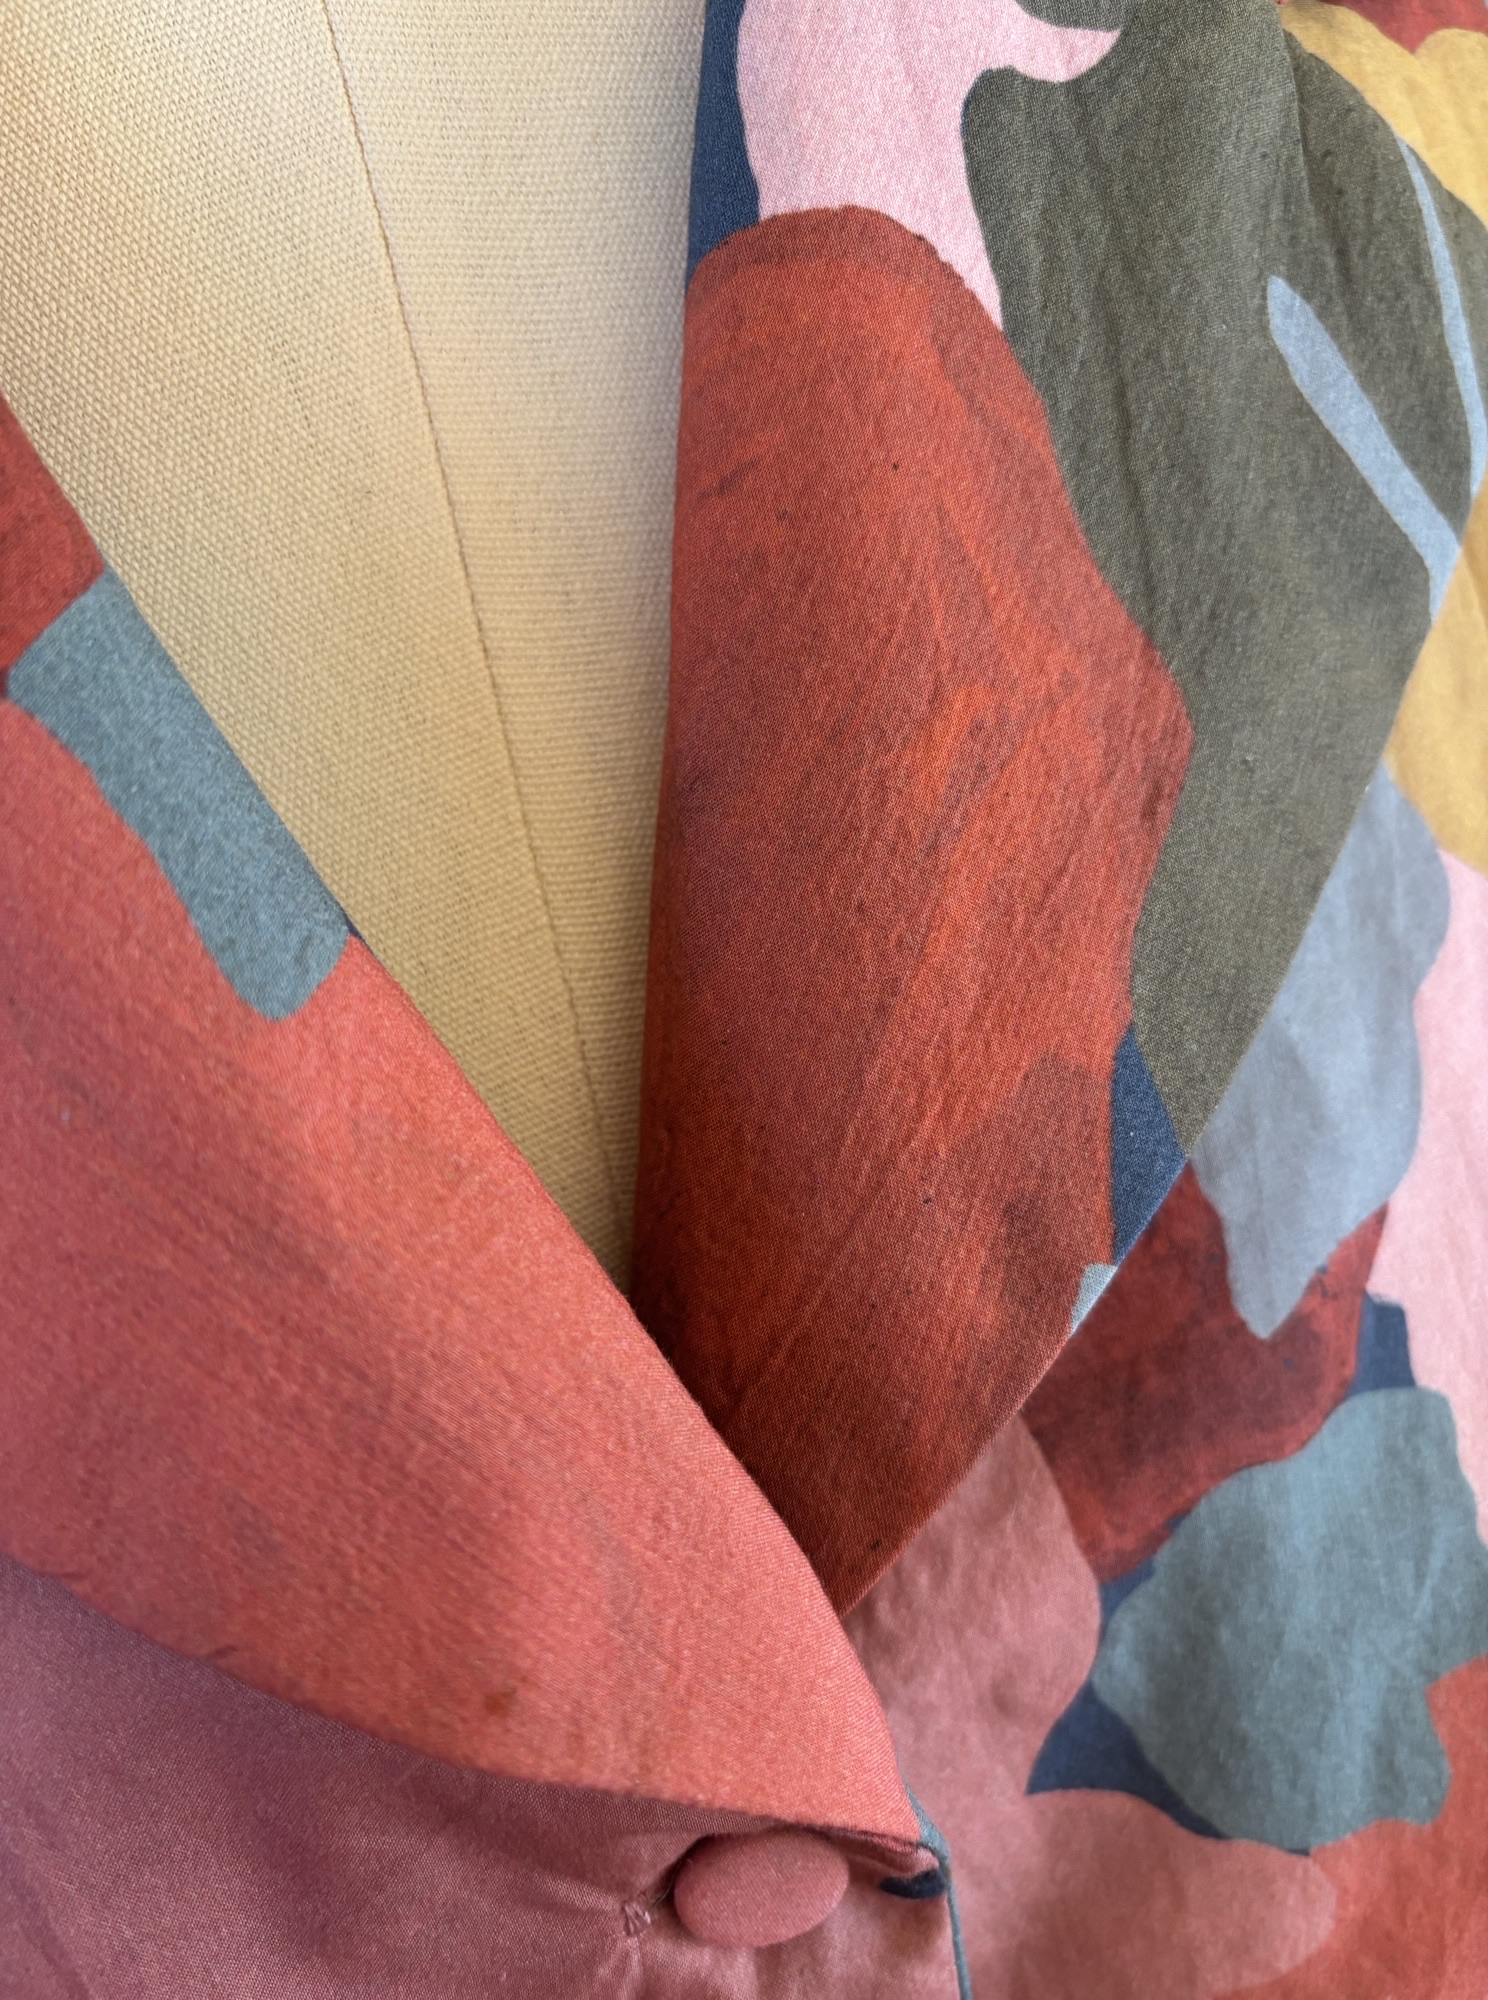
I shared recently at a sewing weekend my suspicion that the high rpm spin cycle (it’s adjustable, but is set to 1400 RPM) on my washing machine was actually damaging my natural fibre clothing – look at the wear pattern on my first 6891 shirt dress:
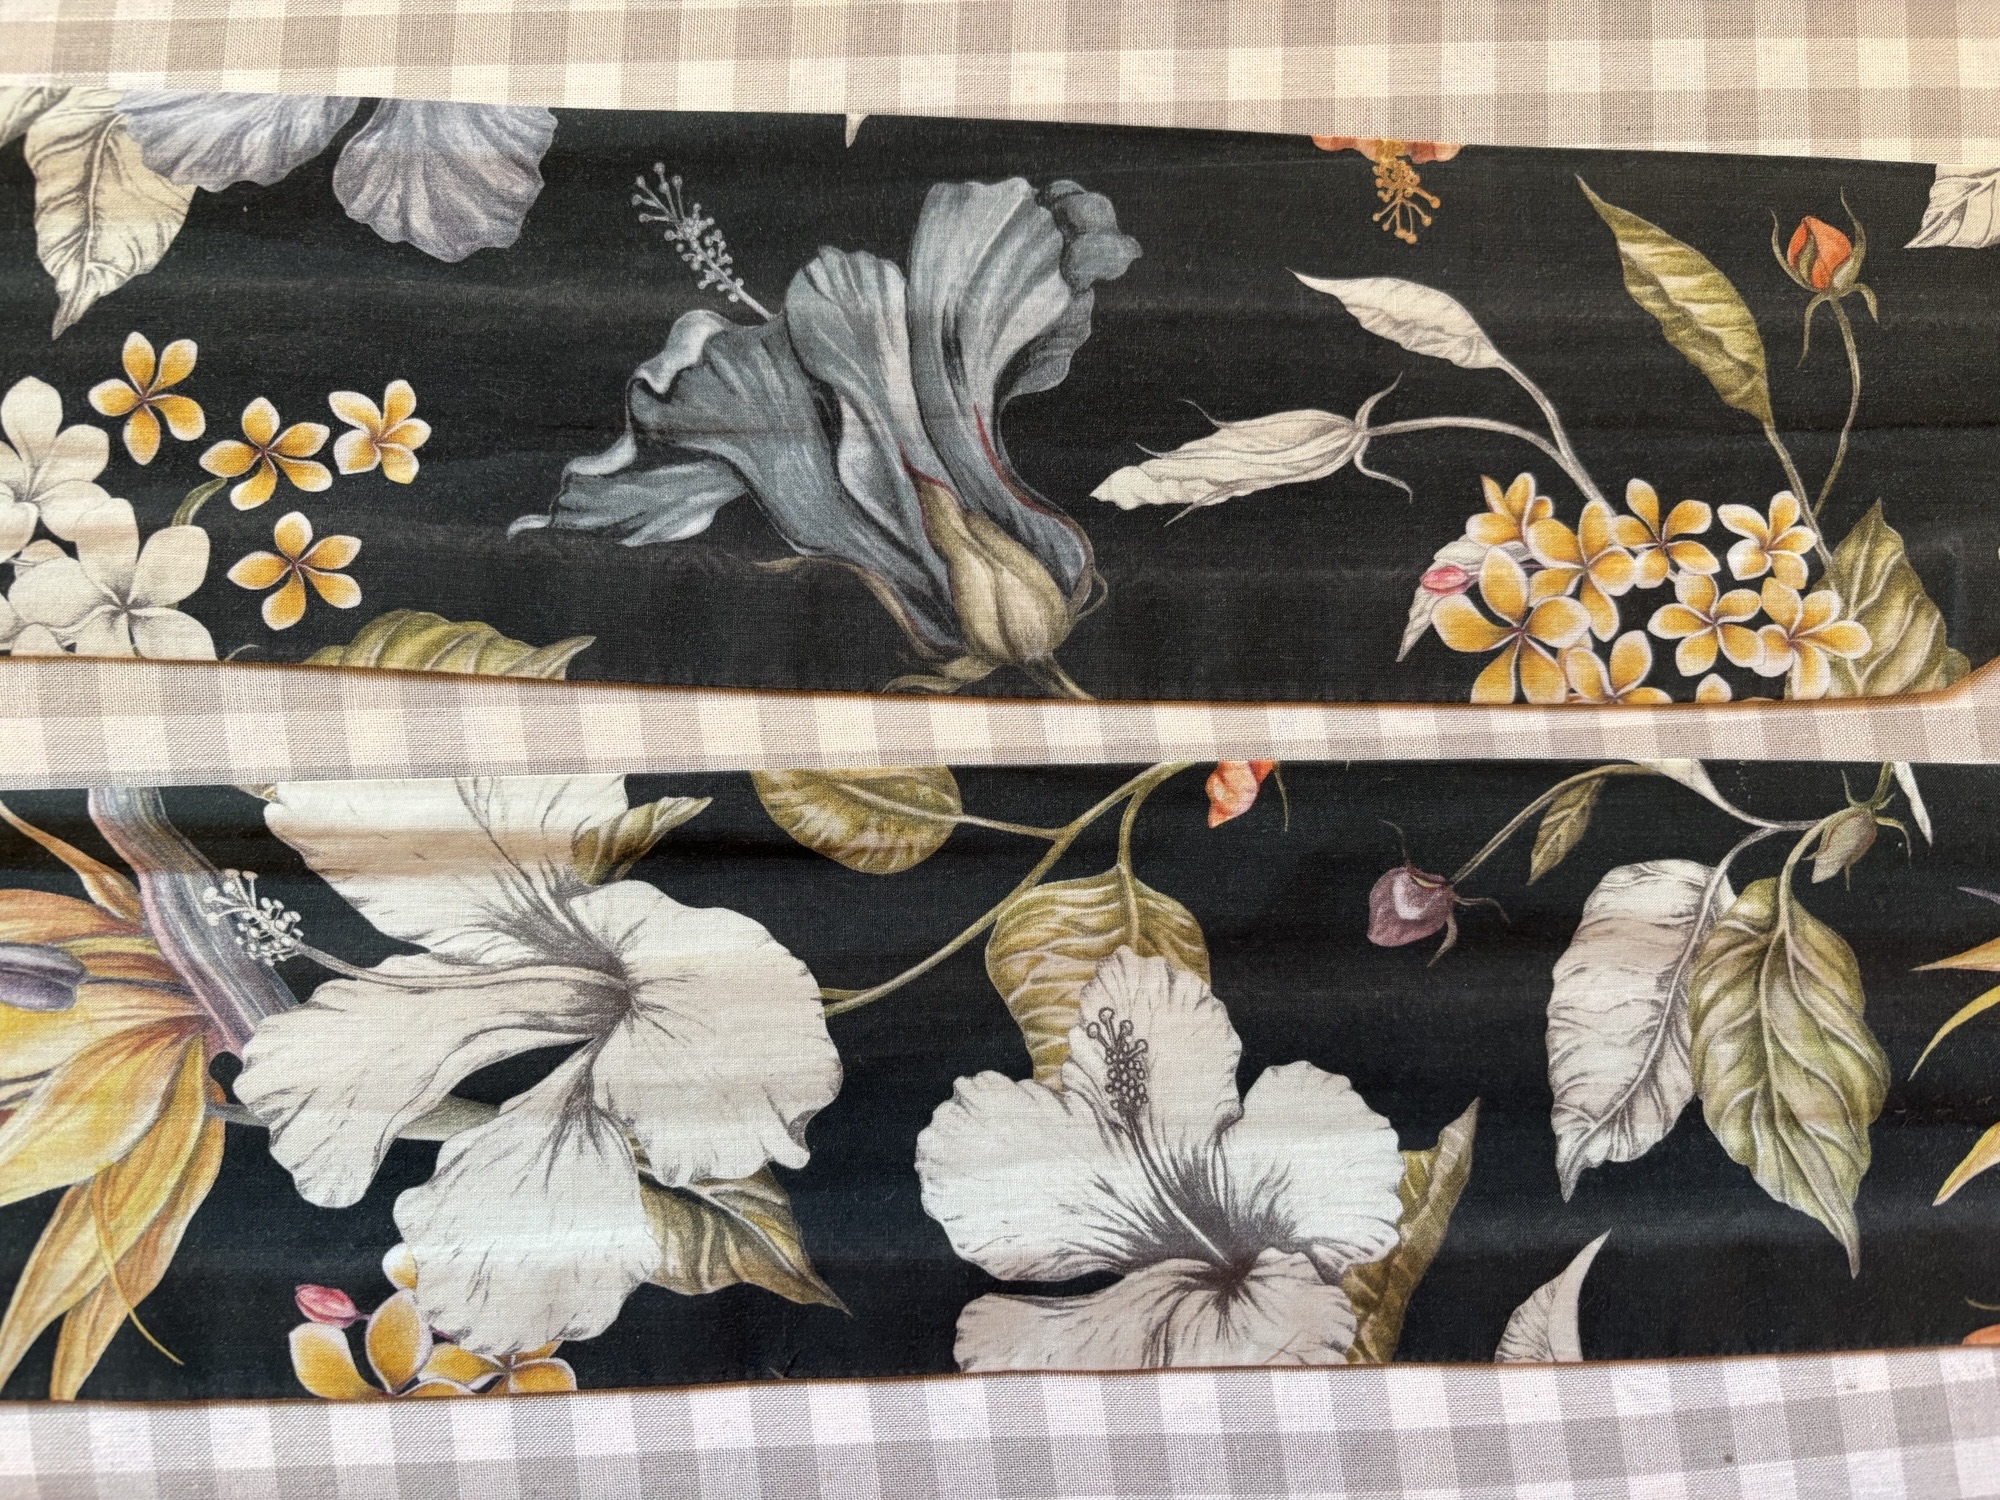
Whilst the fabric is mixed up in the machine, being spun at the high RPM seems to ‘lock’ these folds in place, and there is a greyed effect at the peak of the fold, which are very difficult to iron out.
Everyone agreed – yes, this was a thing, and that a lower spin cycle for cottons is less likely to develop any permanent creases – so I am now committed to lowering the auto set spin cycle from 1400 to at least 1000.
Lots of positives here – a new dress in a gorgeous riot of colours, and hopefully extended the life and wear of a much loved dress pattern as well.