

A little update on my previously ‘failed’ blazer attempt – which I originally started to get myself reacquainted with tailoring and to learn pattern matching by just… doing it! Long story short, I cut two of the same side sleeve (this happens to me more than I care to admit) and despite vowing to better mark the right side up on my organza pattern pieces next time, I just didn’t have enough fabric to wheedle a third sleeve. Also, I did something weird with the one sleeve I did have, and it was… shaped incorrectly? I’m still not entirely sure what happened here, but I do know it wasn’t good.


I’m putting it down to tackling this project over the space of about 2 years, which is just too long in between progress sessions, and one loses track of where they were at and what was being done. Probably a very good lesson in why you should label pattern pieces.
So it got hung on my wall of shame (kidding of course – I feel no shame) with another half-way finished dress that I realised mid-construction had fabric faults.
Quite a few (quite a lot, actually) of you on Instagram said I should just convert it into a vest. I wasn’t overly enamoured with the idea.
Then a co-worker came into the office one day wearing a sleeveless blazer and a skivvy underneath… and she looked great! Somehow seeing the possibility in real life made it seem all the more worthwhile doing for myself.
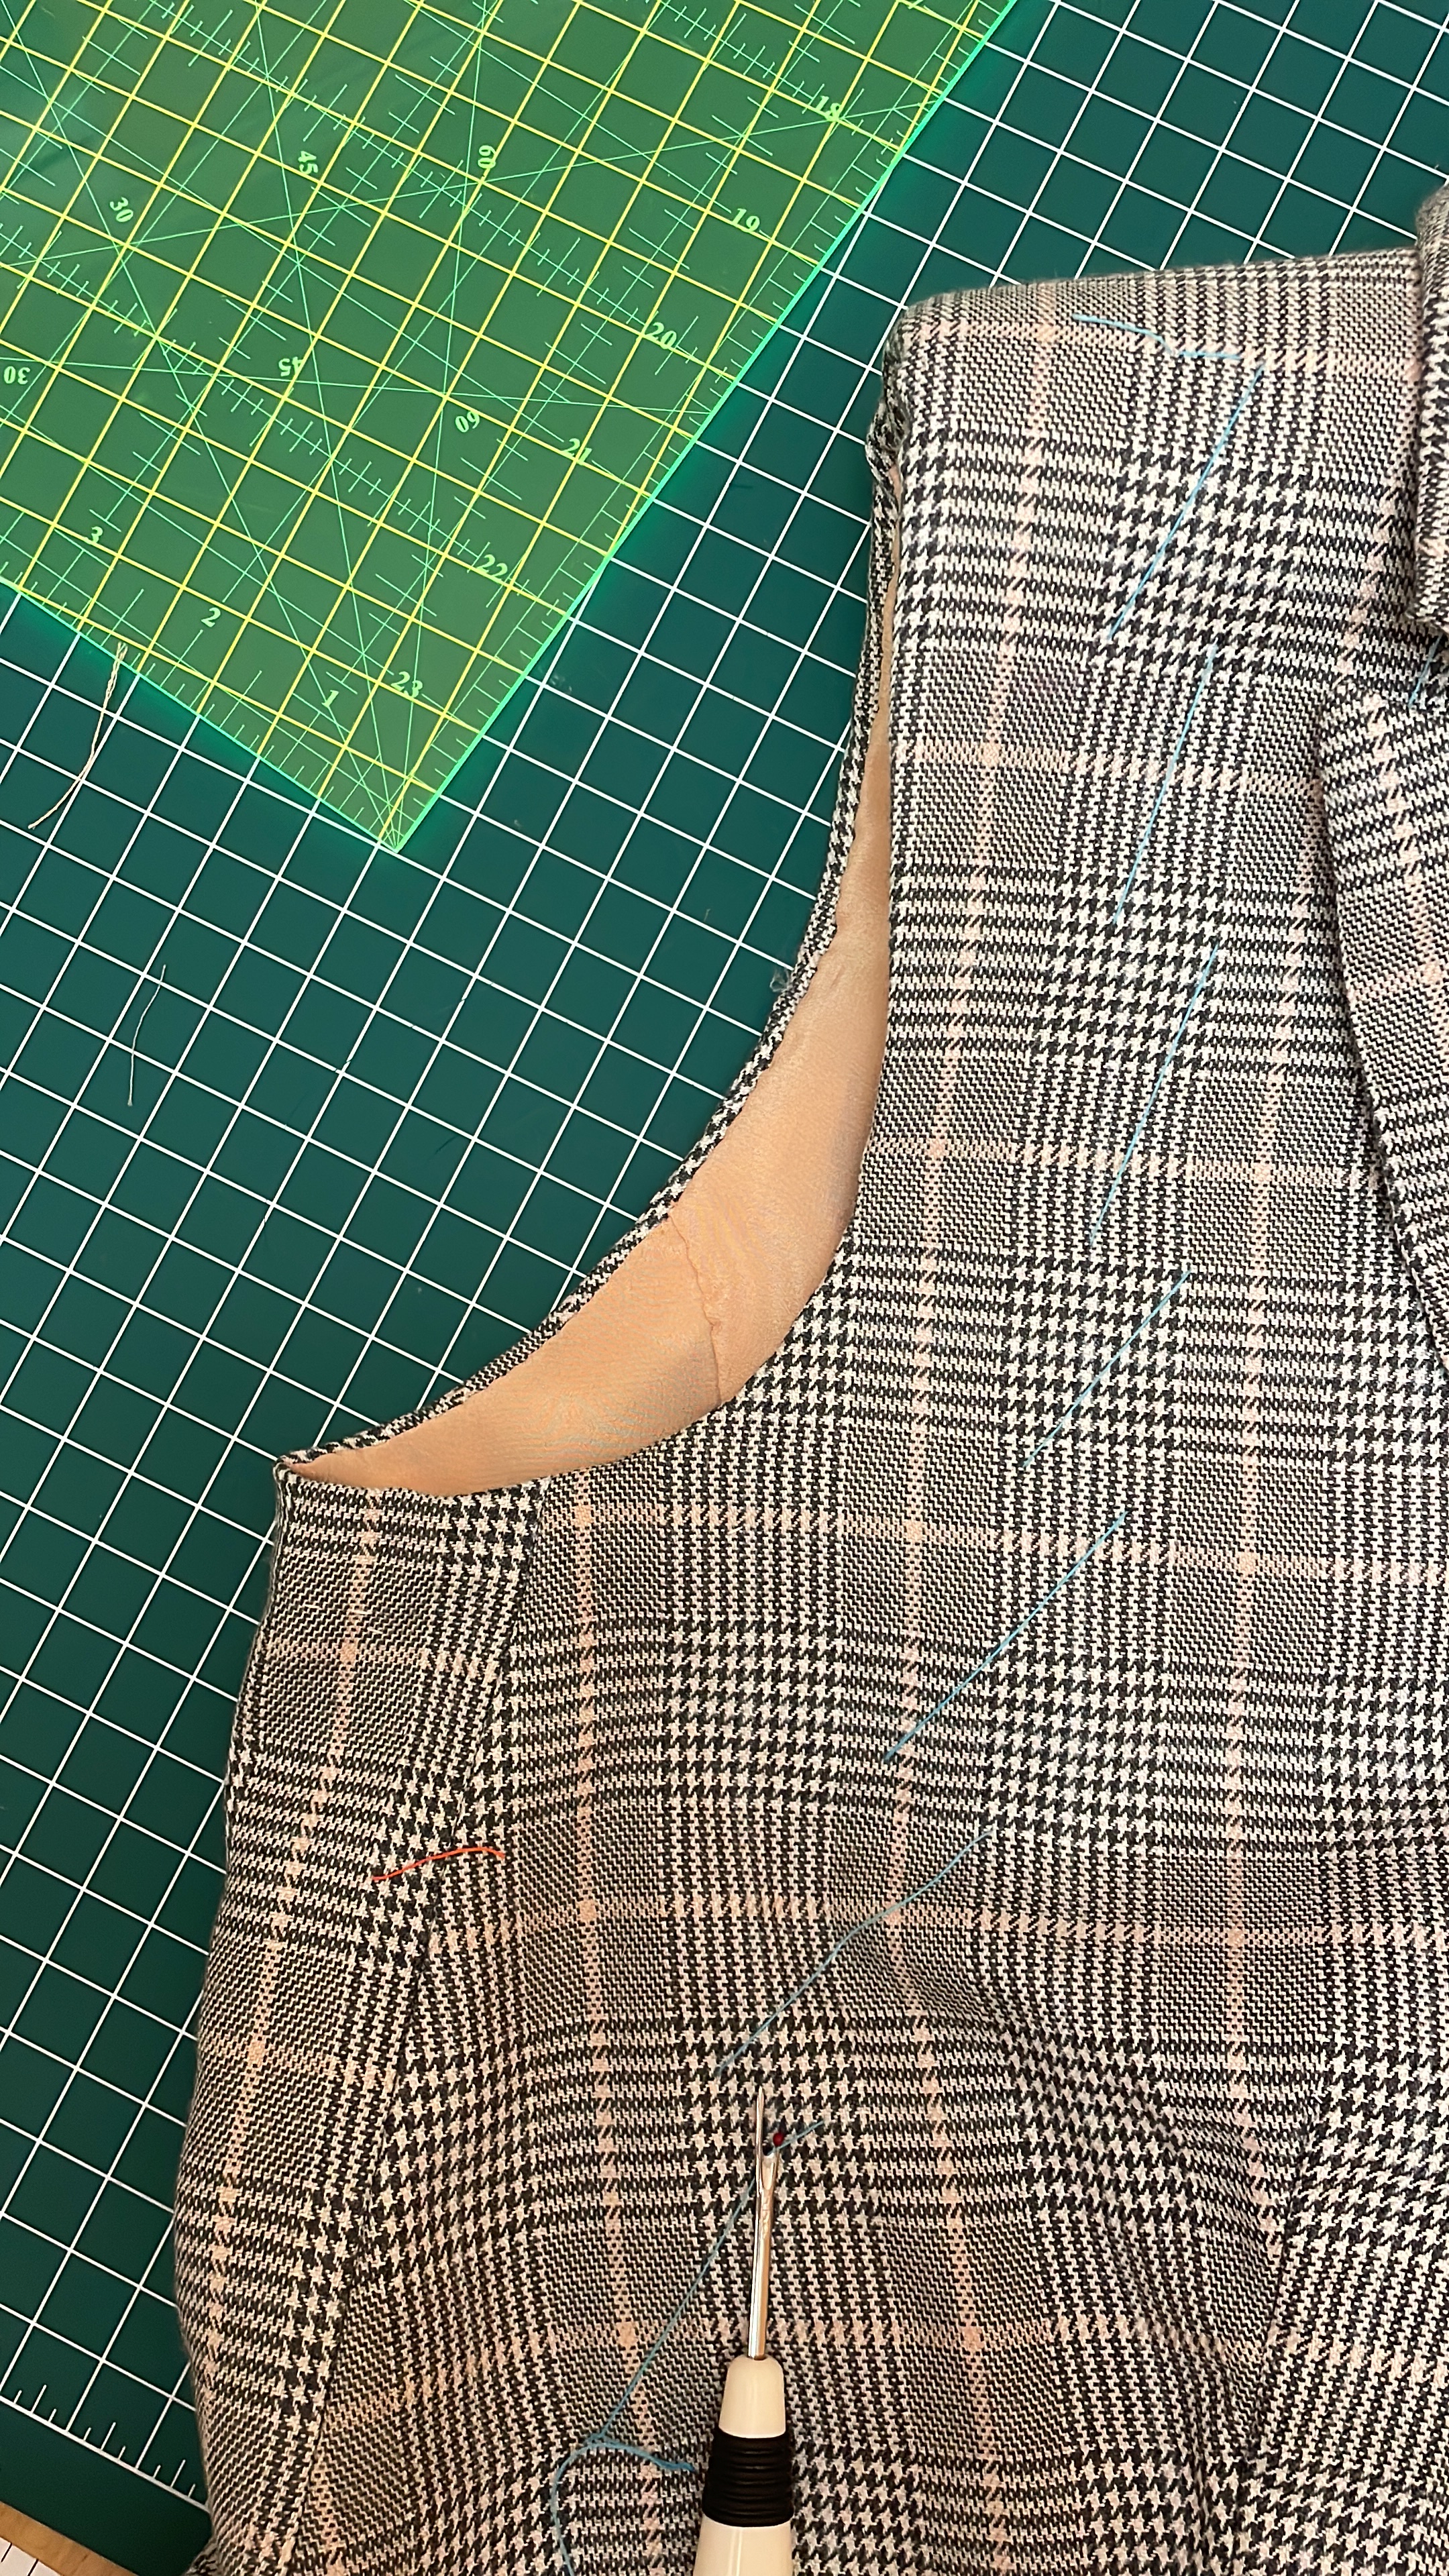
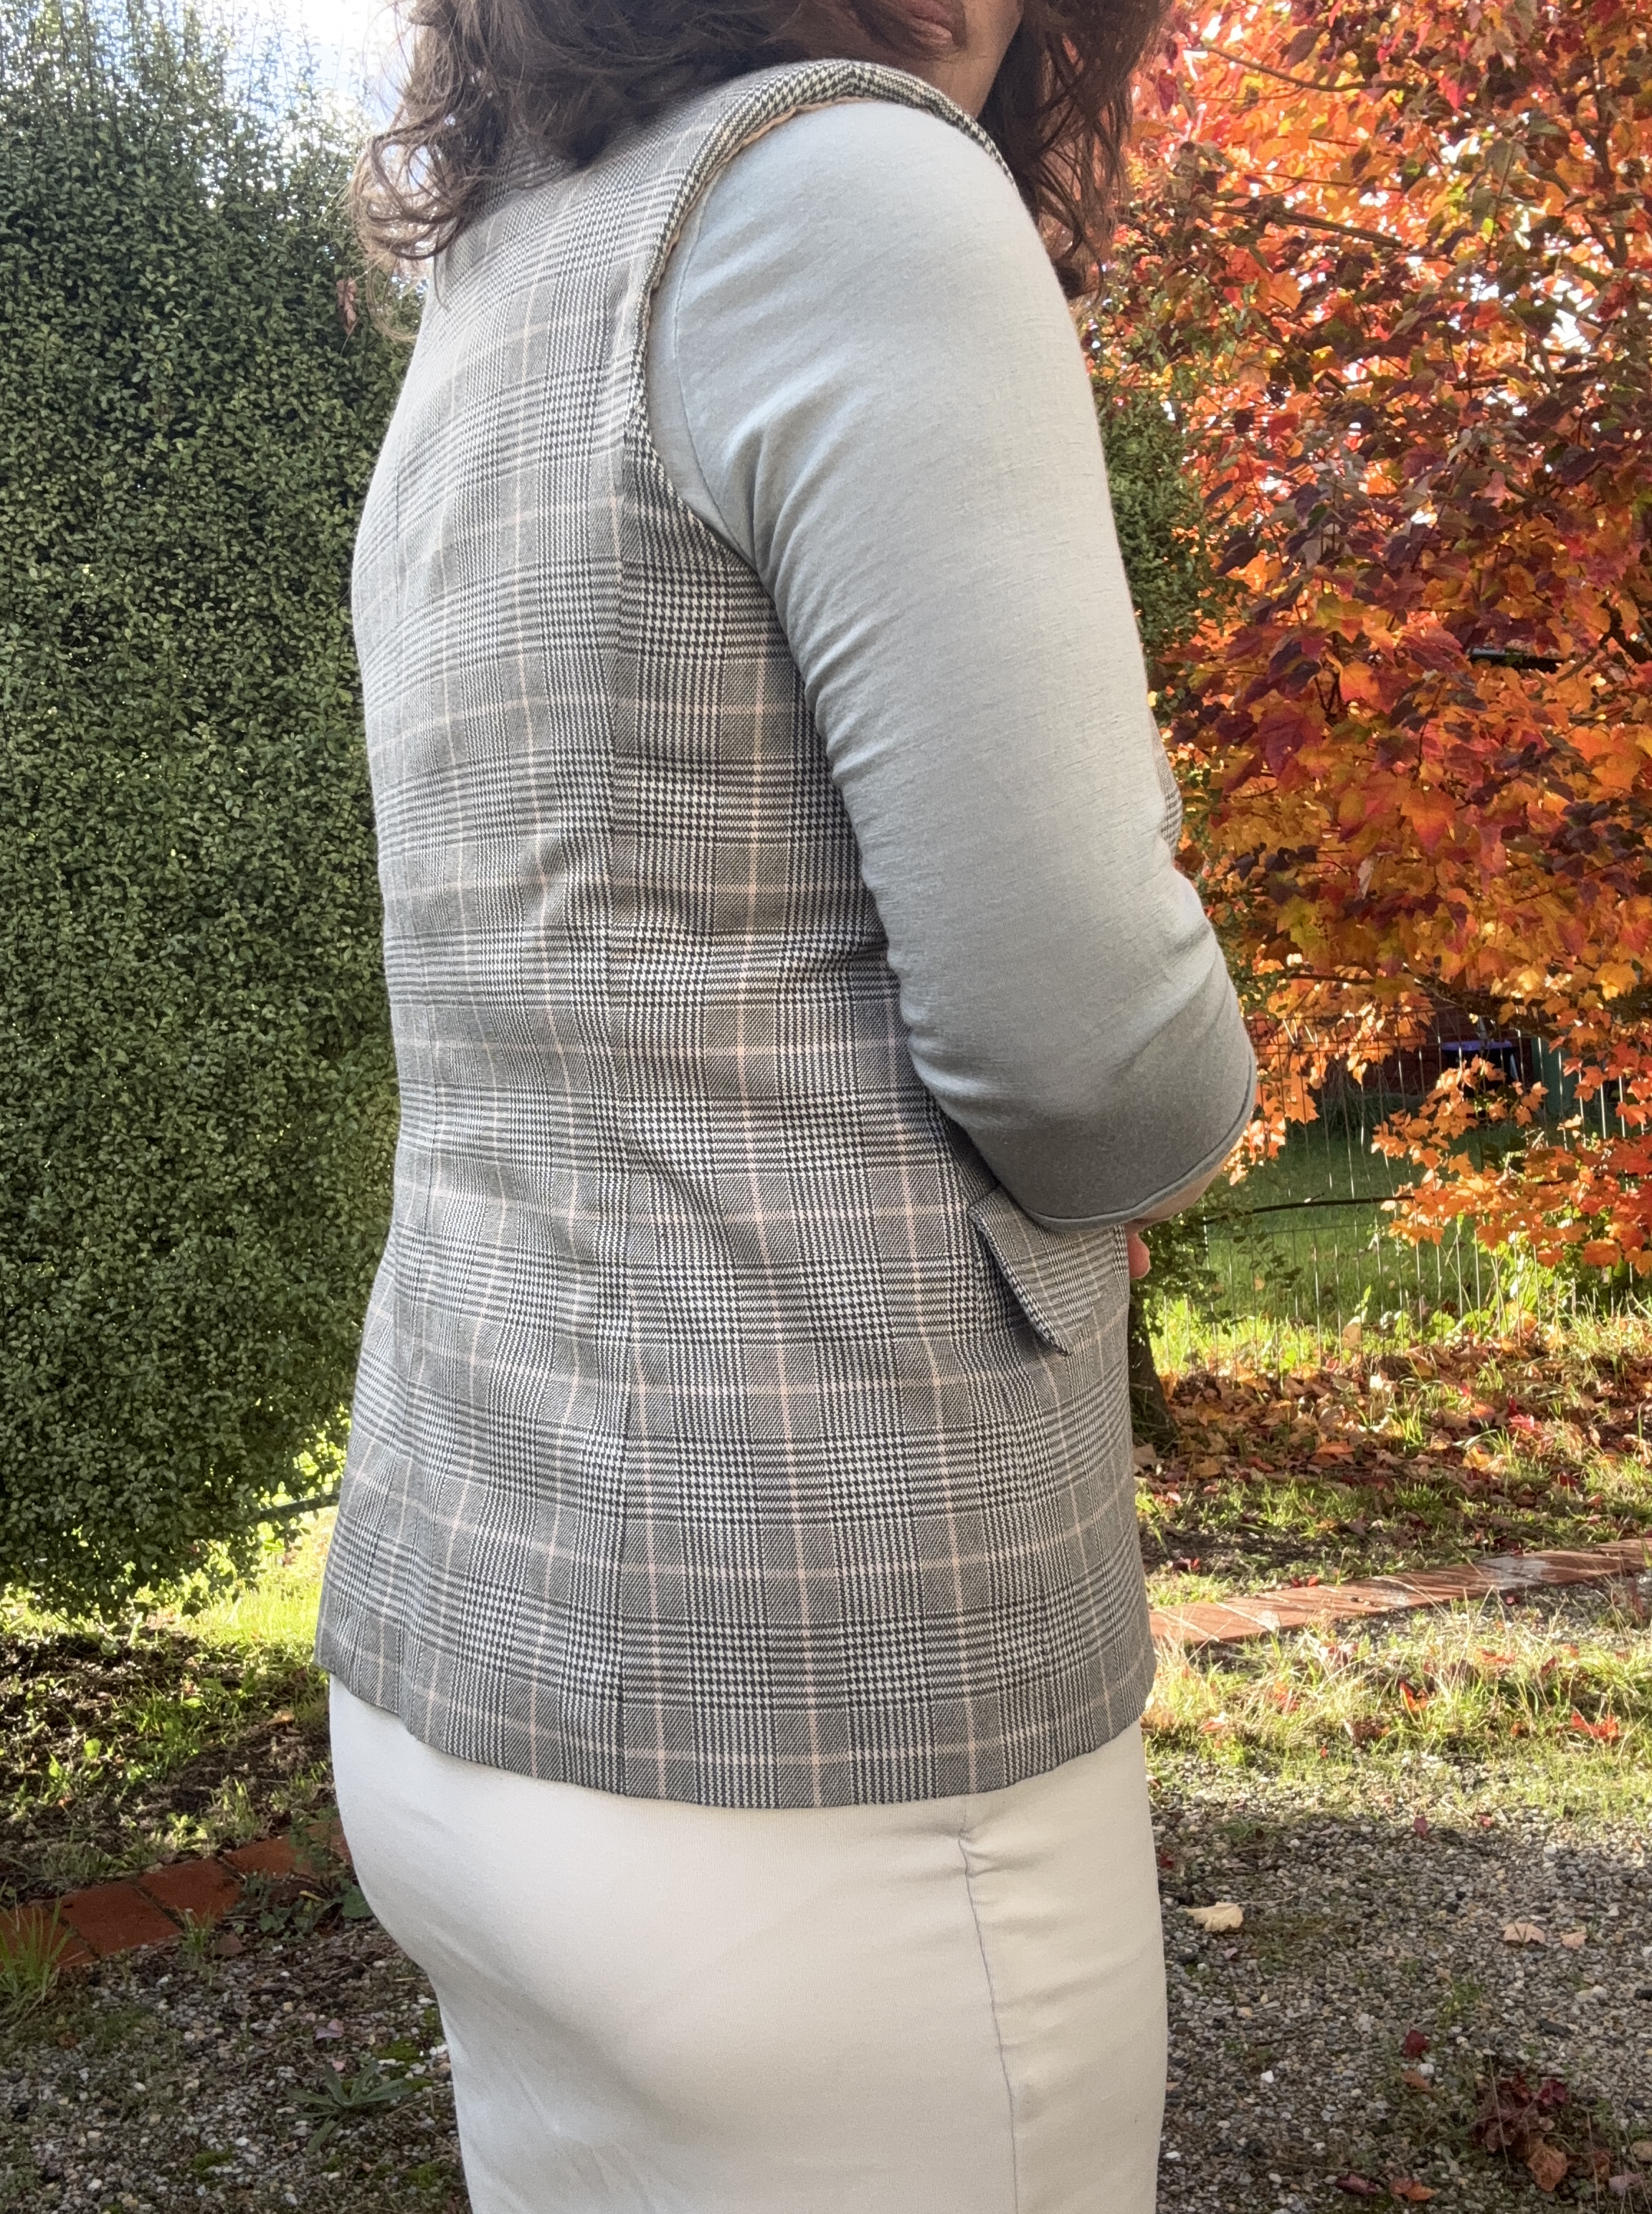
So I finally unpicked the single sleeve, located the matching shoulder pad (that was a high heart rate moment! Where did it end up!?!?!), and got to turning the seam allowances to the inside – catch stitching them down then securing the clipped sections with a strip of cotton bias binding.
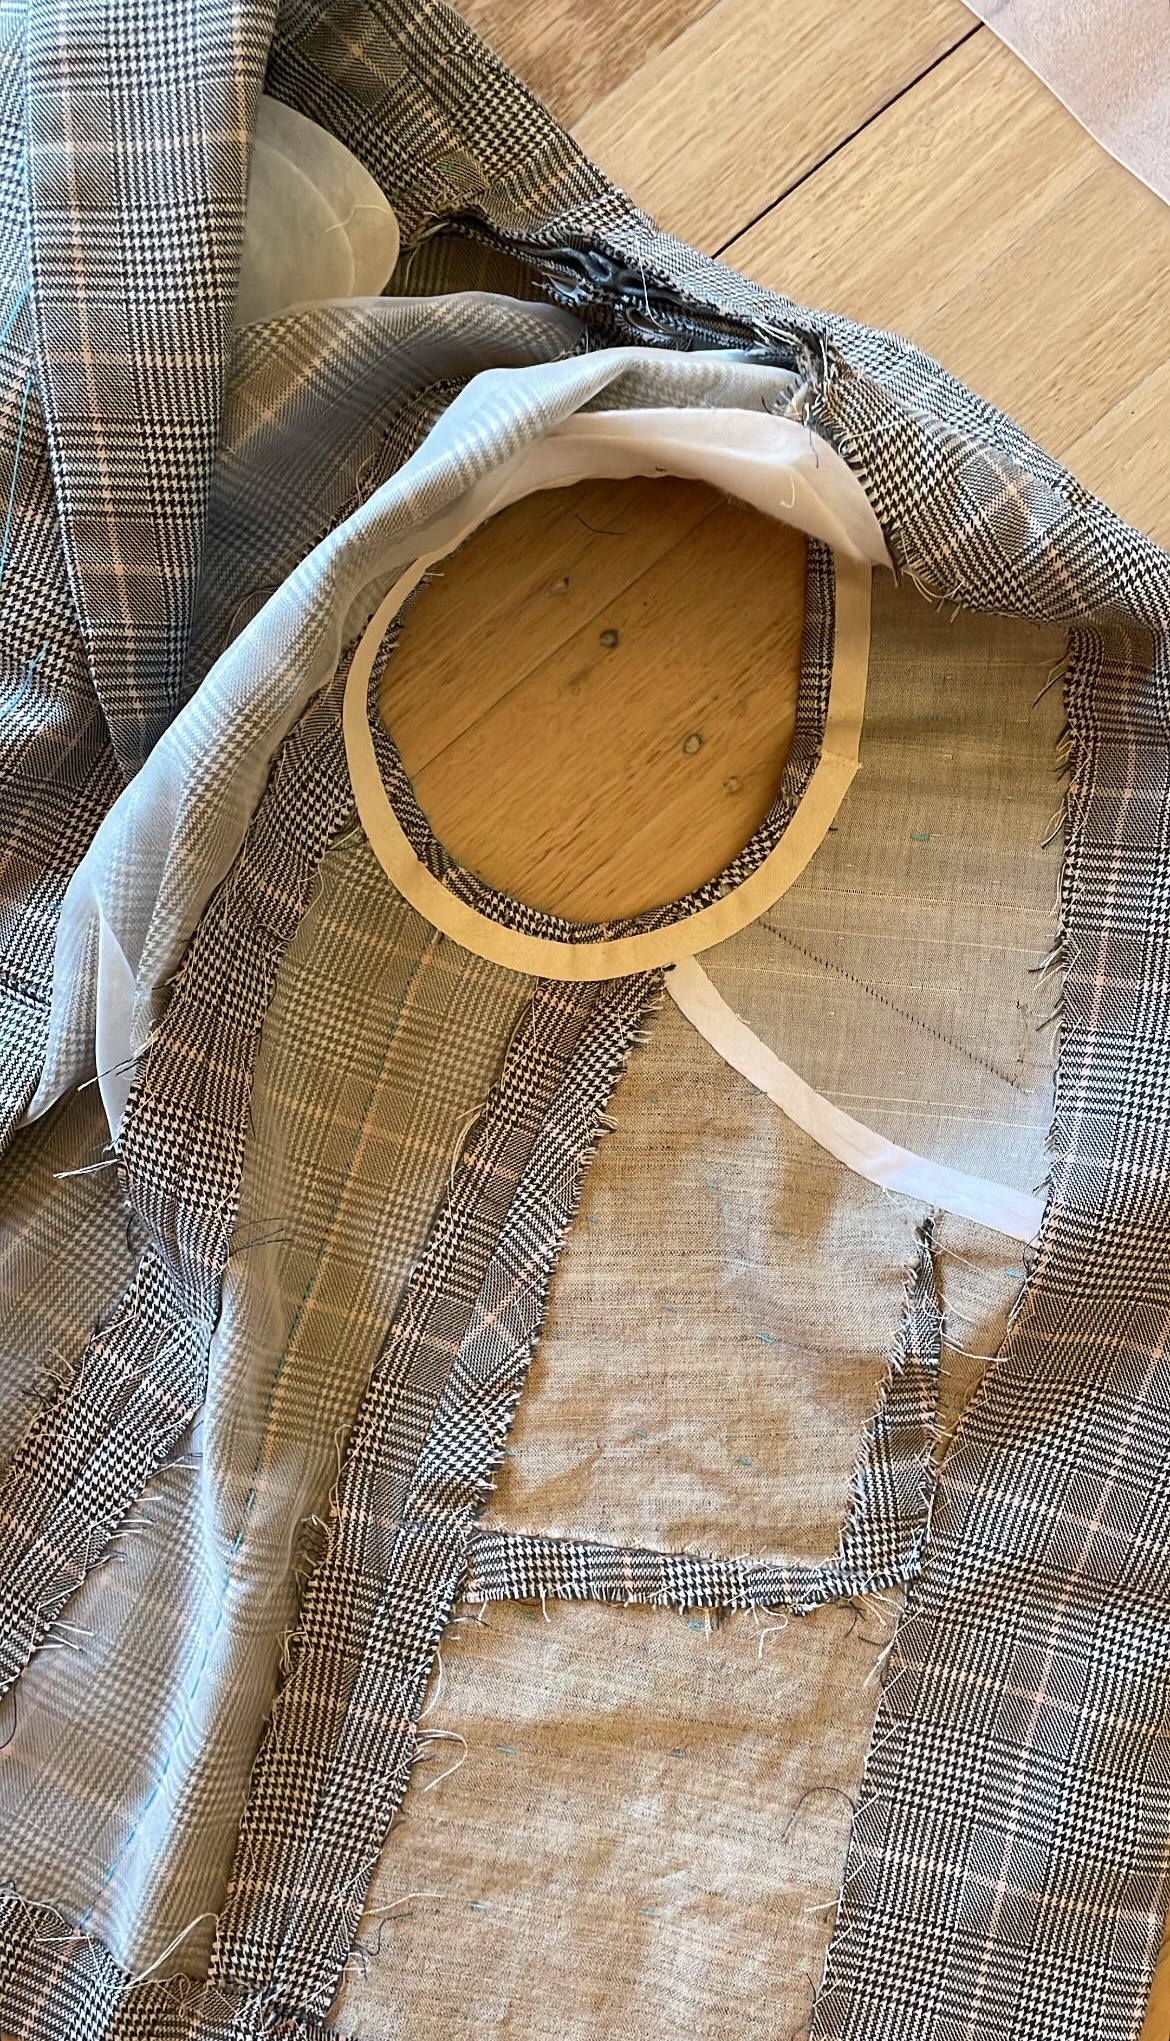
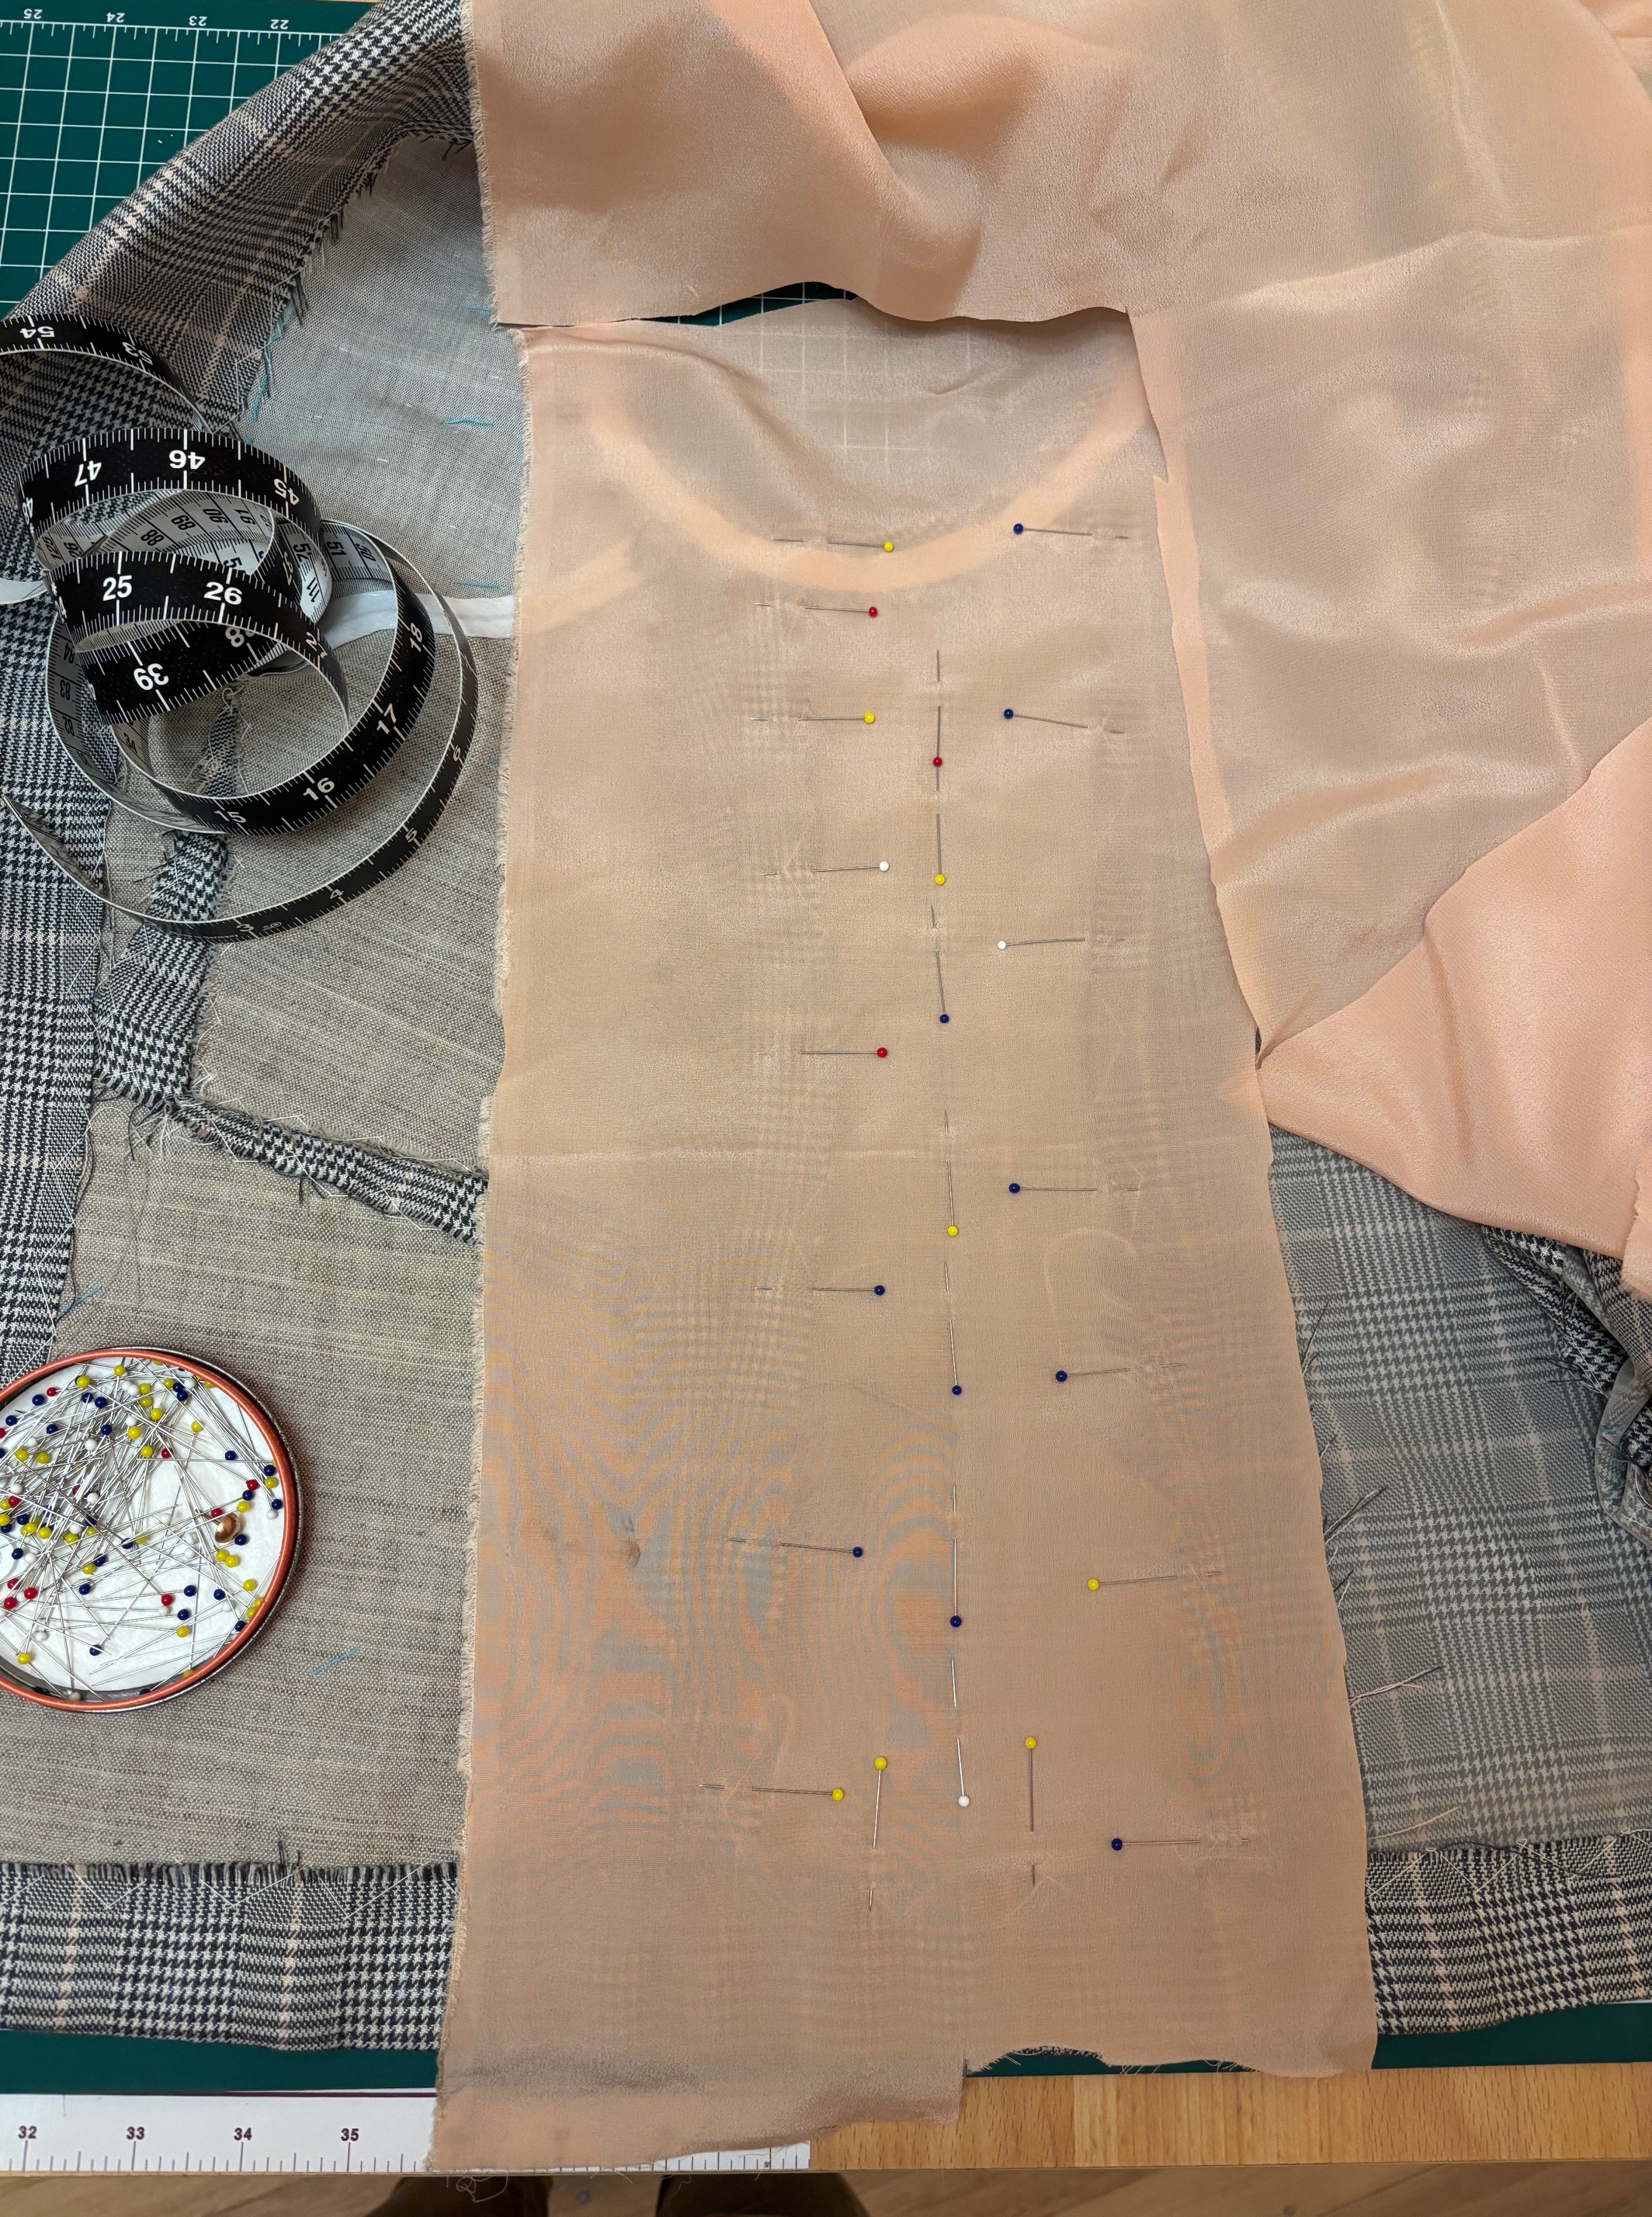
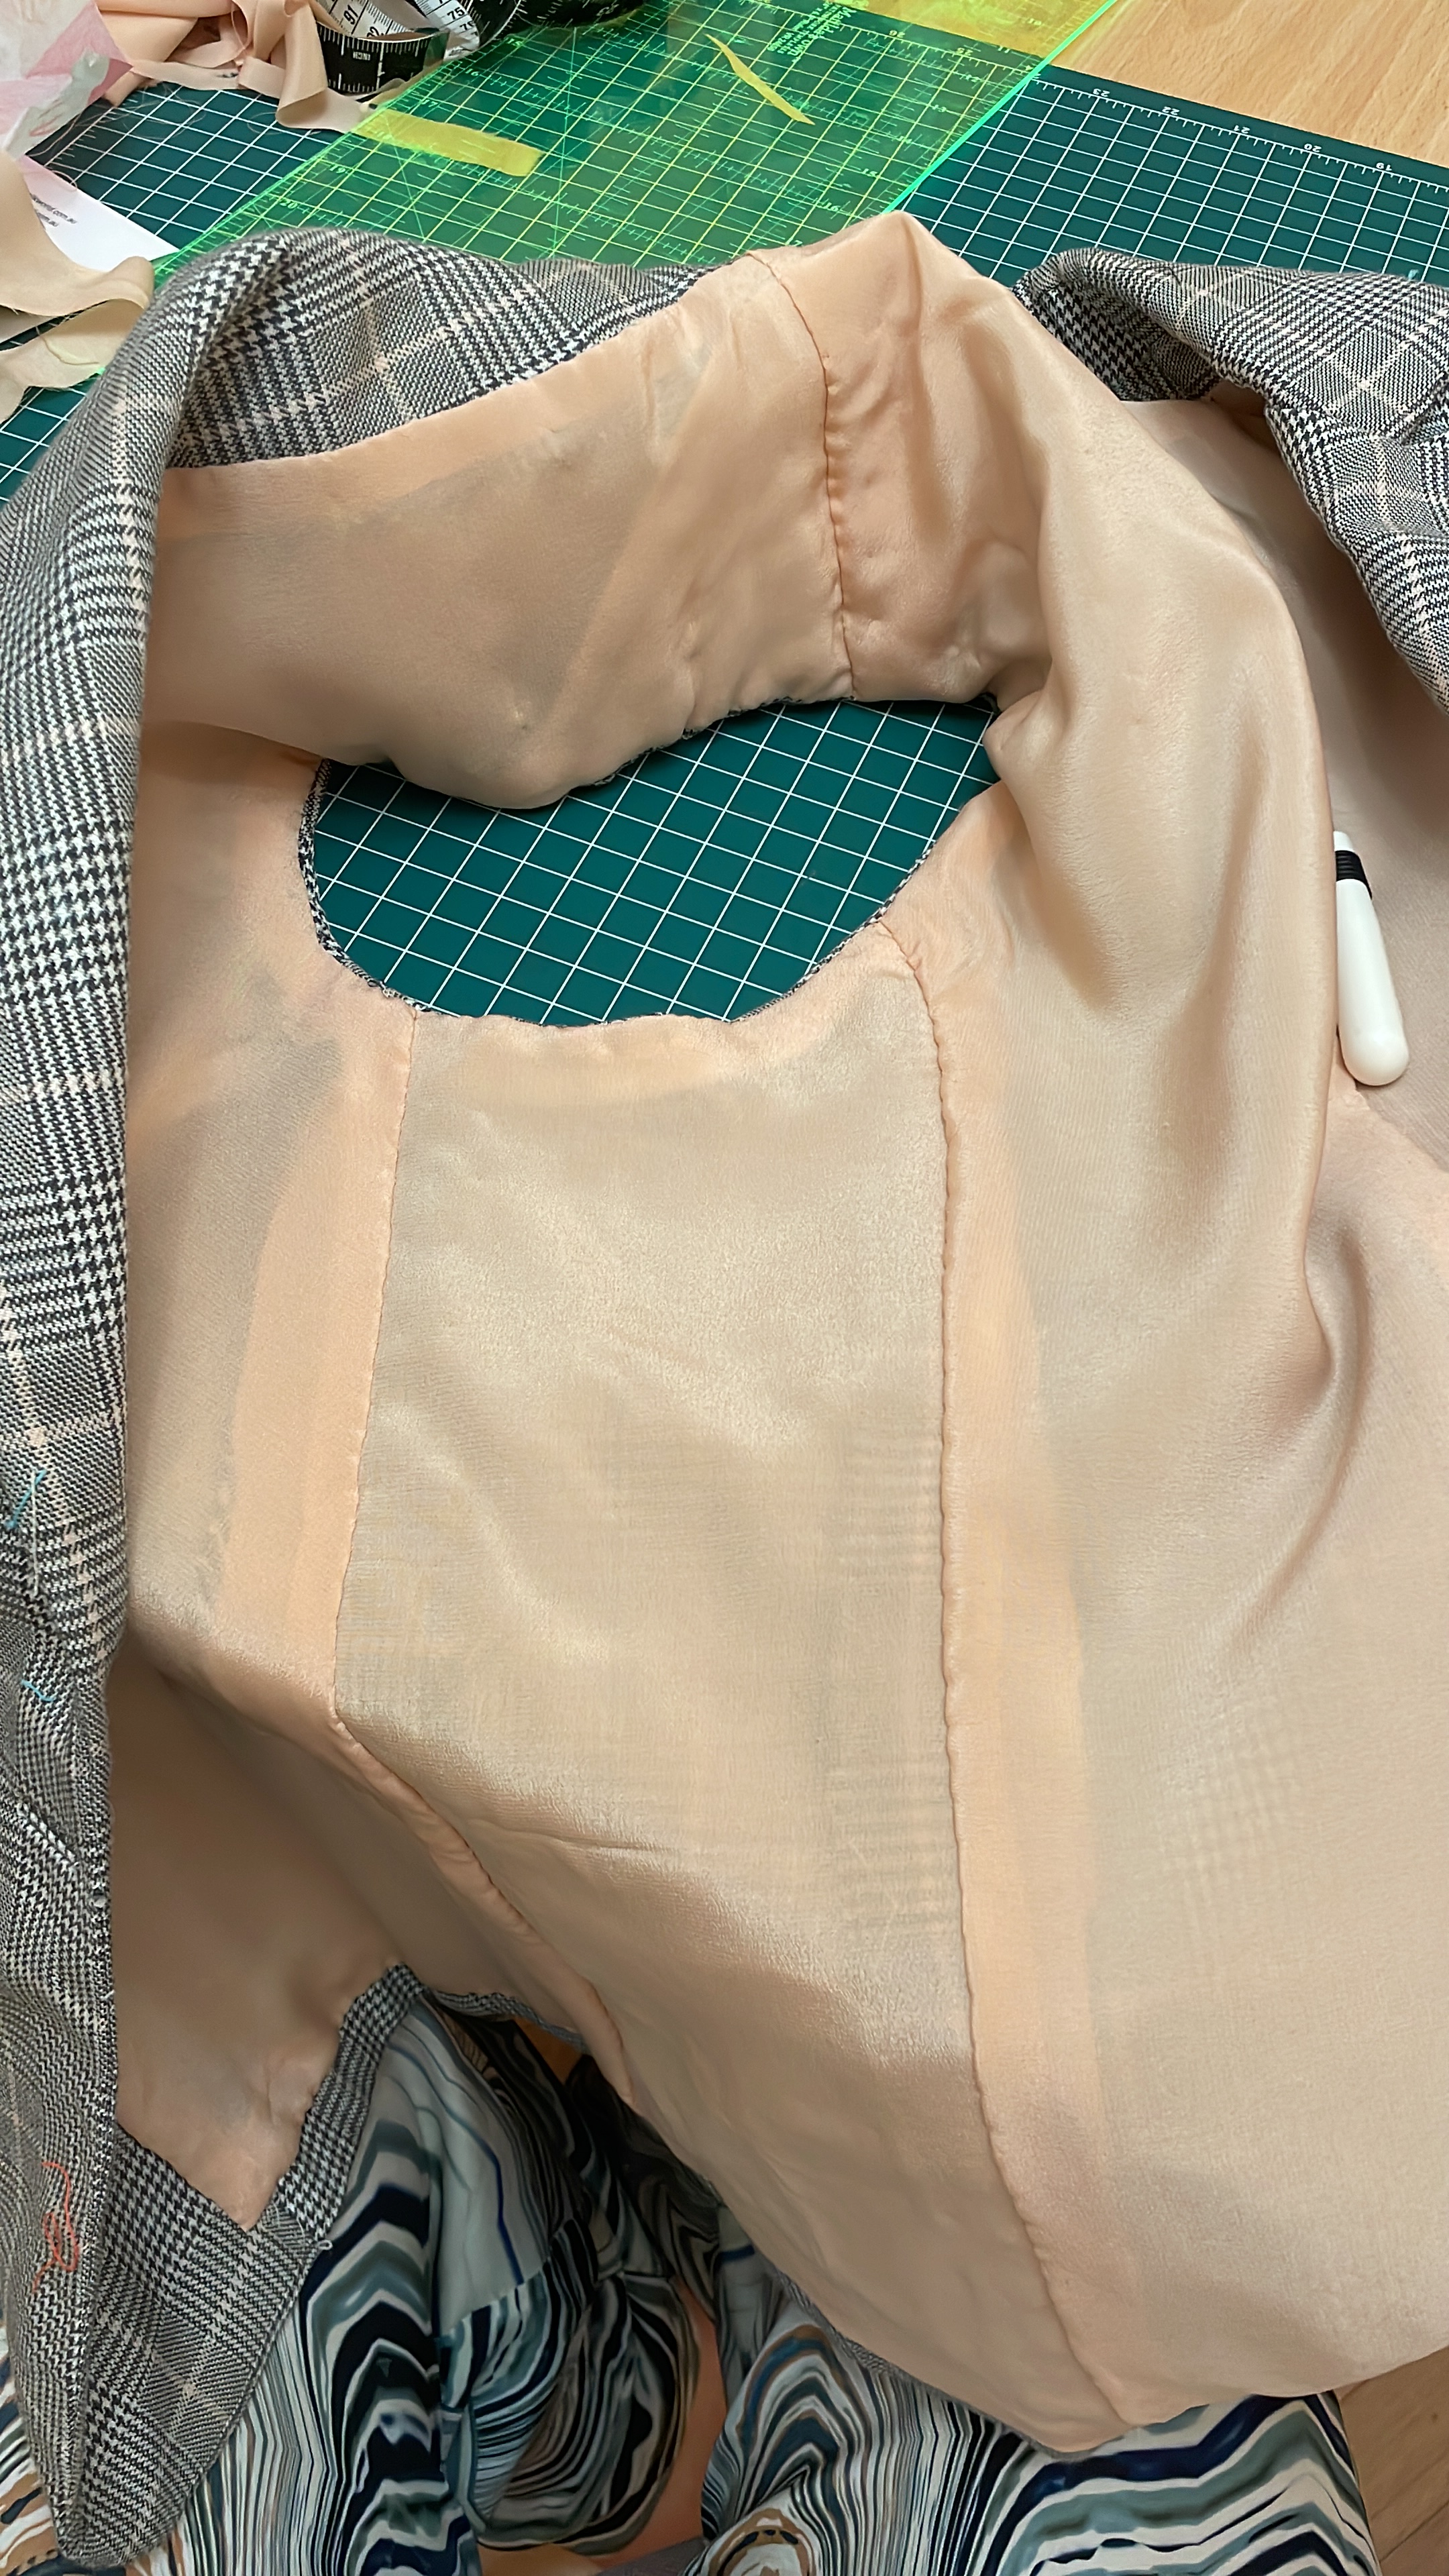
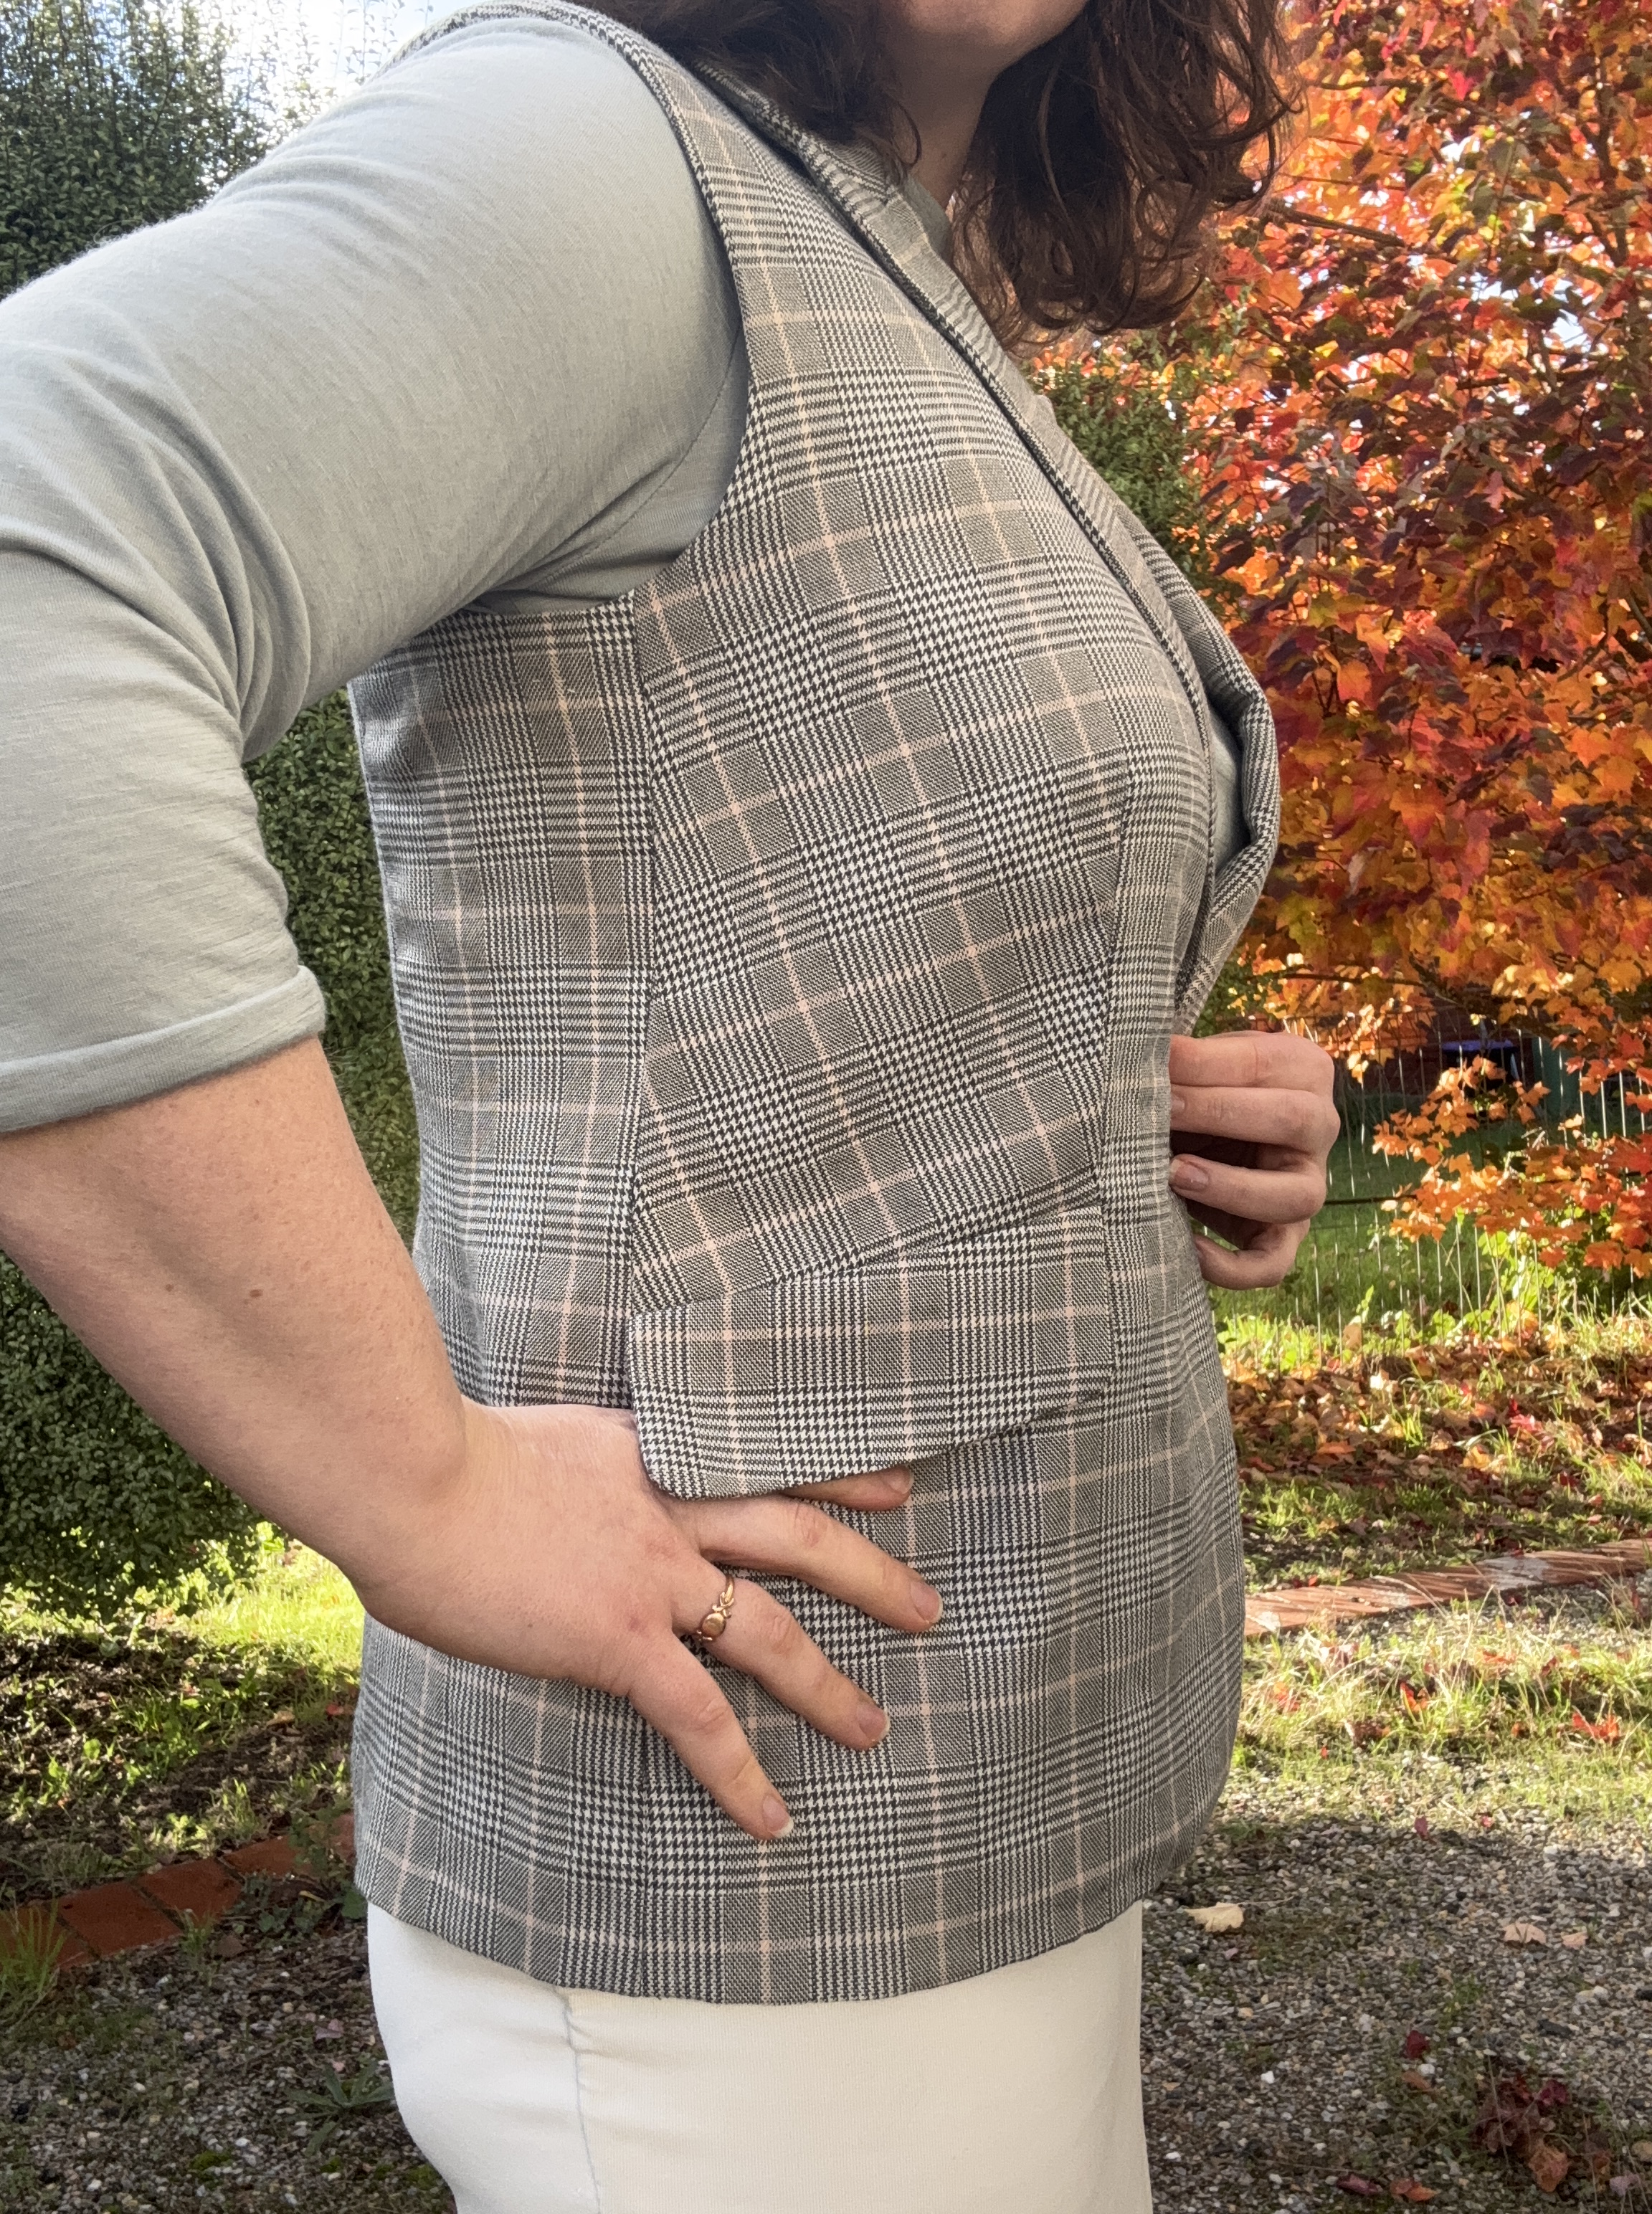
Then – lining. I’d made this jacket from inexpensive wool/poly blend from Spotlight – love that Prince of Wales check vibe – so it was never going to be a fancy lining. I found a short length of pale pink silk crepe de chine in my stash (more fancy than what this blazer deserves, I feel) and whilst it wouldn’t be as opaque as silk satin, it was a great match to the pale pink coloured lines in the main fabric.
Except – much like my last dress remake – I couldn’t find my adjusted pattern pieces. Instead, because the CDC was sheer enough to see the woven check lined through, I cut panels for each pattern piece and used the woven check to align with the grainline of the silk. Highly unorthodox, especially around the L-shaped dart at the front, but it meant it got done.
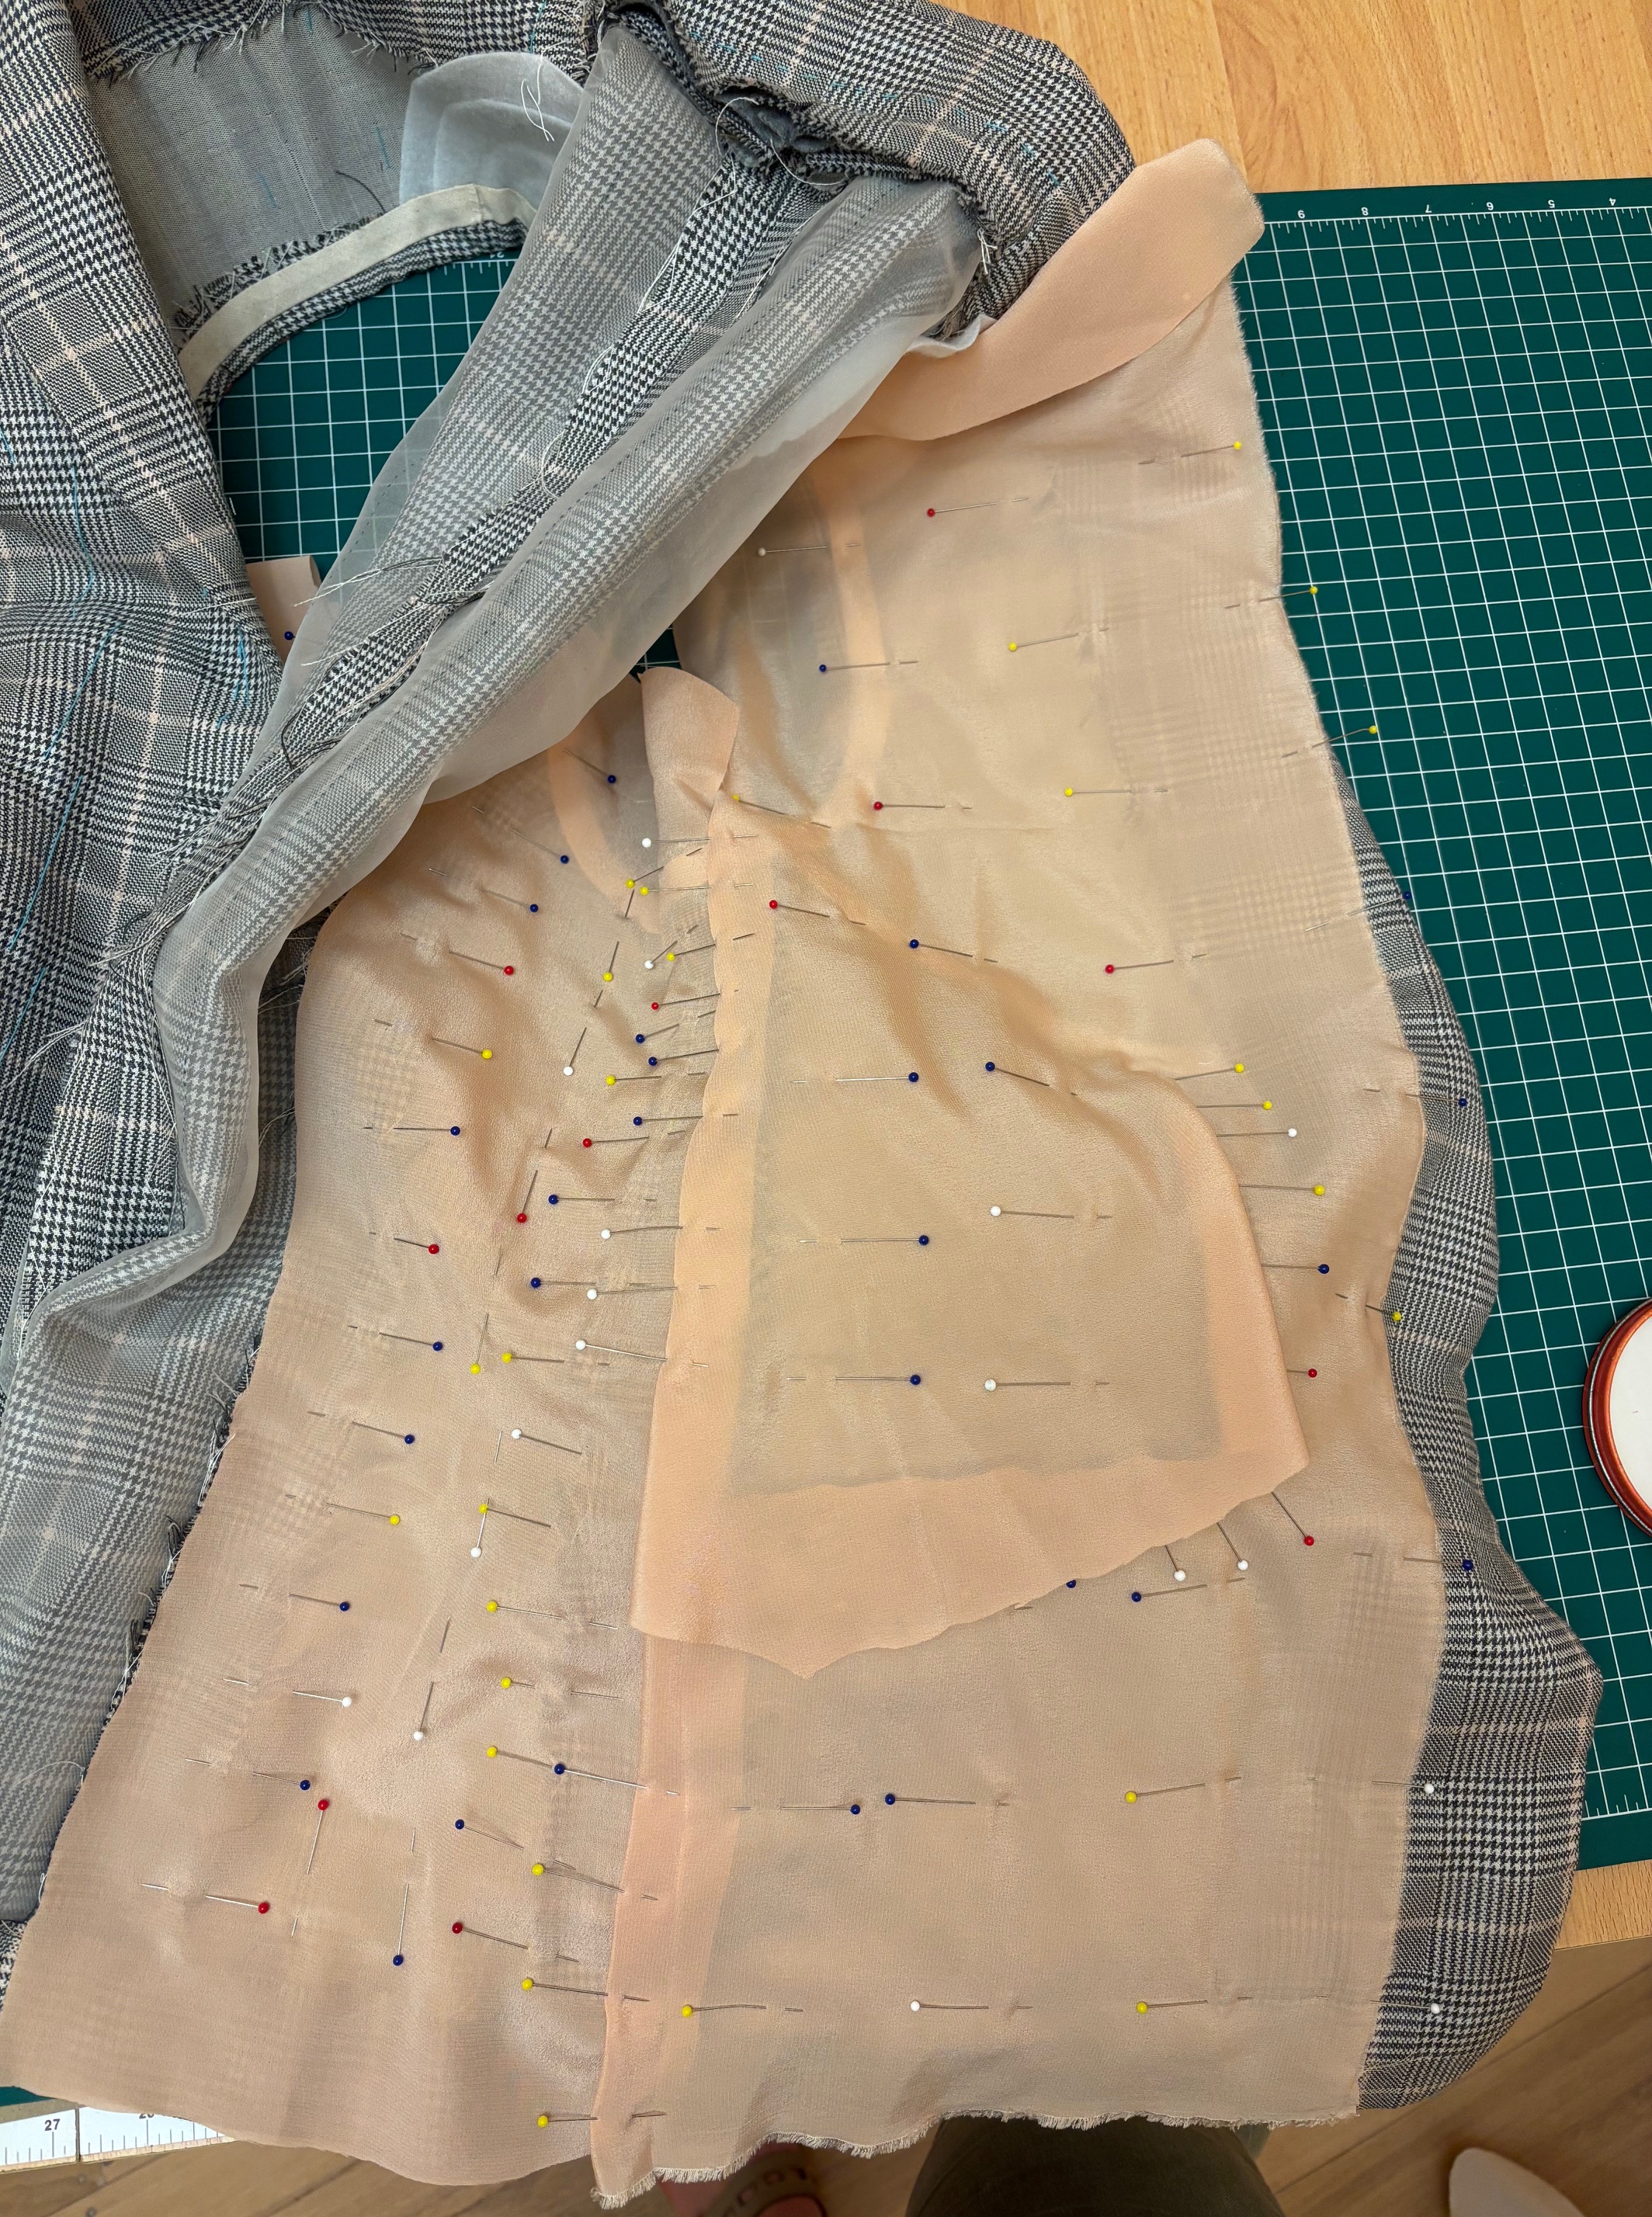
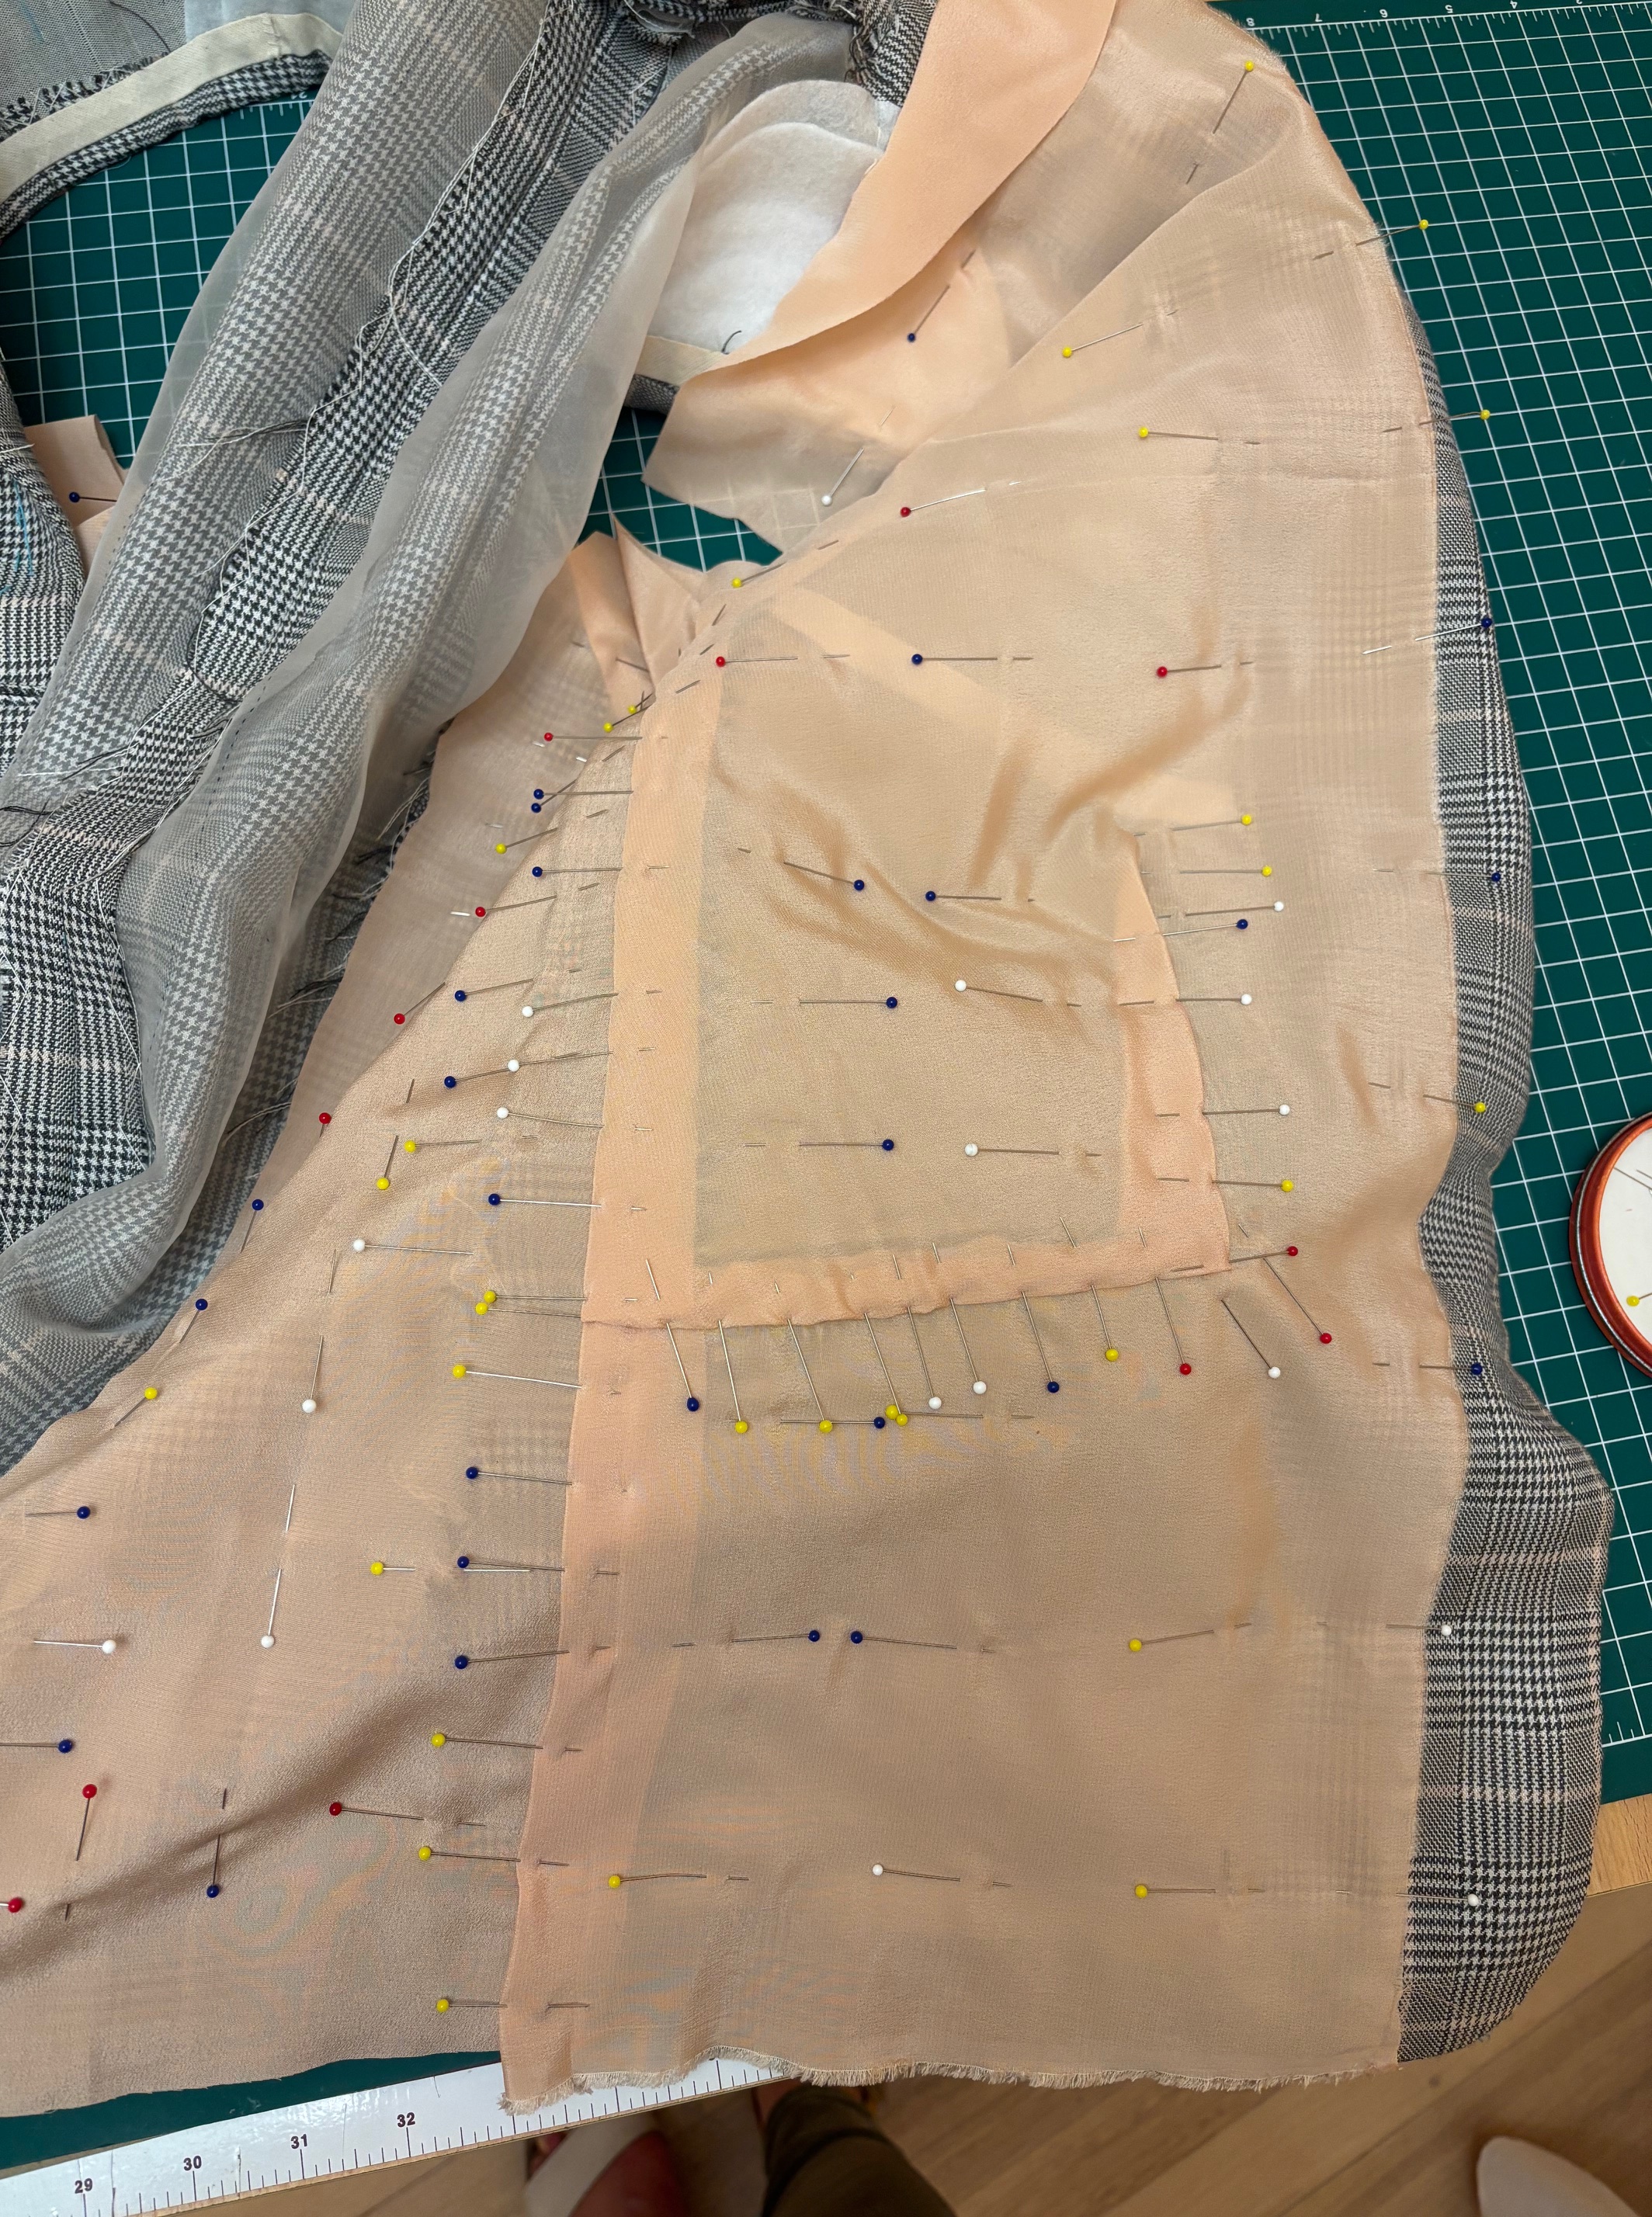
The length of the silk I had was quite short, so I did have to get a bit creative with placement. I don’t know about you, but see through silk lining really irritates me. Anyway.
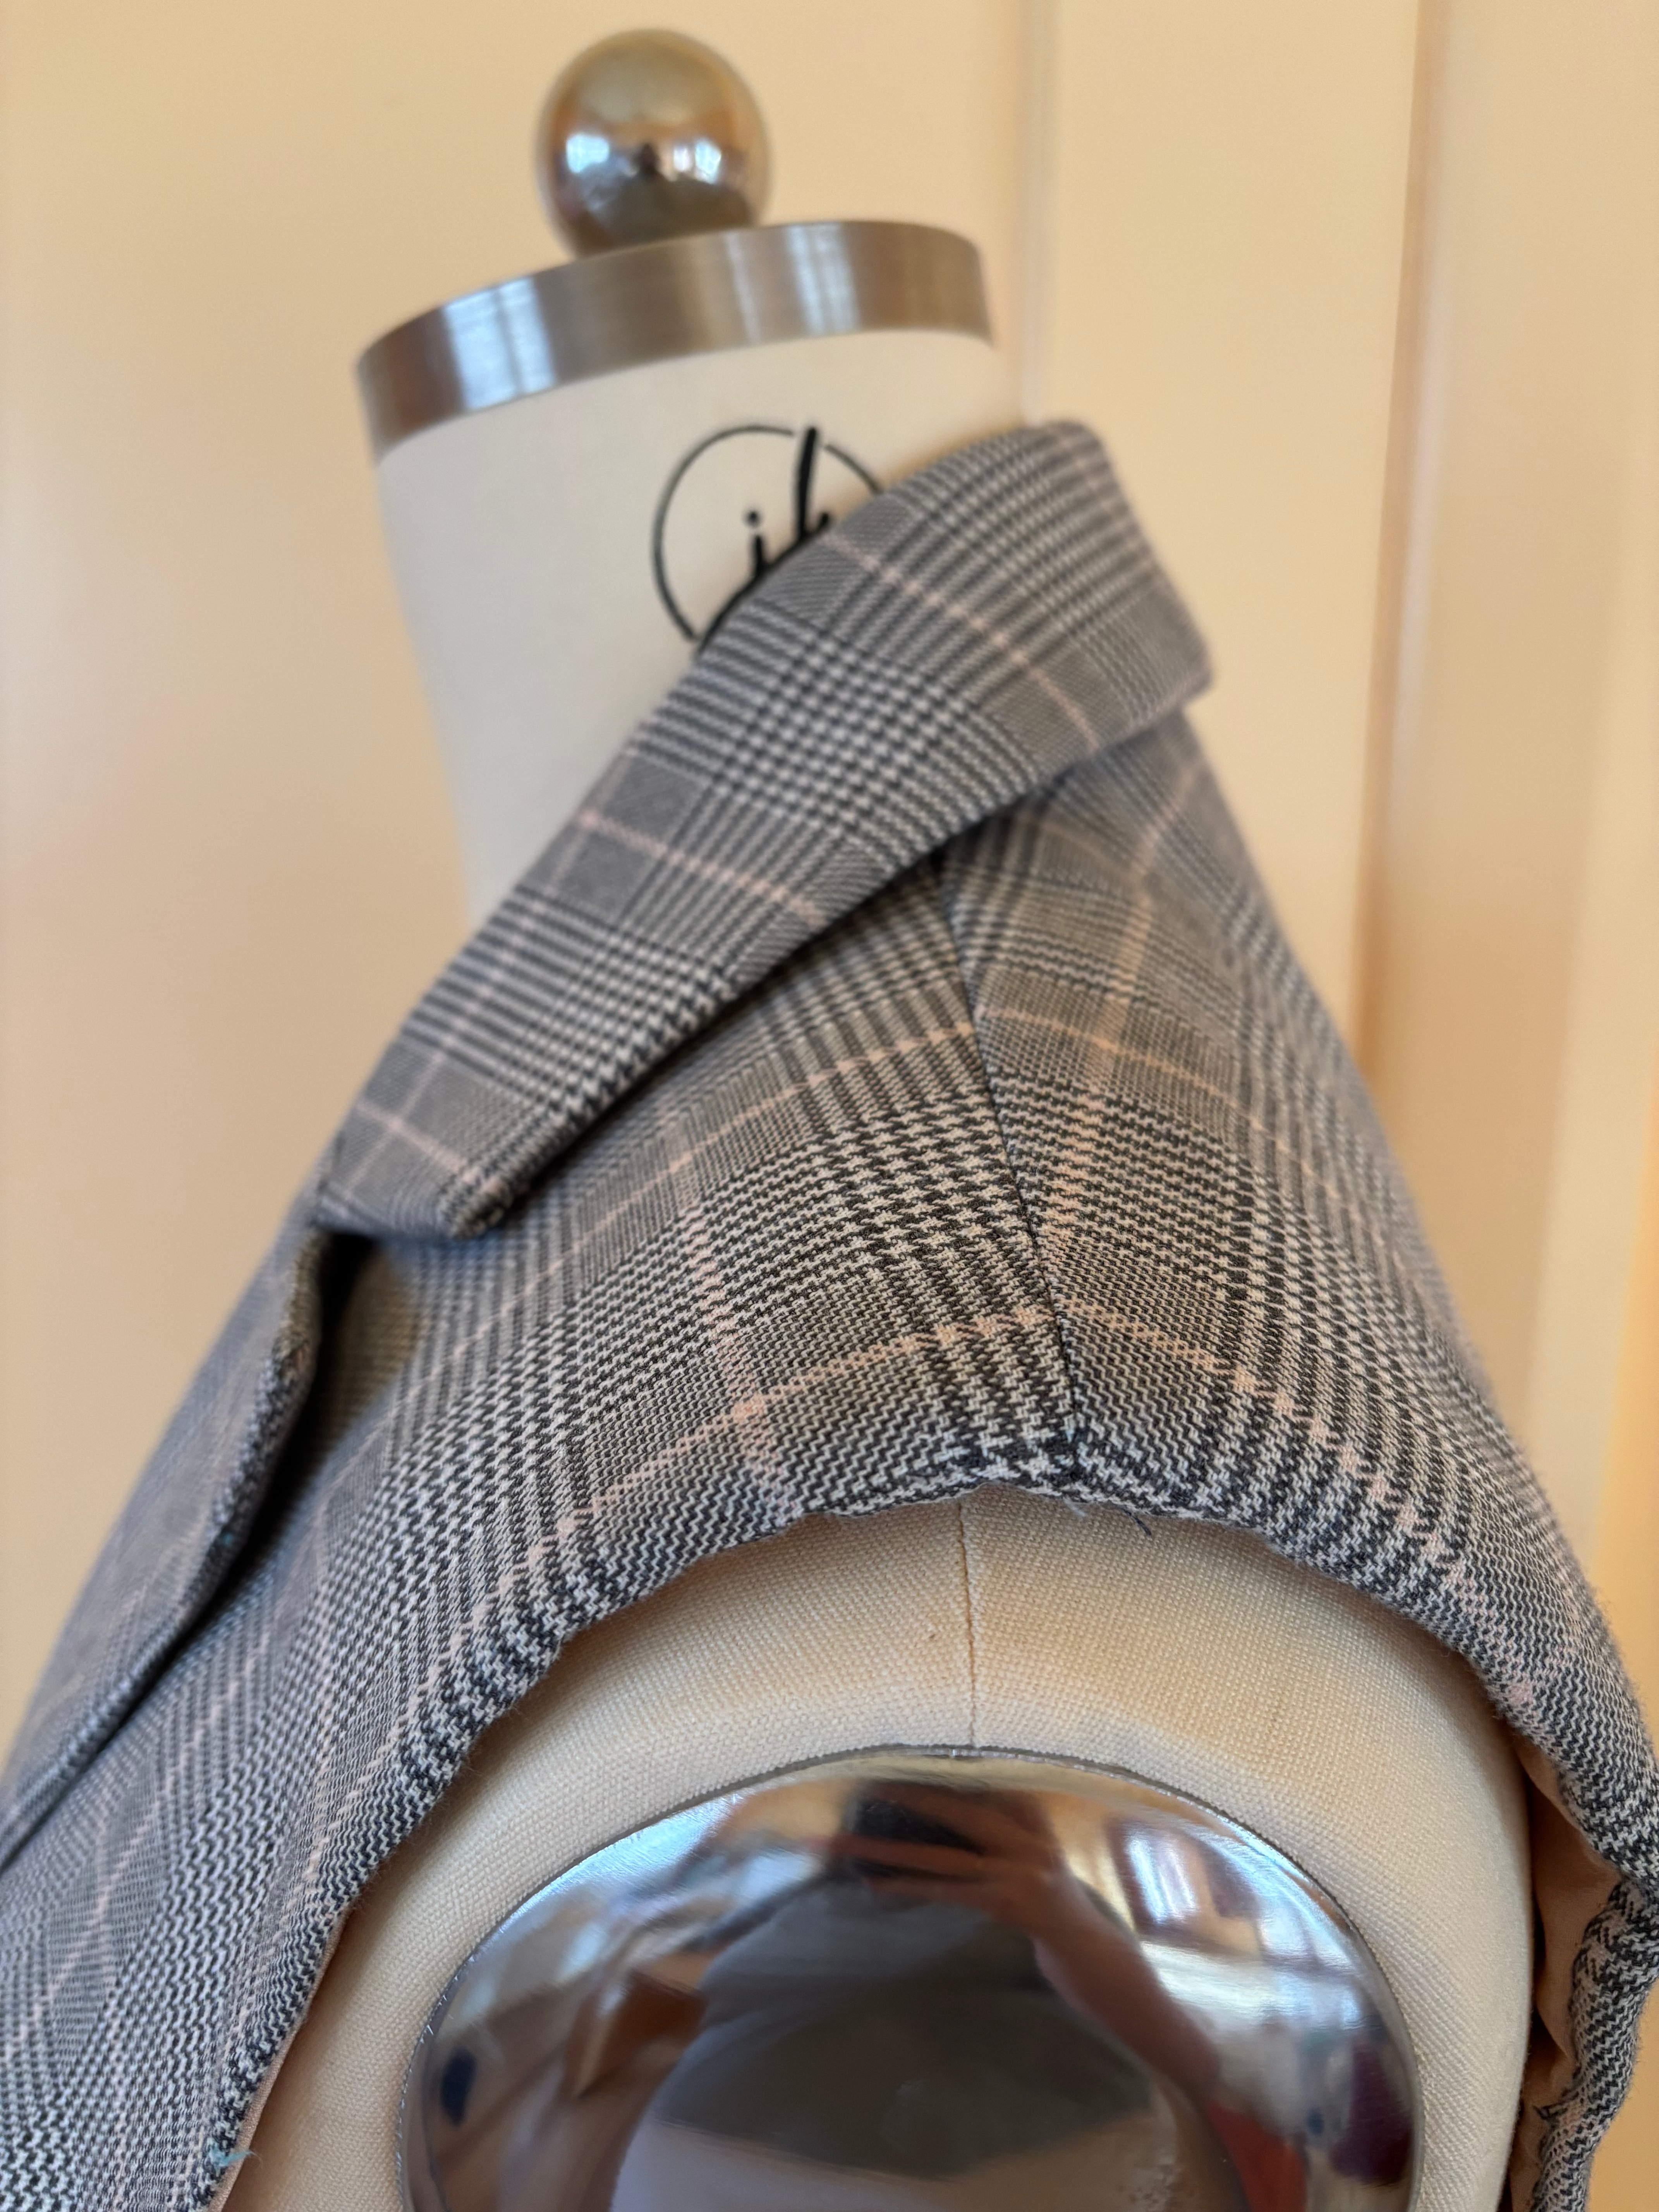
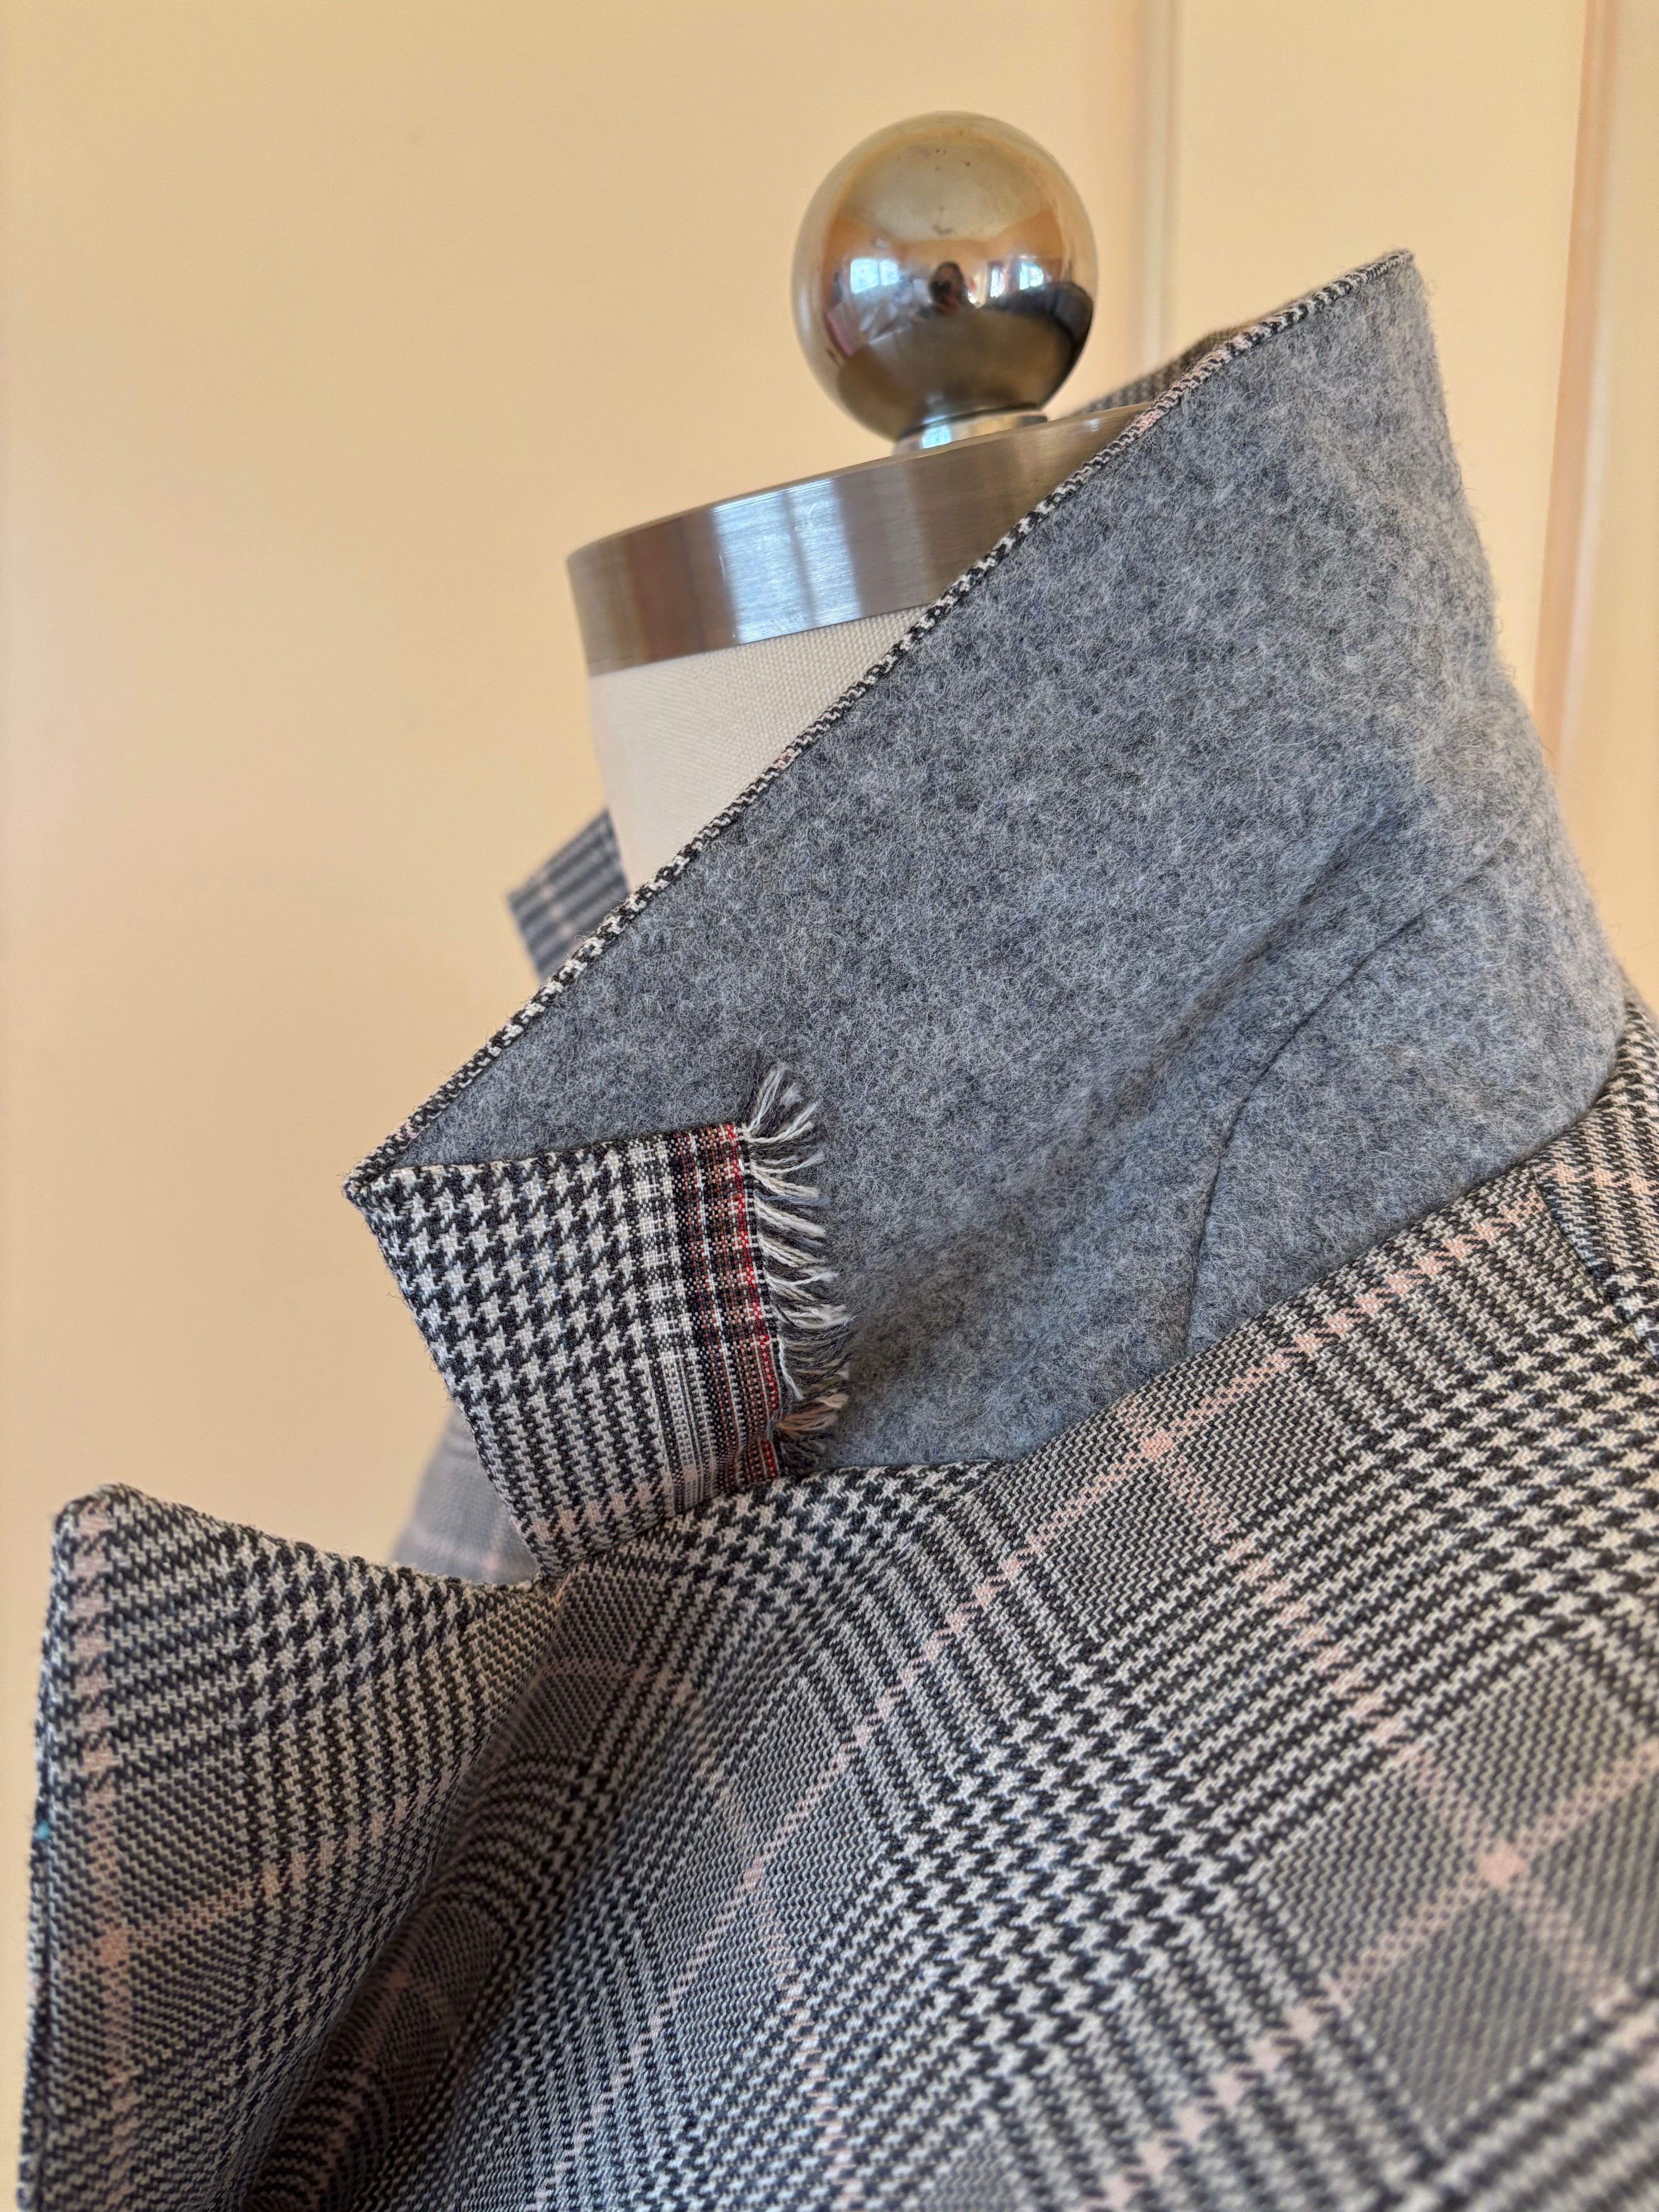
Then to just fell stitch everything in into place. I am still so very incredibly pleased with the collar, especially as this is something I’ve struggled with in the past. The felt undercollar and pad stitching process are both so satisfying. I might have to make sure I wear this on hair-up days so this can actually get seen!

I’m going back to try tailoring another jacket pattern again – this time in wool – muuuuch easier and more forgiving to work with than a blend. I’m really proud of the collar on this one but I need to even the score with the sleeves! Likely candidates – Simplicity 8844 or Vogue 8333 (which I’ve made successfully before).
