
I came across this pattern recently – thought it was cute, so jumped on Instagram to check out the hashtag. I was excited to see that the majority of people who had made this dress had proportions just like me – all shoulders and boobs, not much waist or hips. And I loved how it looked on everyone, so it shot right up the top of the to-sew queue!
I’d describe it as a throw-on casual shirt dress, sans buttons. So totally my jam.
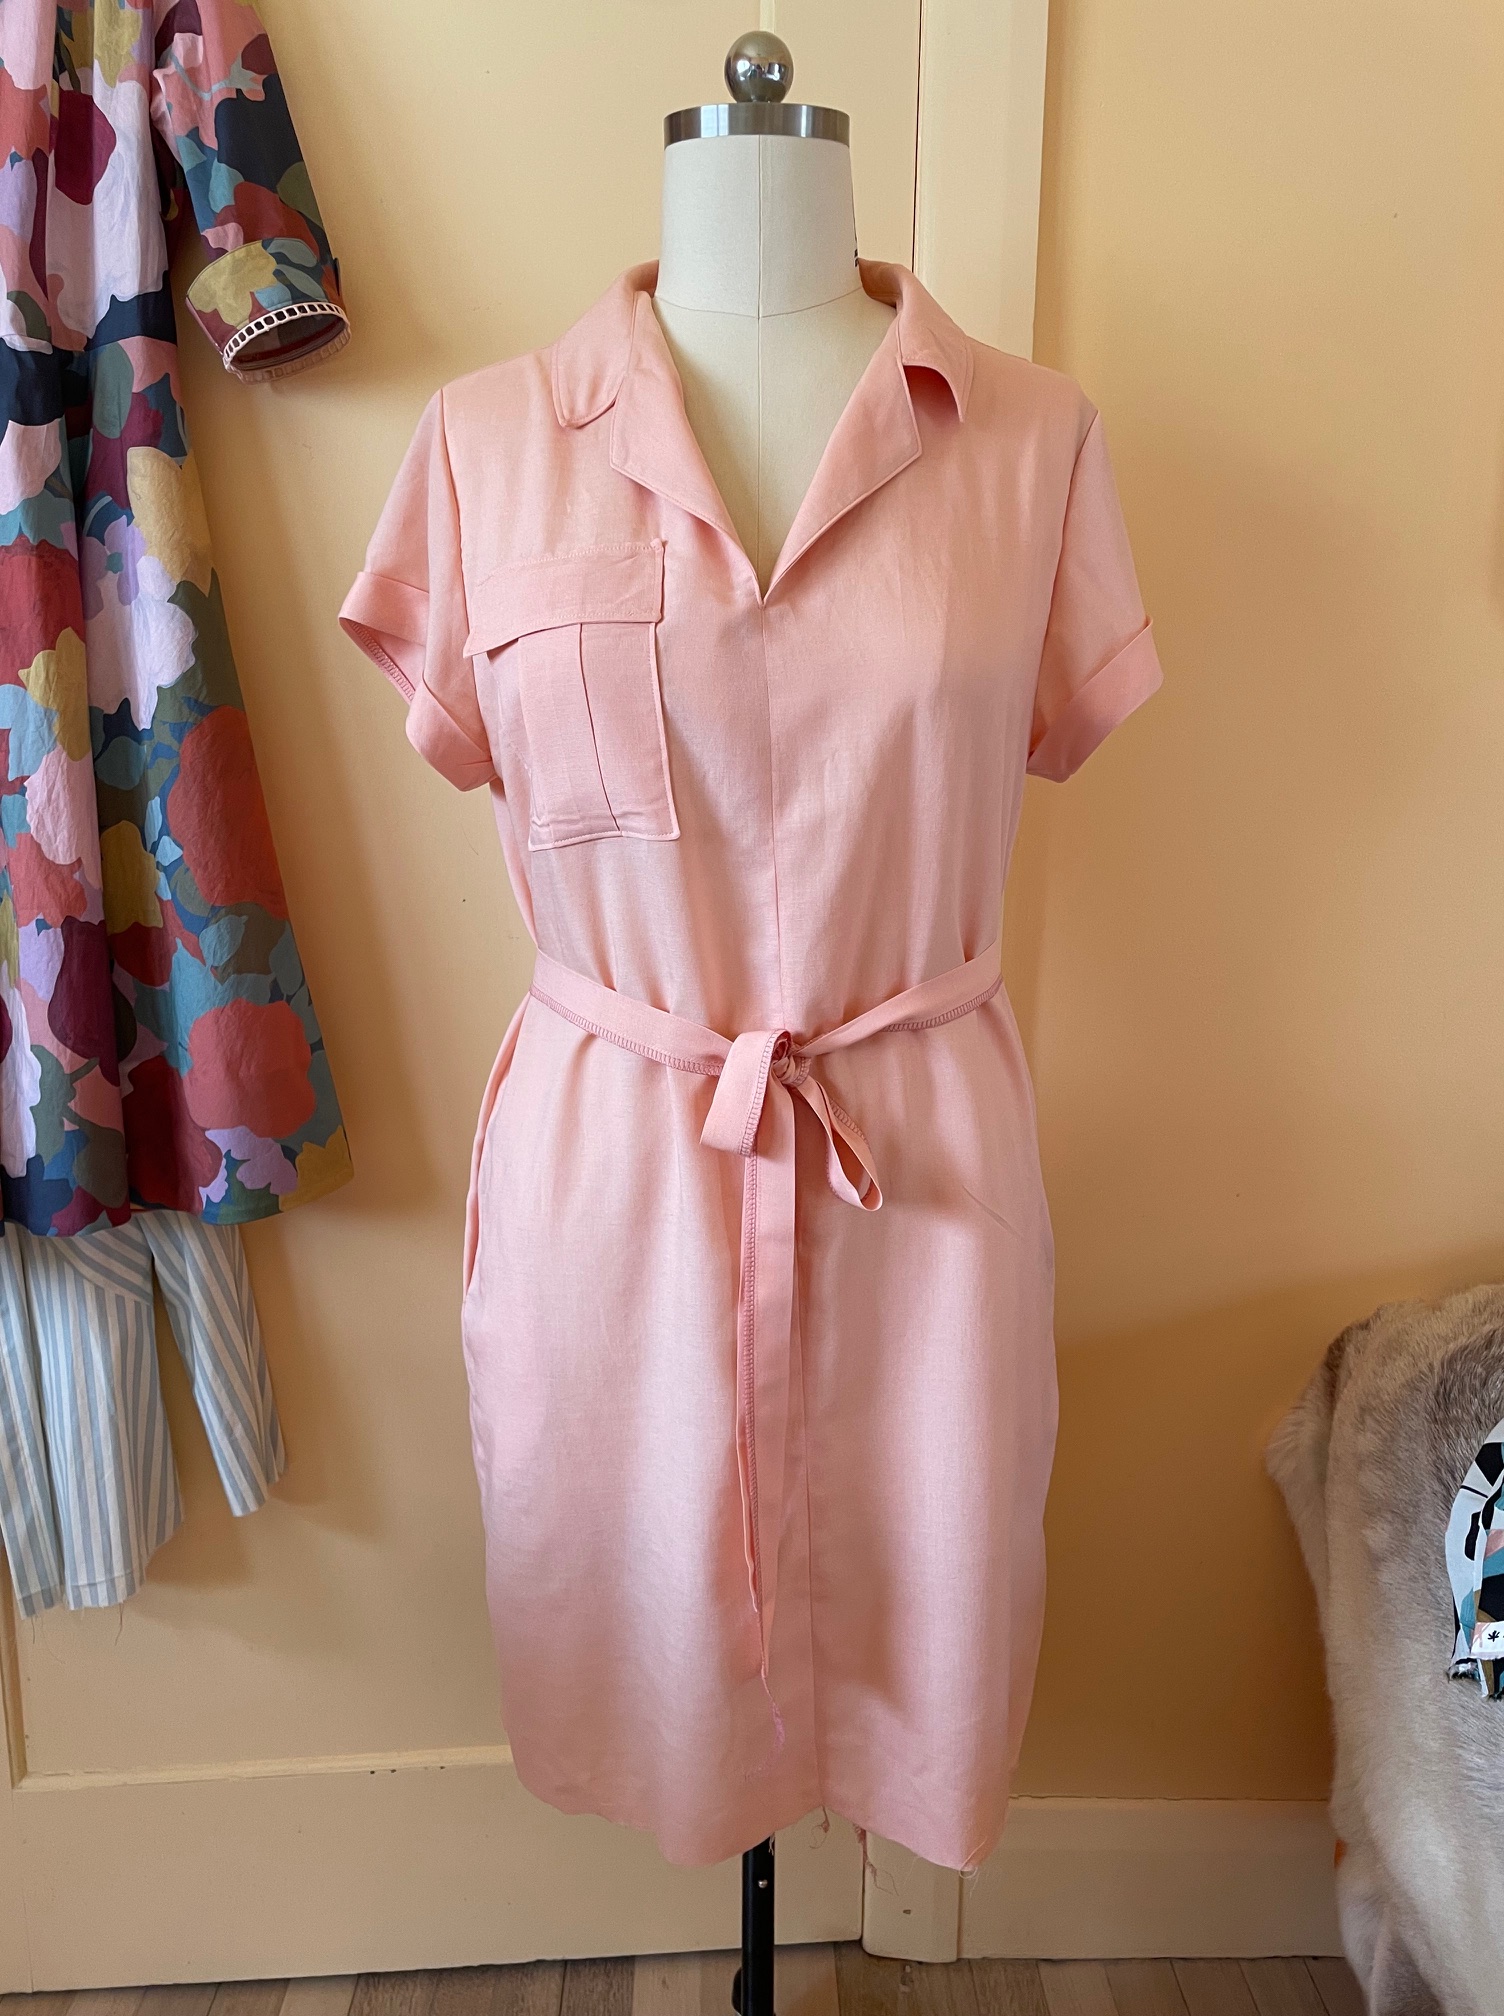
My measurements landed me on the size 18 (bust) and size 14 (waist and hips). I ended up cutting the size 16 but added an FBA to the front pattern piece (3/4 inch), which I was very happy with. I also added the curved hem to the front (the pattern has this as being straight, with a curve at the back). If I make this again, I might raise the under armhole slightly as the looseness here does restrict my movement a little.
I sewed up what I thought would be a wearable muslin from an unidentified fabric in my stash (I have no idea where I got it, how long I’ve had it or what fibre content it is) – but this is a tad see through so likely won’t get worn as an ‘about the house’ throw on like I was anticipating. This is what prompted me to add the FBA and also the front curved hem on the final version
I cut it out and sewed the muslin almost in entirety across a single day – which is not something I’m accustomed to! I added just one of the patch pockets to the front, to decide whether or not I wanted to keep them for the final – I surprised myself by going with the pockets.
I’ve since chopped this up to see if I can make a top version with a tie at the front, which turned out ok, but I haven’t progressed it at all yet.
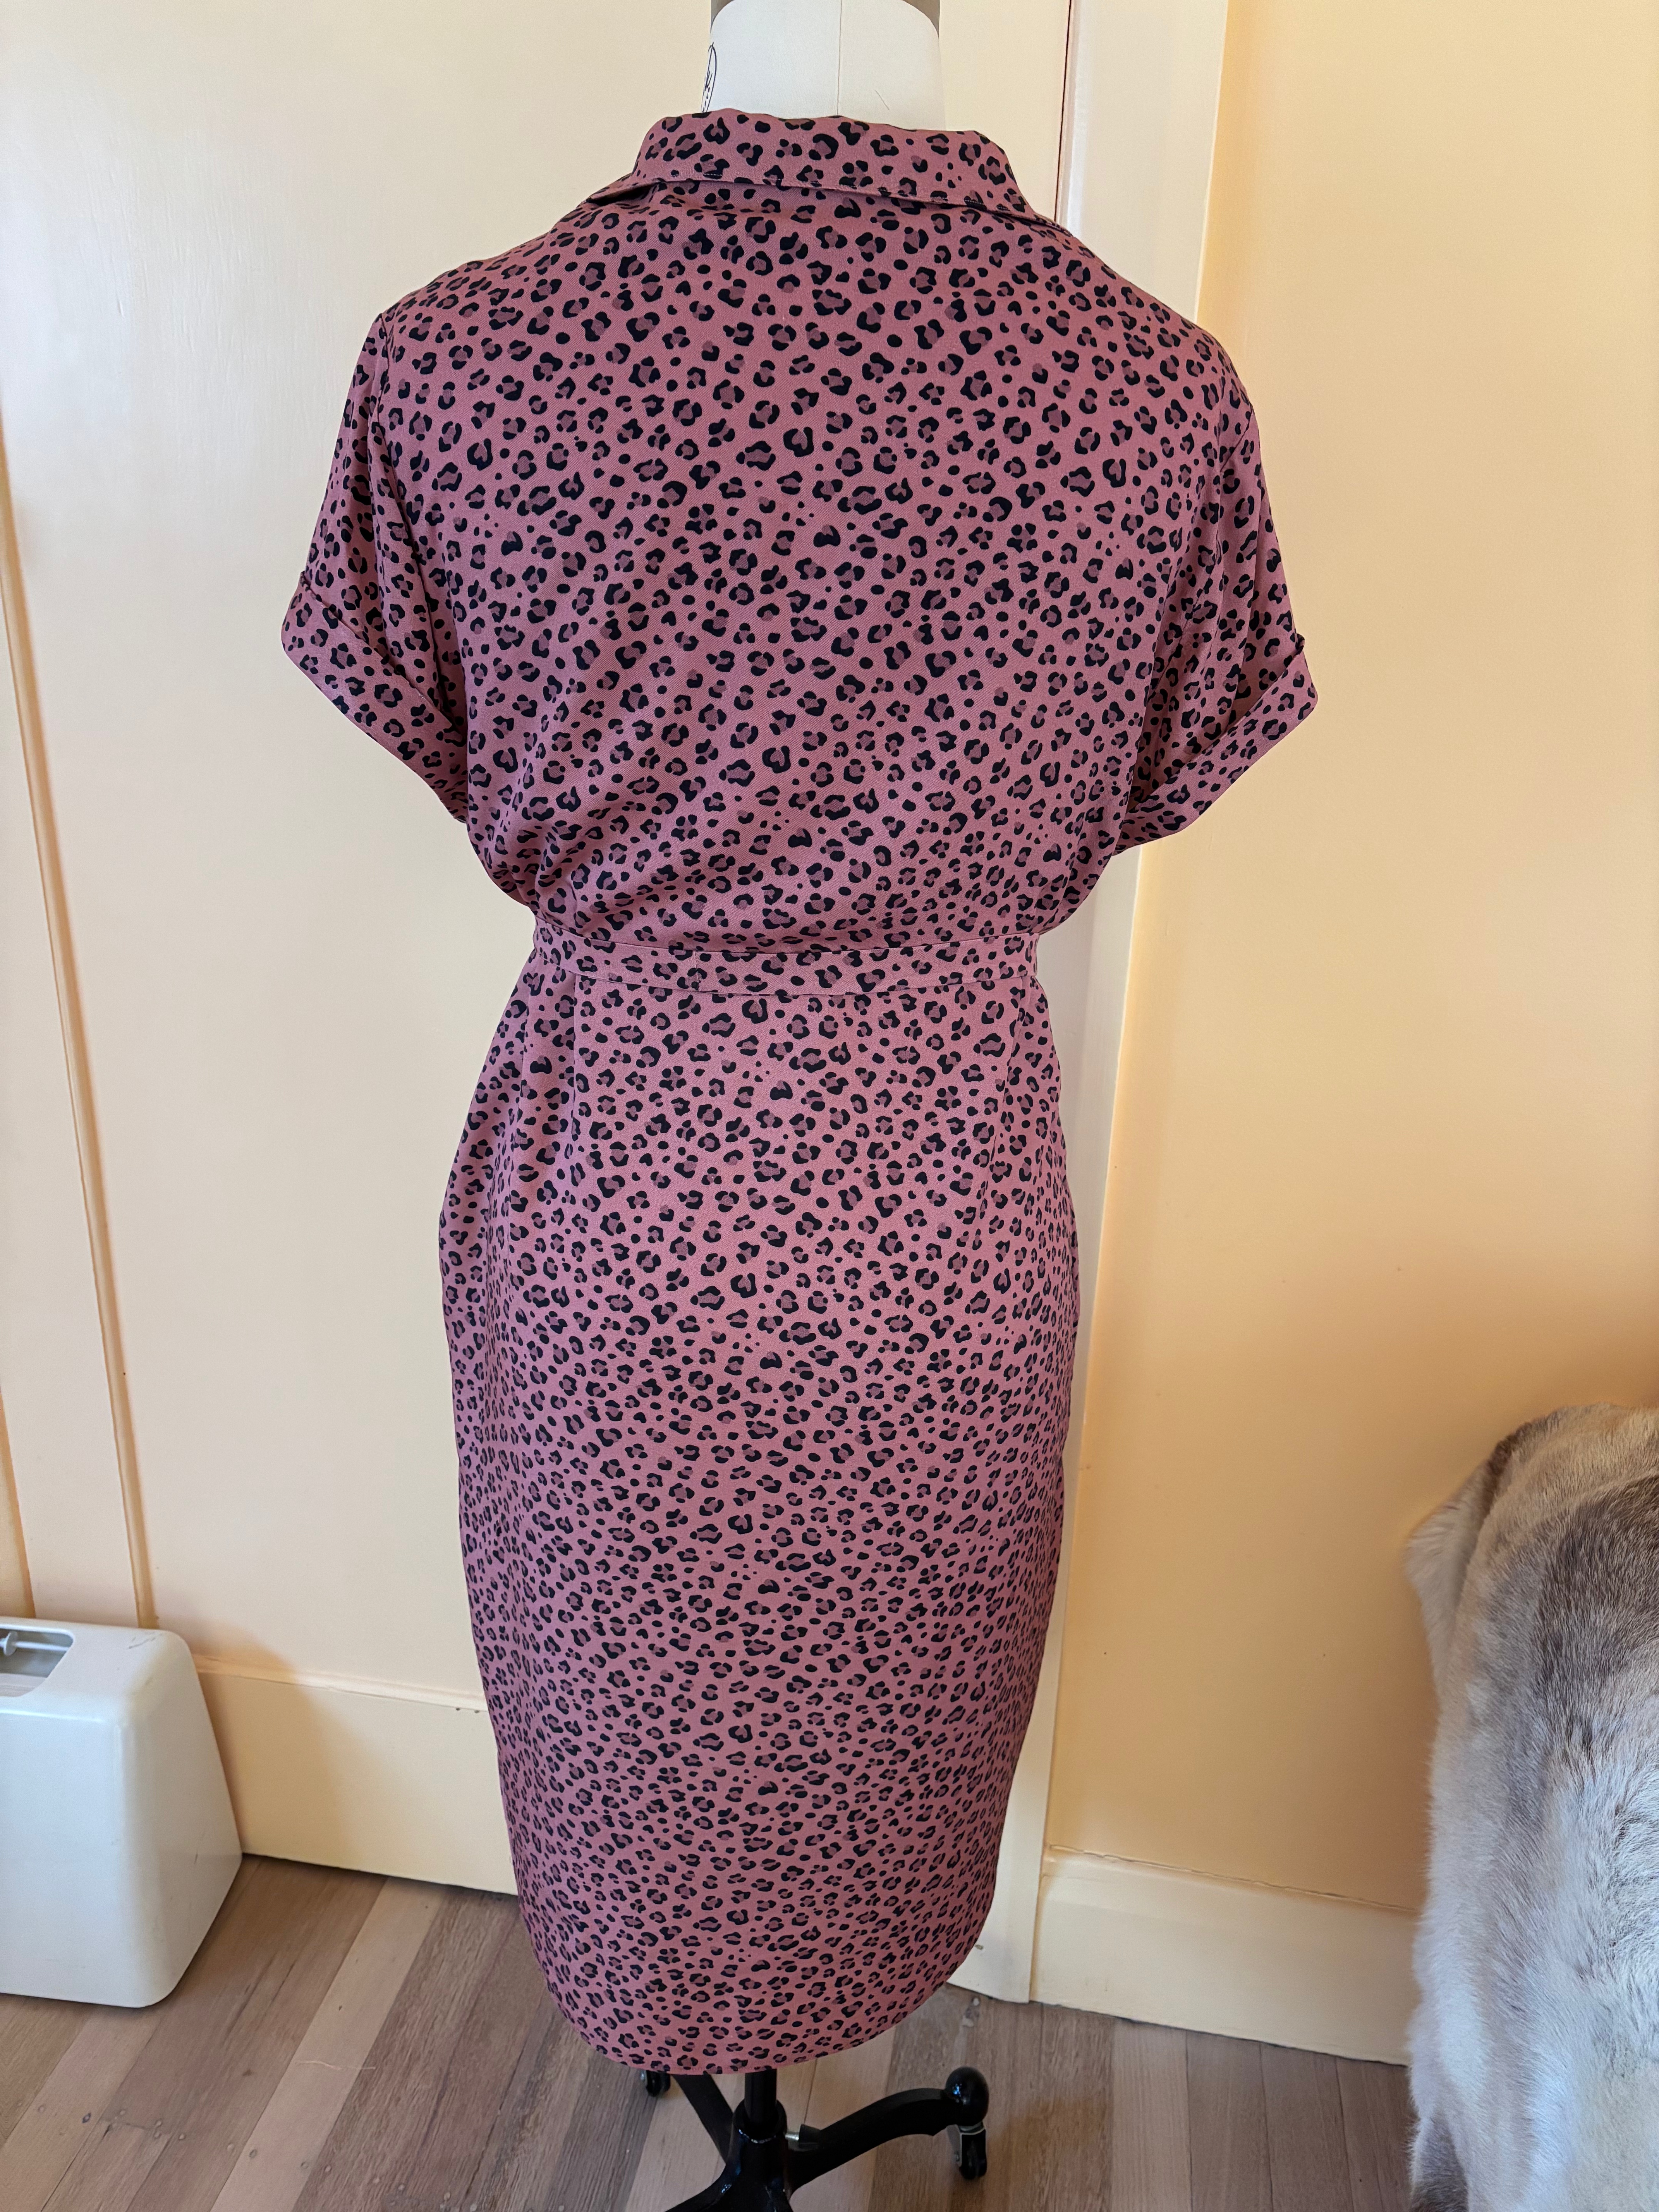
The final version is made in pinky-maroon animal print fabric – which I think is a viscose twill? Deep stash! It’s surprisingly meaty, with wonderful drape. I’m very certain I got this from Seamstress Fabrics before it closed down.
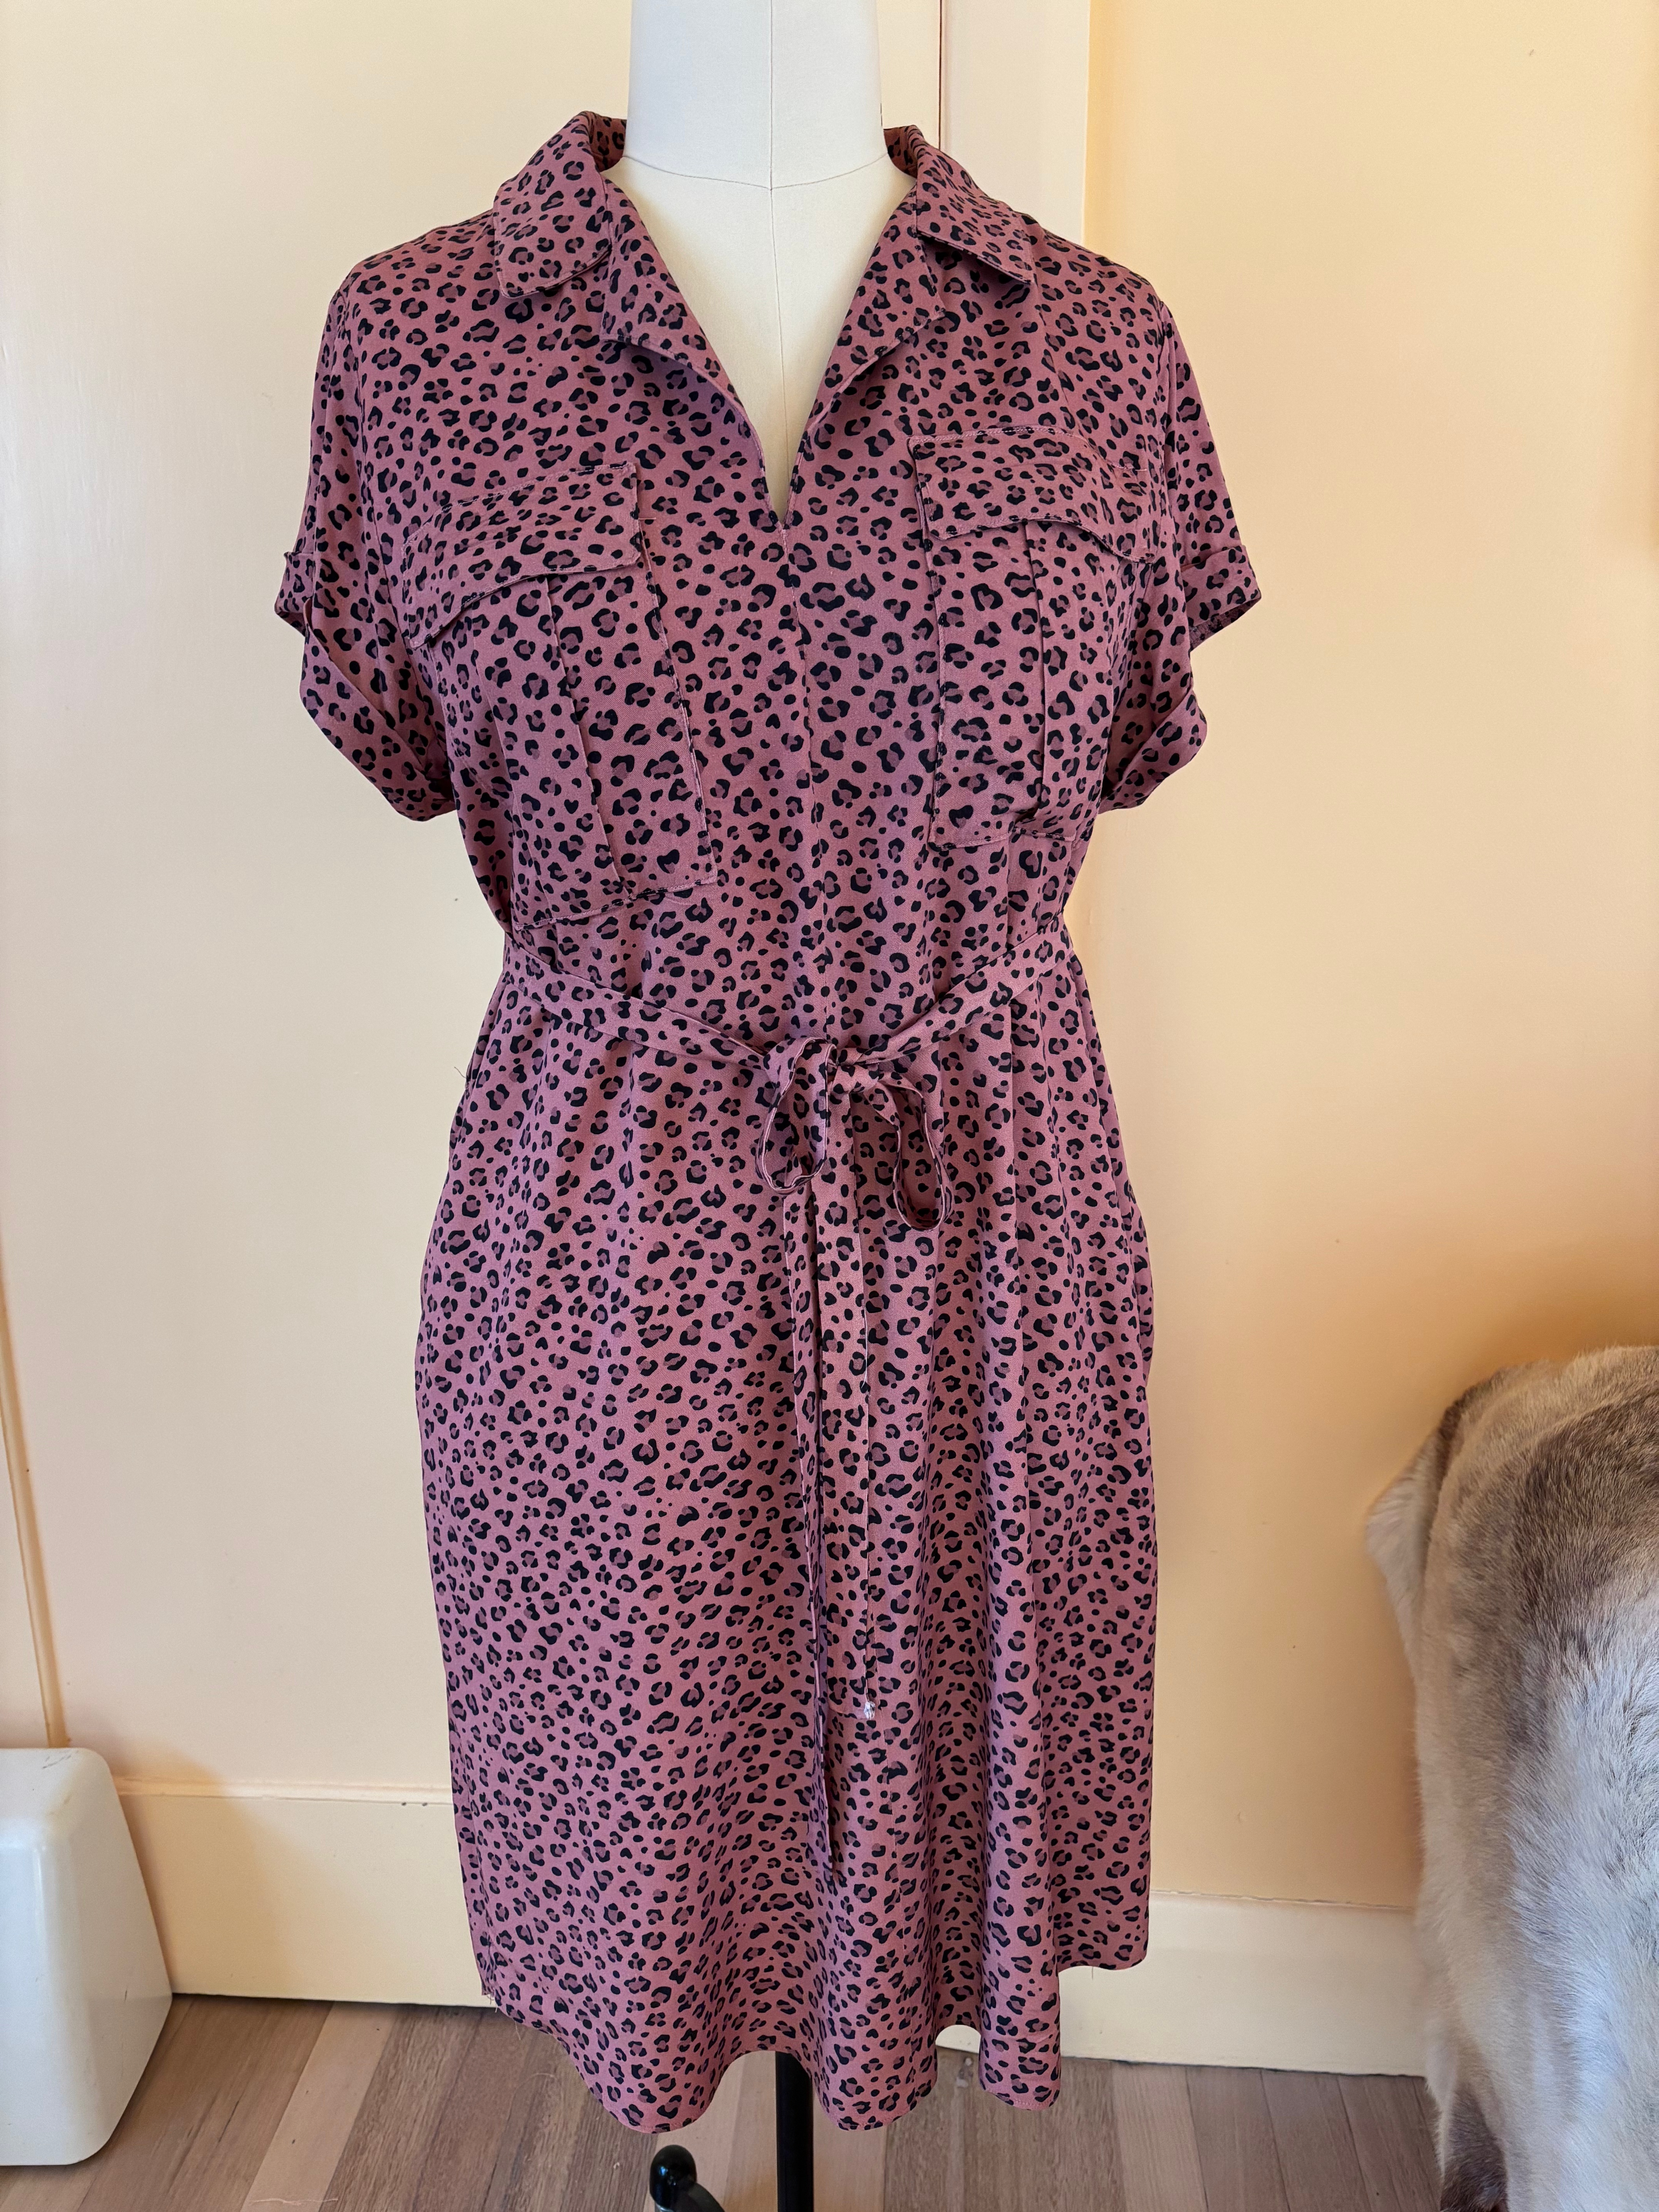
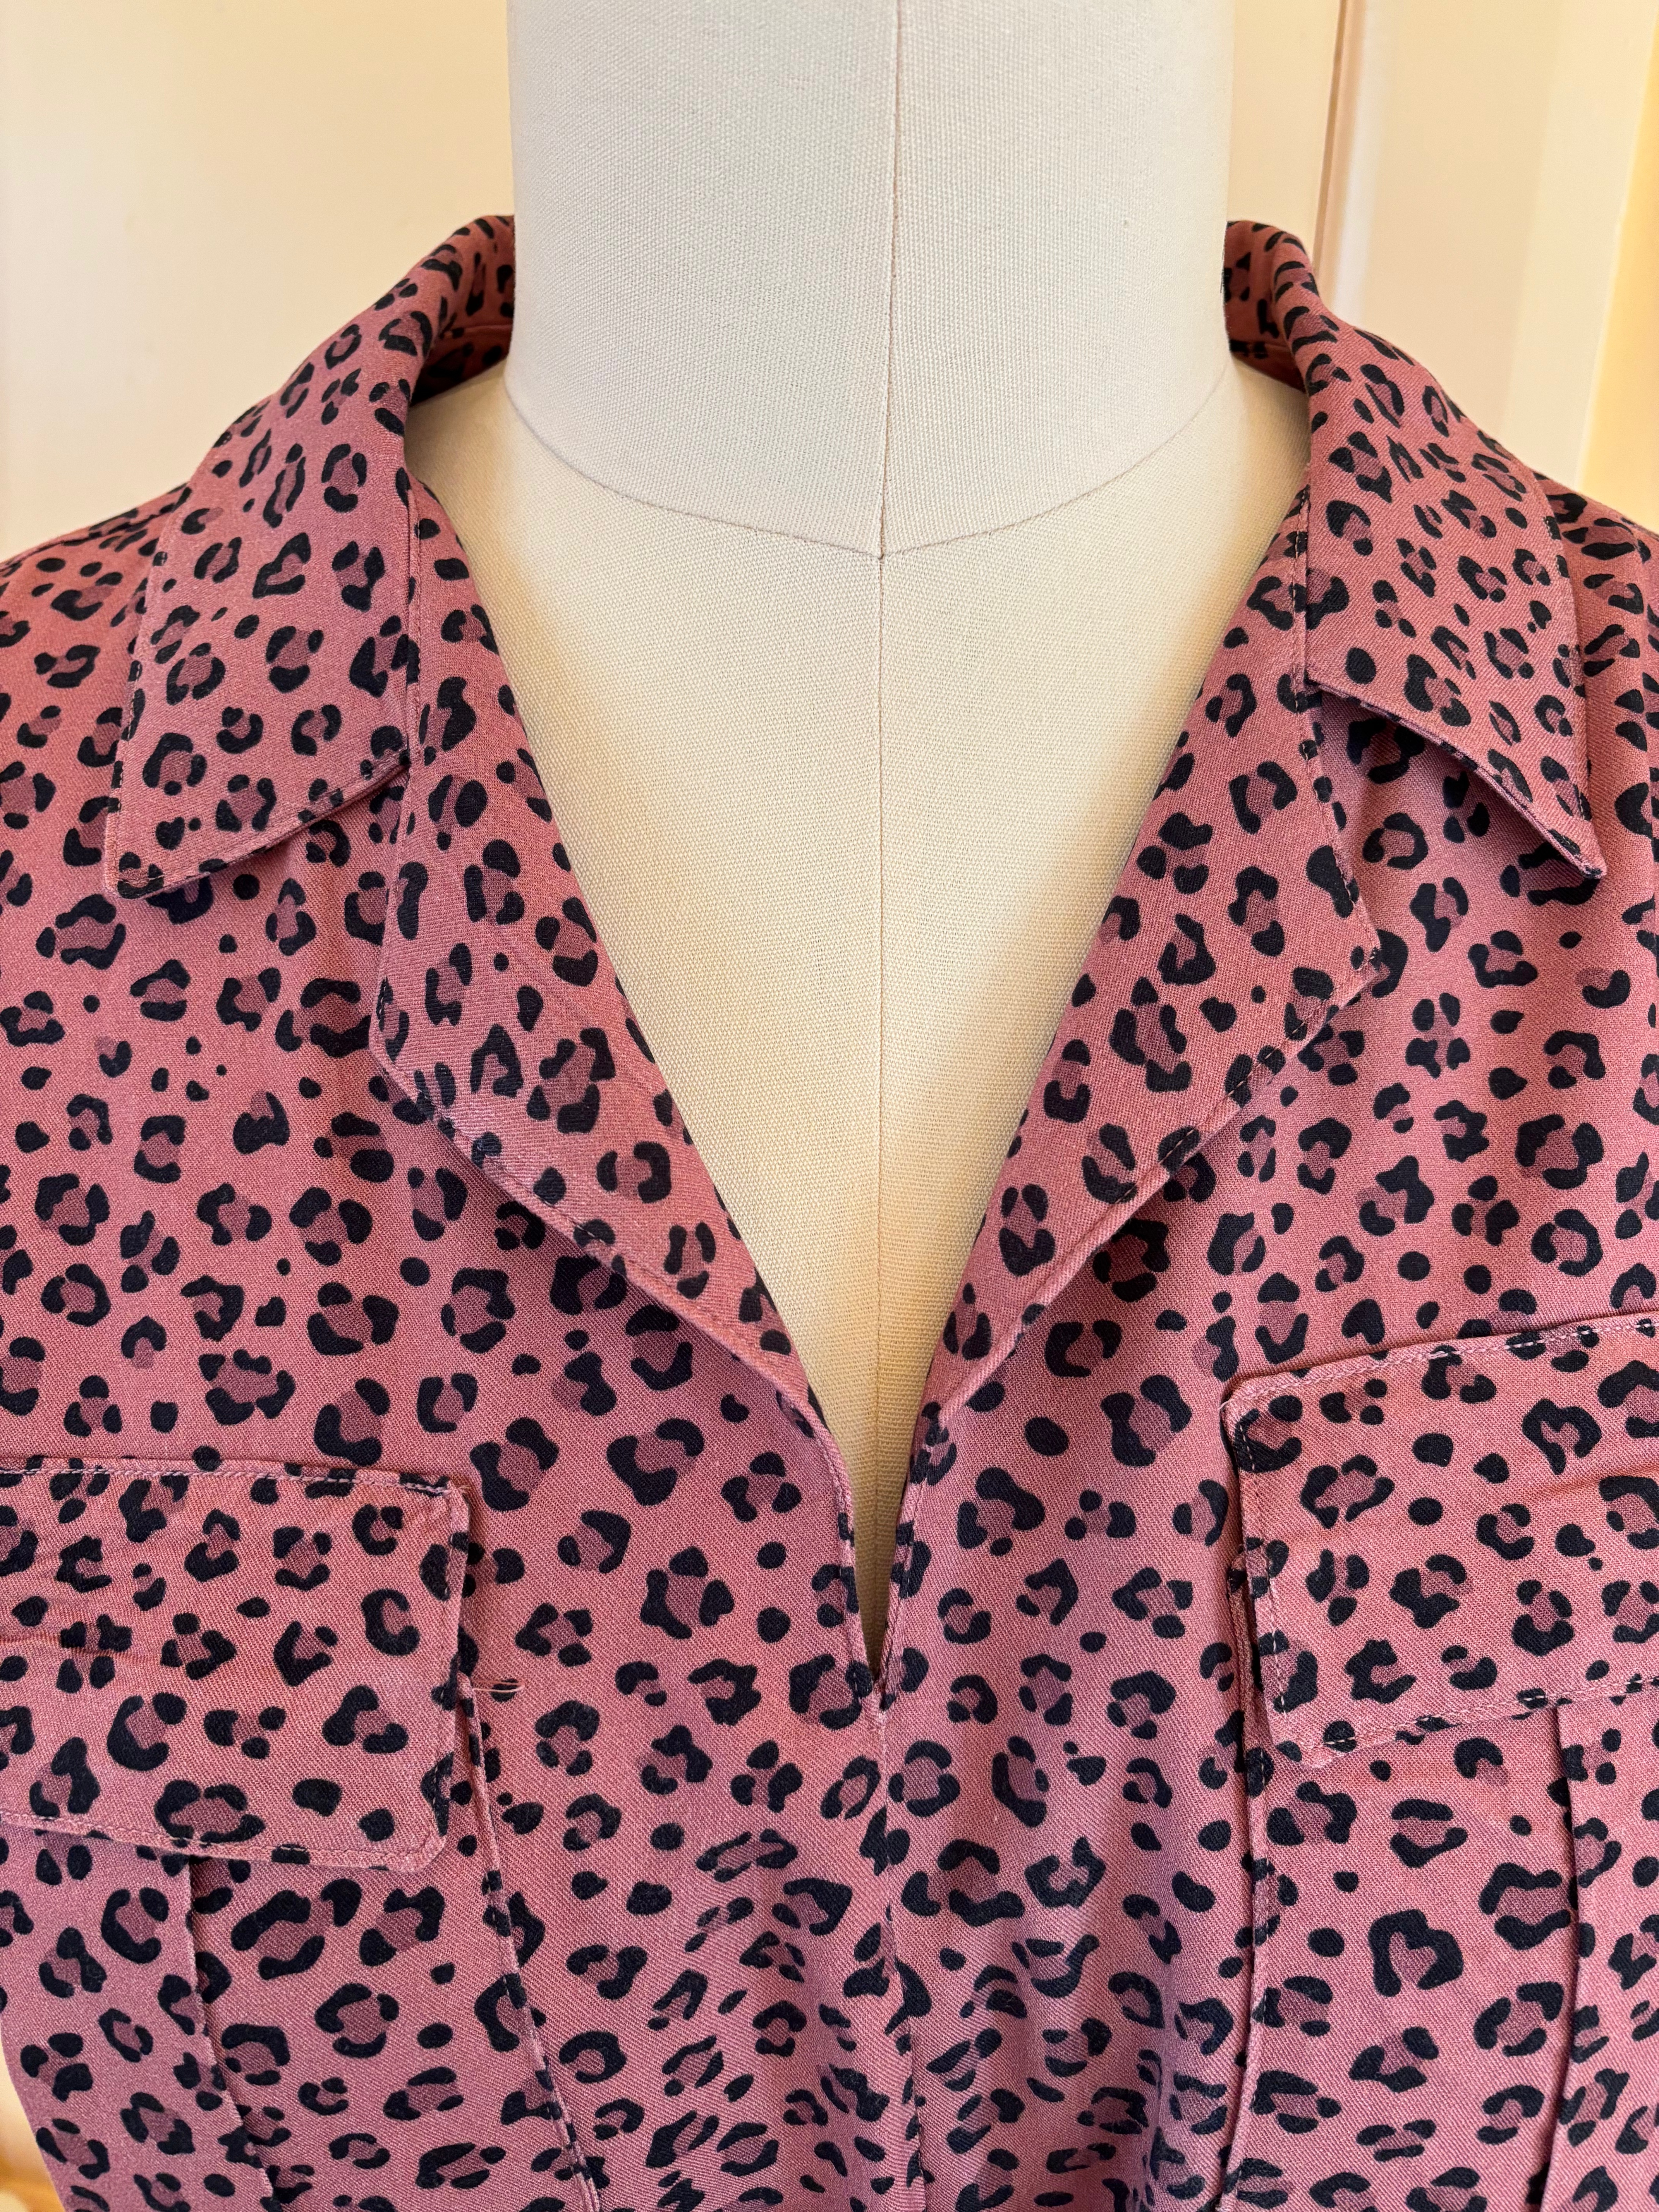
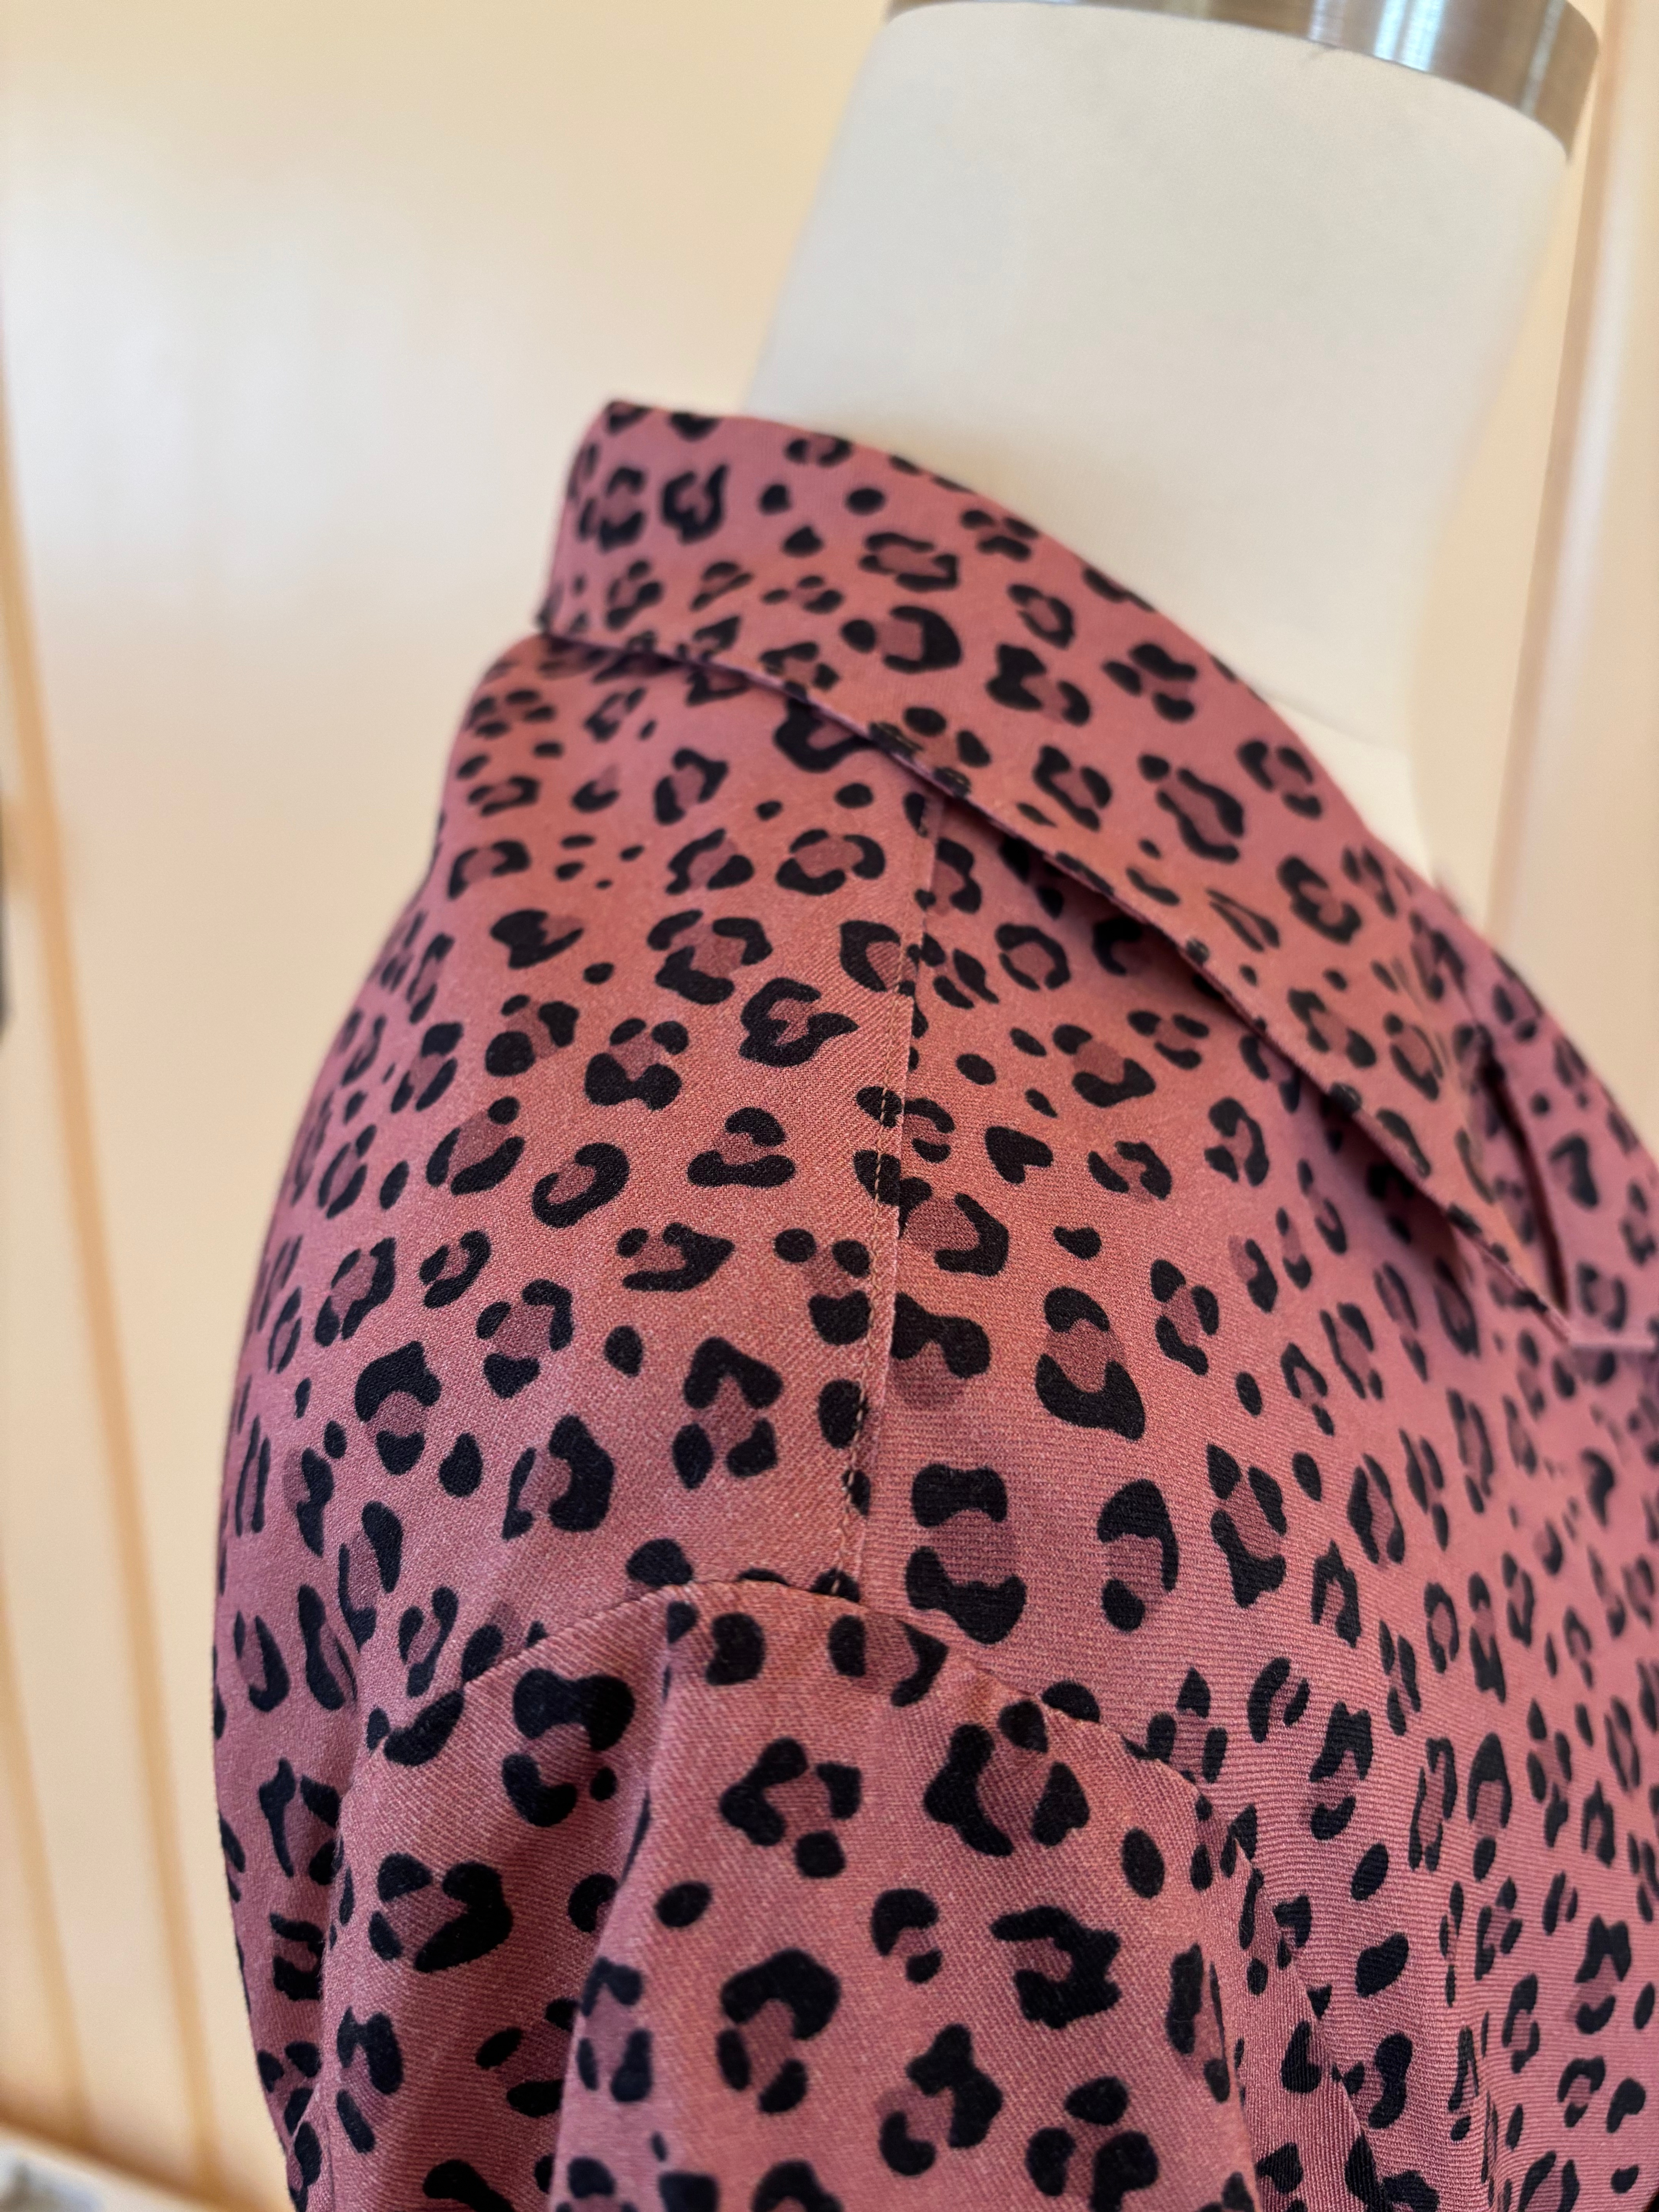
The collar in this dress is about the easiest collar you could tackle. The trickiest part is probably the front join between the two bodice pieces and the facing piece – stay stitching then snipping right to the seam stitching and then pressing is really important here to get a flat and non-buckled finished.
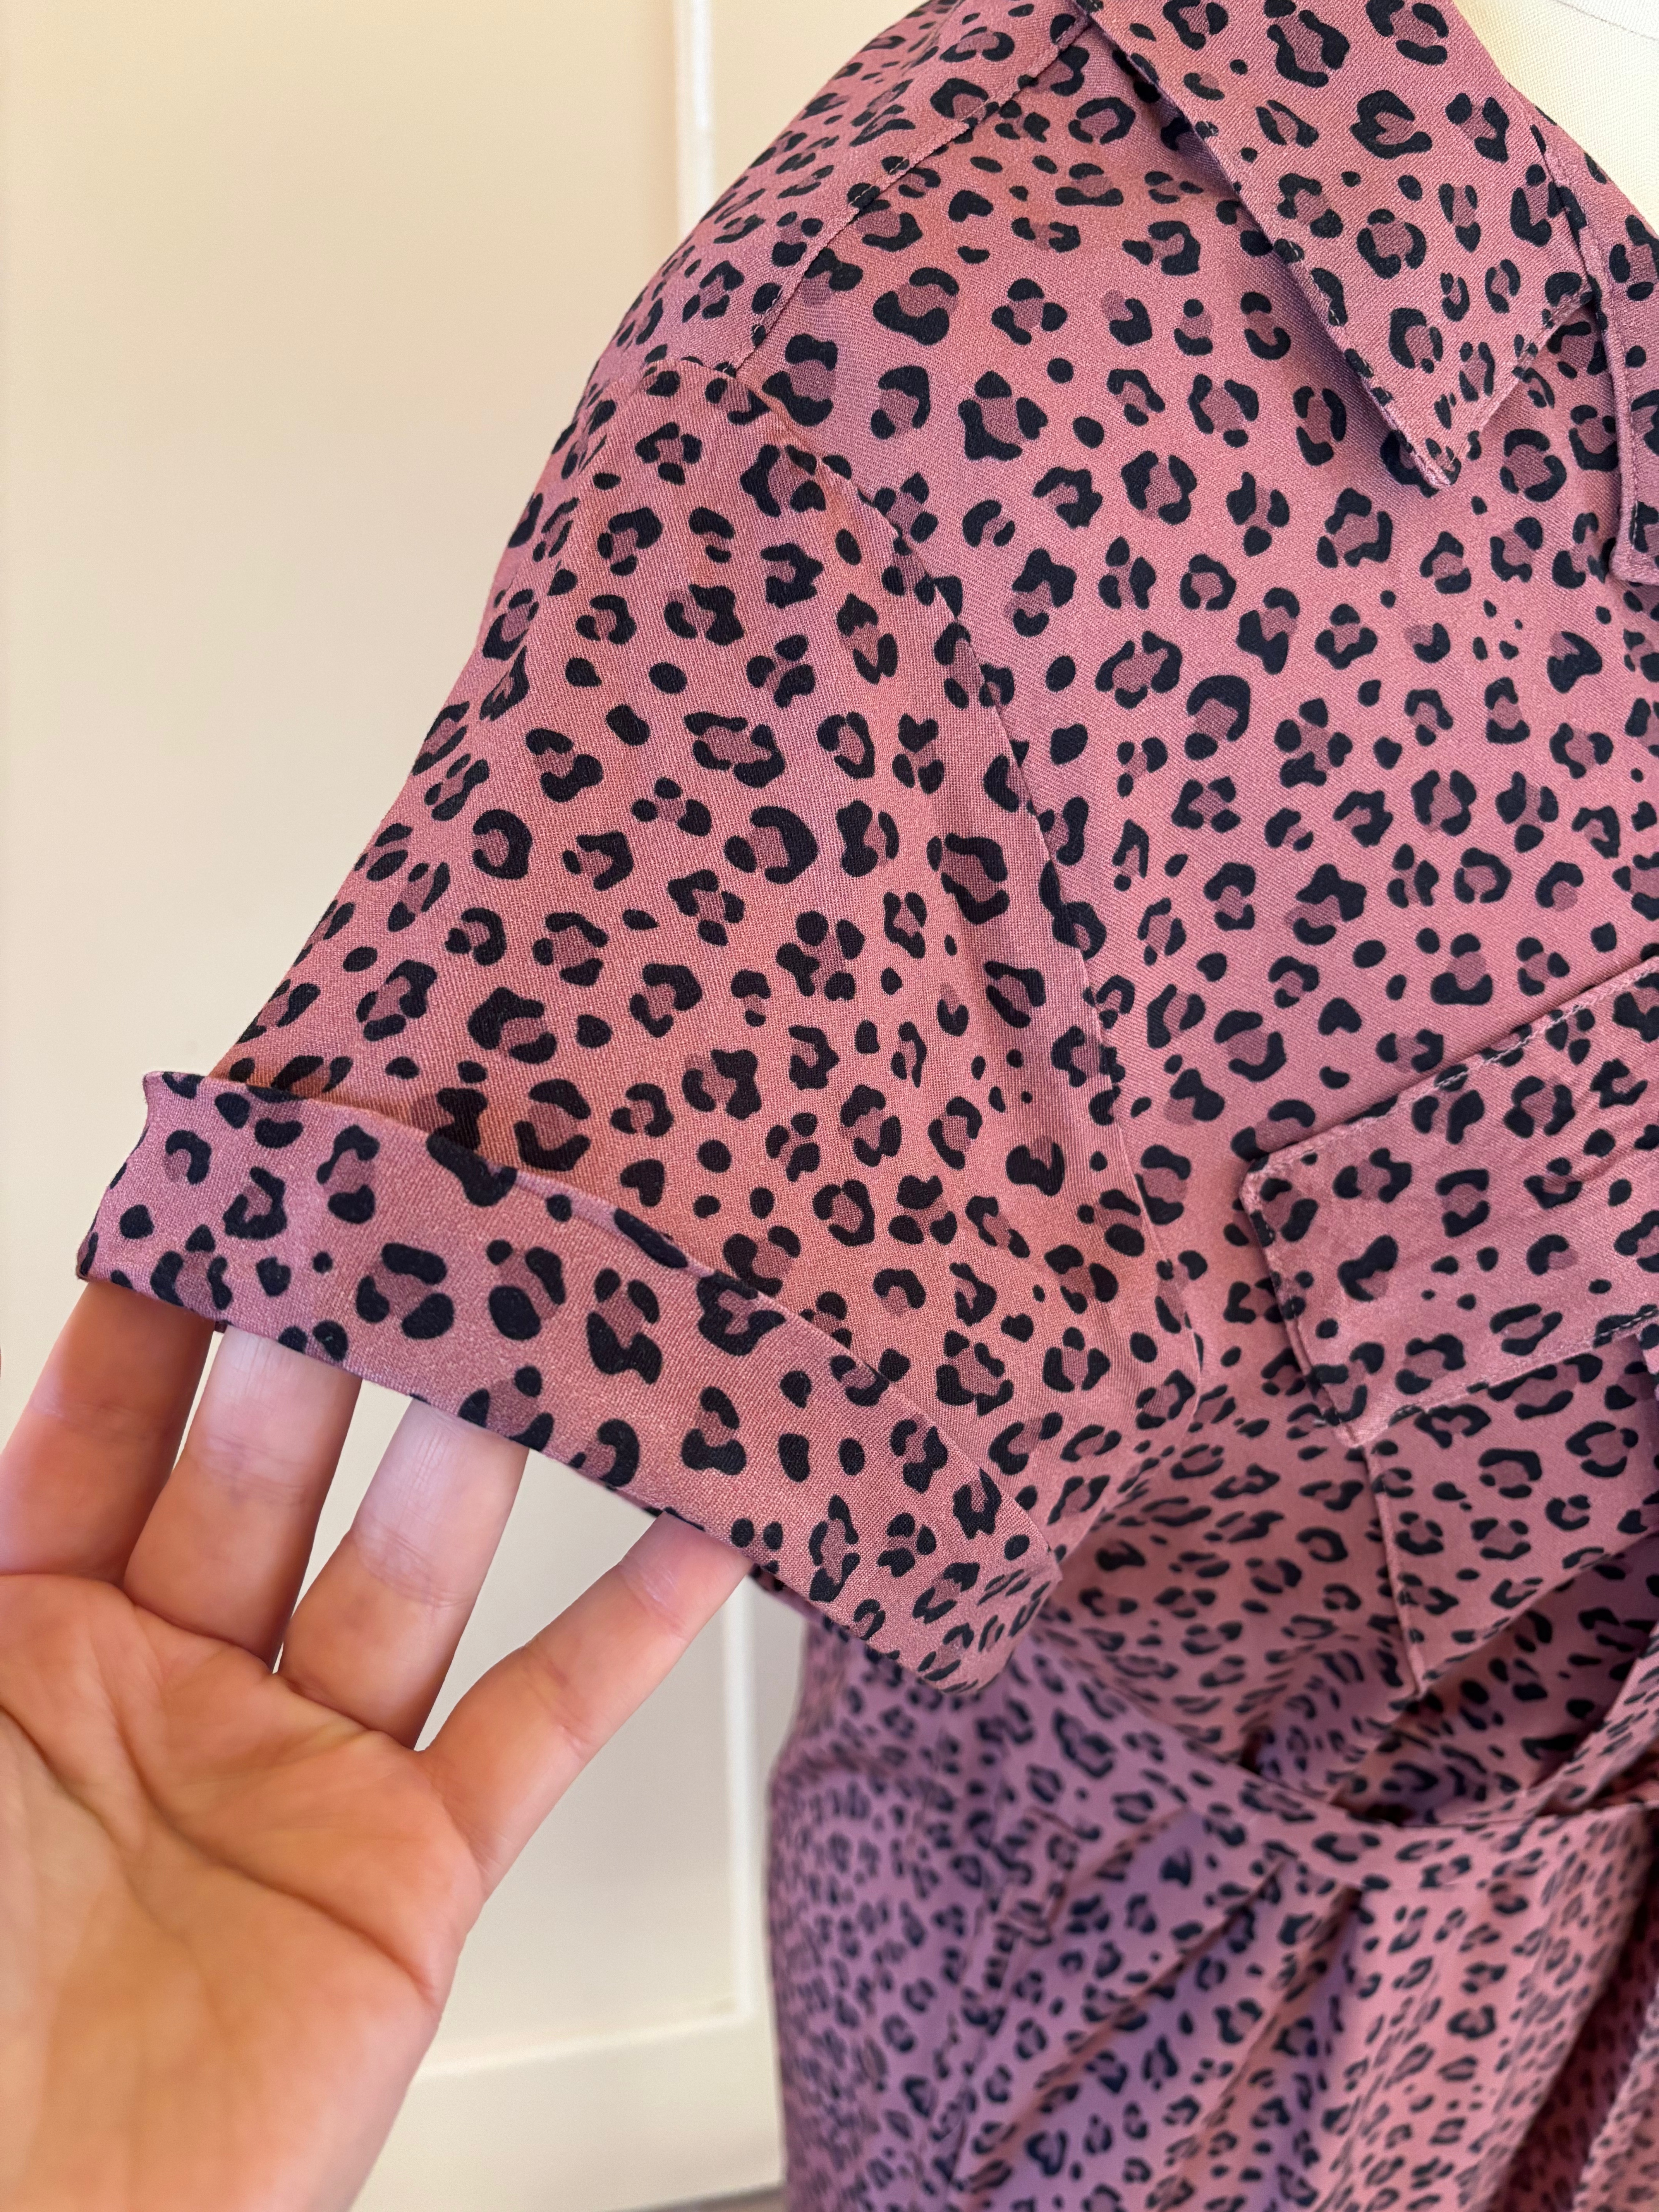
My favourite feature of this dress is actually the sleeve cuff – it’s a band cut on the bias and folded up, with a little tack to hold it in place. It just sits so fluidly – so much more nicely than a band cut on grain would ever be.
Great to have a quick throw on dress for morning errands before I come back home and put on my daggy renovating clothes and get to work!
