

Usually with non-stretch fabric I always make a toile, so I can get the proportions right. But each stretch fabric behaves differently, so I have found it best to measure twice, baste together with a long stitch that is easily removed, and then adjust the fit to suit when trying it on.
I found when I basted the bodice pieces together that this pattern had a LOT of ease in it – and I had picked this size as it exactly matched my measurements. So I ended up taking quite a bit out at the seams. But the waist line on my fabric was above my natural waistline, and for a moment I despaired that I wouldn’t be able to adjust this – then I added the skirt to the bodice and magically, the waistline was now spot on. The weight of the skirt fabric was stretching out the bodice.
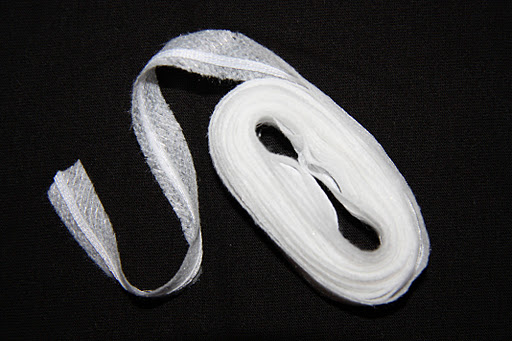
Stabilising Tape: This pattern calls for ‘stabilising tape’, which is a nifty little invention. It’s a strip of fabric cut on the bias so it can move with the fabric, but with a straight stitch down the centre. In this garment’s case, it also helps to stop the neckline from gaping, preventing unwanted exposure! Here’s the stabilising tape I have in my sewing tool box:
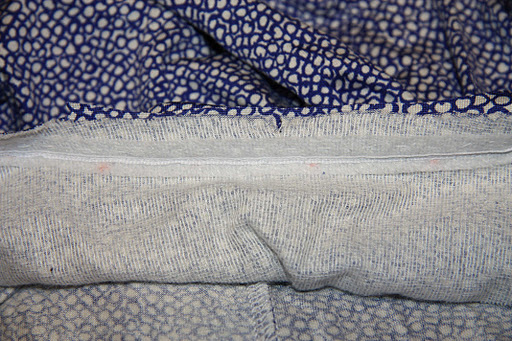
This dress has tape around the neckline, across the front and around the waistline, and you can (just!) see I attached it initially using basting stitches before using the lightning stitch to create the seam (you can get a better view if you click on the photo to enlarge it).
Then, to get a RTW (ready-to-wear) finish, I used the over locker to cut back the seam allowance. Over lockers (or sergers, depending on your geographical location) are perfect for sewing with stretch – just whack it on differential feed and off you go, a seam that is fully encased but which is also allows the fabric to stretch without any chance of popped seams:

Facings: Stretch doesn’t generally tend to need facings. If you look at your store bought stretch items, you’ll note the finishes they have are not exactly achievable by your average home sewing enthusiast – industry has special machines specifically for this! This dress called for facings however, which means you need a way of keeping them down so they don’t flap around.
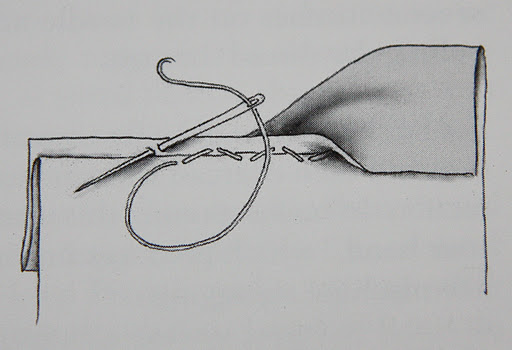
This pattern asks you to cut iron on interfacing (whisperweft is perfect for this as it stretches with your fabric to a degree) from the facing pattern pieces, then attach them directly to the wrong side of your fabric. Once the facing pieces have been sewn onto your fabric, you then stitch (by hand – using a blindstitch) the facing to the interfacing. Fabulous, as you don’t end up with your stitches showing through or puckering your shell fabric. Below is a drawing of the blindstitch, taken from ‘Couture Sewing Techniques‘ by Claire Shaeffer – page 31 of the edition published in 1994:
So all that needs doing now is to finish sewing the facing down, and then to hem the thing (the one part about sewing that I don’t really enjoy). Maybe I’ll be temporarily sidetracked by my jacket instead!

I'm sure your dress is going to be marvellous, that fabric is such a lovely print! Every girl needs a wrap dress in her wardrobe, yes? :)(and thanks for your comment too, btw!)
Thanks Carolyn :) I'm looking forward to the end result!