
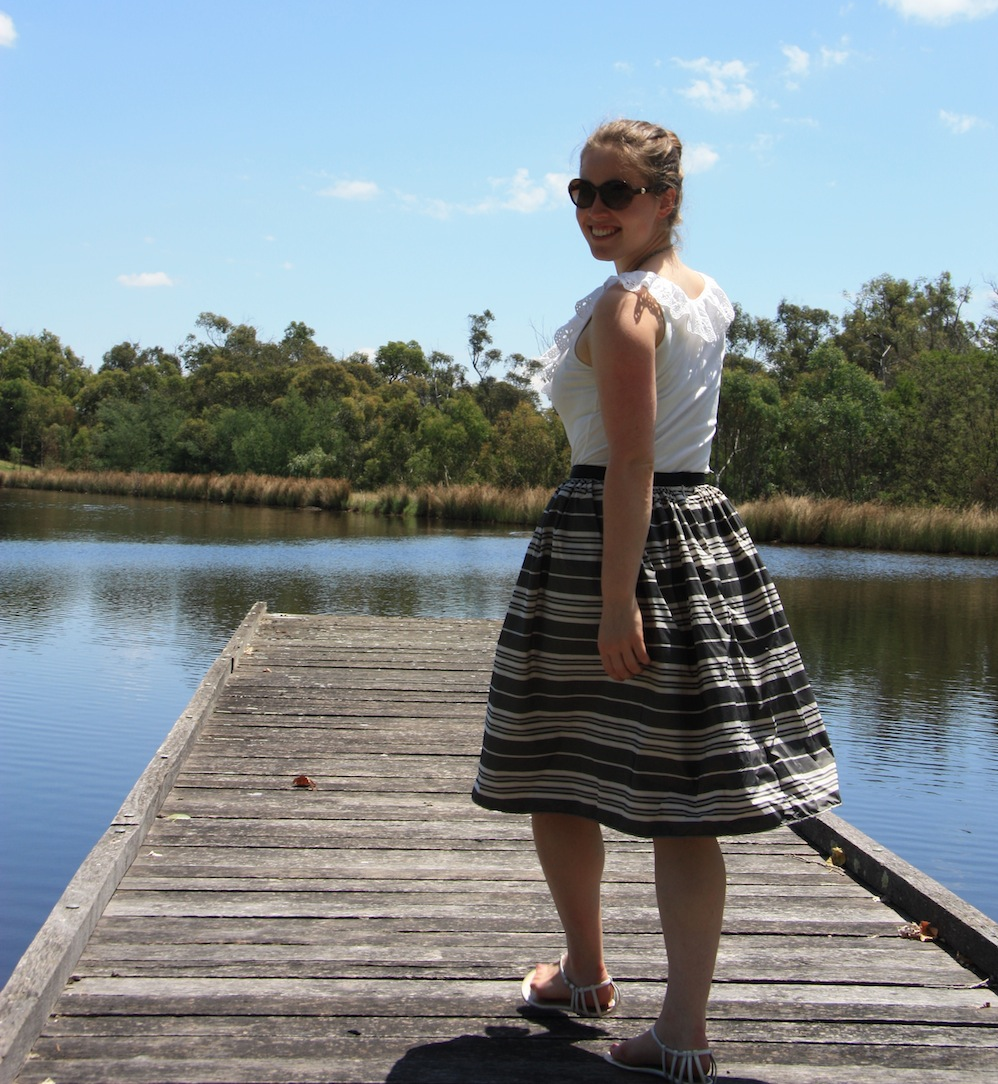

A gathered rectangular skirt with a grosgrain waist ribbon – about the simplest thing a seamstress could make for herself! Non?

I made this skirt in a single sitting – a world record for me. No toile, no seam ripping, no swearing, just instant satisfaction. I bought this grey and white striped taffeta (about the first wholly synthetic fabric I’ve ever bought…) from Tessuti, and used a black grosgrain ribbon for the waistband (23mm wide) from my usual ribbon supplier – Ribbons Galore.

Taffeta is puuurfect for this kind of skirt – it holds its shape and remains poofed nicely. The fabric is so light it won’t sag under its own weight!
It’s also great for when you’re planning to eat a feast – the waistband keeps you looking slim whilst your stomach is allowed to expand to the required size… without giving away that you’ve eaten more than you should!

You can whip one of these up just as easily as I did – and all you’ll need is your waist measurement:
1. Multiply your waist measurement by 1.9 (or 2 if you feel like rounding up), and you’ll have the length of fabric you’ll need to buy.
The fabric selvedge will be the part that goes around your waist – so choose how long you’d like your skirt to be from here (plus your hem allowance), then cut the offending remainder off.
2. Finish the two raw edges of your fabric with your preferred seam finish and apply your invisible zip (I used a 25cm one) – follow my post on how to get a lovely result on this here.

3. Sew two rows of gathering stitch (about 3.5 – 4 stitch width, the smaller the stitch, the tighter the gather), one each side of the proposed seam line. So here I’ve got a row at 1cm from the edge and 2cm from the edge – my seam line will be the standard 1.5cm. Make sure you leave yourself a nice healthy tail when you cut your thread, you’ll need this to pull!
4. Grab two threads and do just that, pushing your fabric away from you at the same time:

Keep gathering until you’ve got the gathered edge of your fabric down to your skirt’s finished waist measurement – this is your waist measurement, plus 3cm of ease, plus an additional 4cm for the tab to attach a hook and bar (this includes a seam allowance). So for example, my waist is 75cm + 3cm + 4cm = 82cm.
5. For the grosgrain ribbon, take this measurement and double it – 82 x 2 = 1.64m. This is the length you’ll need. Sew the ends together with a 1.5cm seam allowance – then trim back to 0.5cm and iron flat.
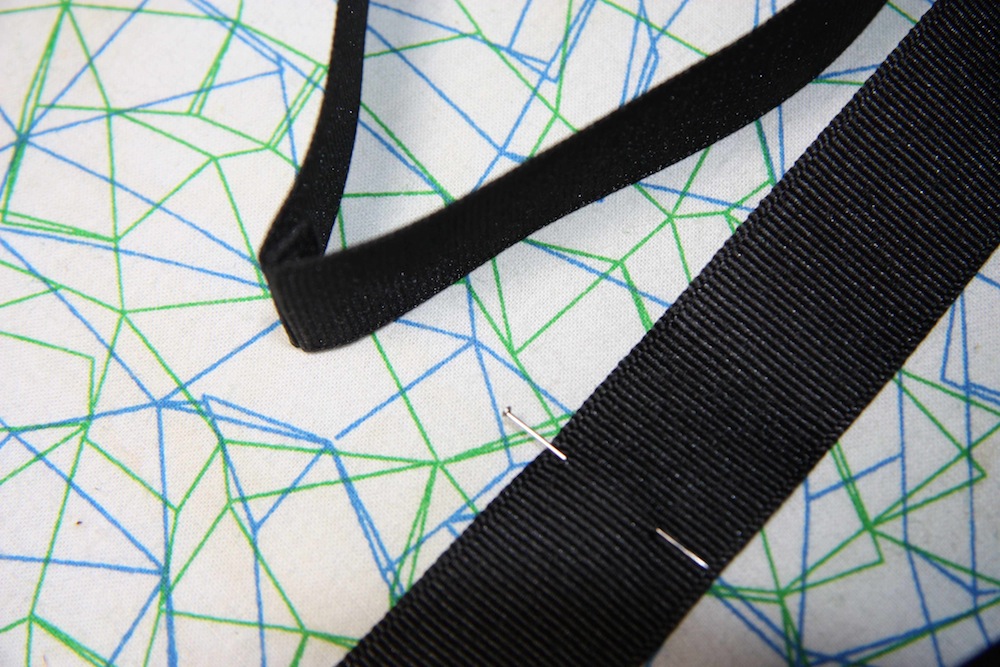
Stick a pin in the half way mark – then iron that folded too. You’ll have a circle of grosgrain ribbon with a seam at one half point and an ironed fold at the other.
6. Take the folded half way mark and slot one end of the fabric in it – pin to secure. The little plastic nub should sit just underneath the ribbon:
Then take the end with the seam in it, and place the other end of your fabric 2.5cm away from the ribbon edge/seam – pin to secure:
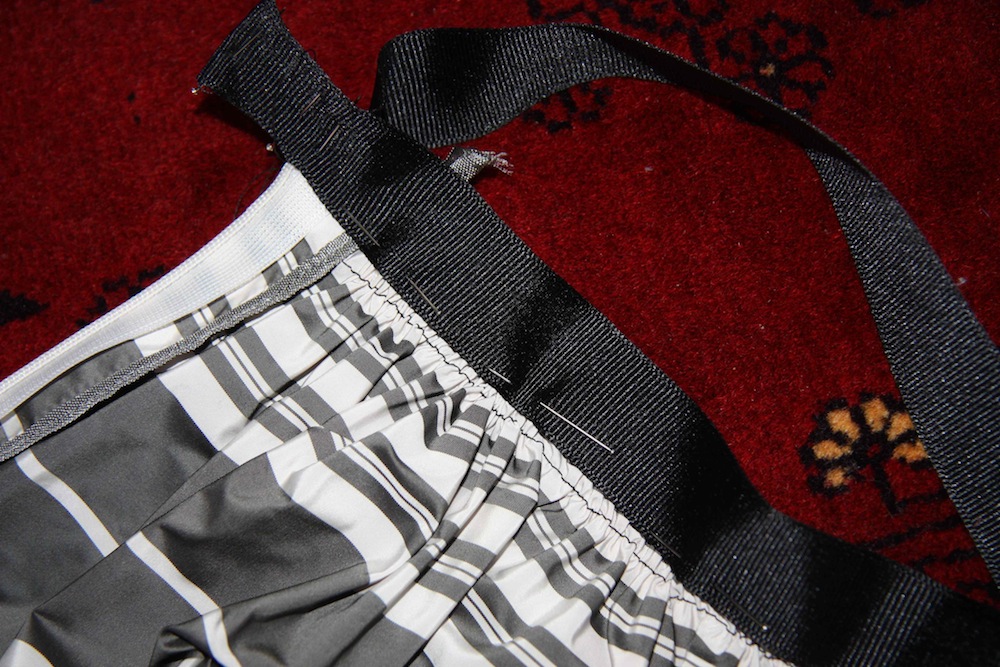
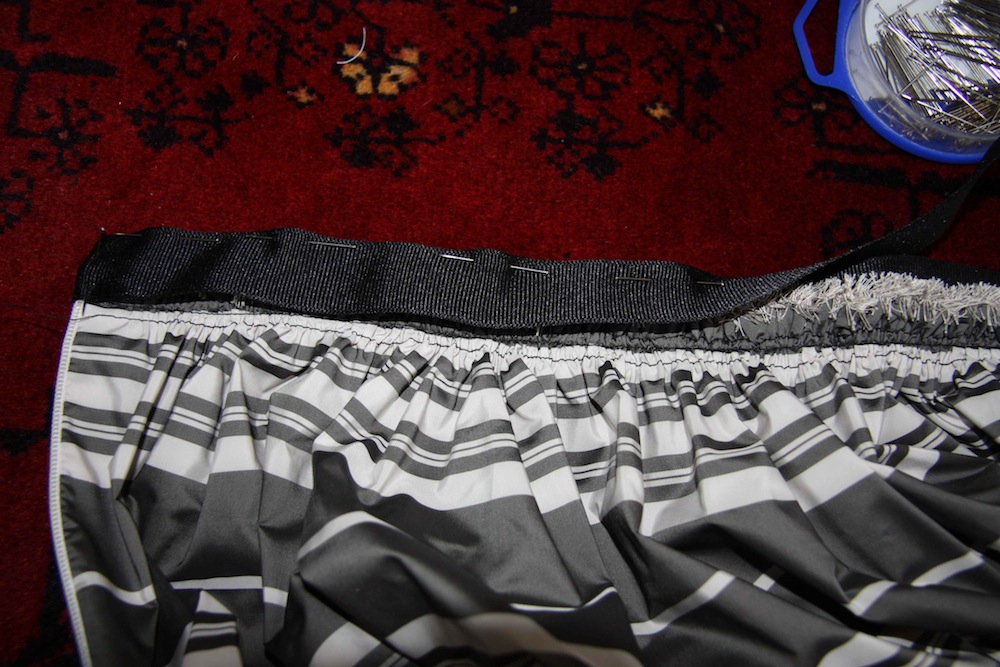
Then start pinning your gathered fabric to the ribbon that will be on the inside, spreading out the gathers so they’re fairly even. Yeah, you probably could get technical and mark the half way and quarter points on your fabric and match them up on your ribbon, but I’m just eyeballing it.
Then sew along to secure your skirt to the ribbon.
7. Pin the tops of your two ribbon edges together, then top stitch around each edge of your ribbon so the seam allowance is completely encased and the ribbon is closed off.
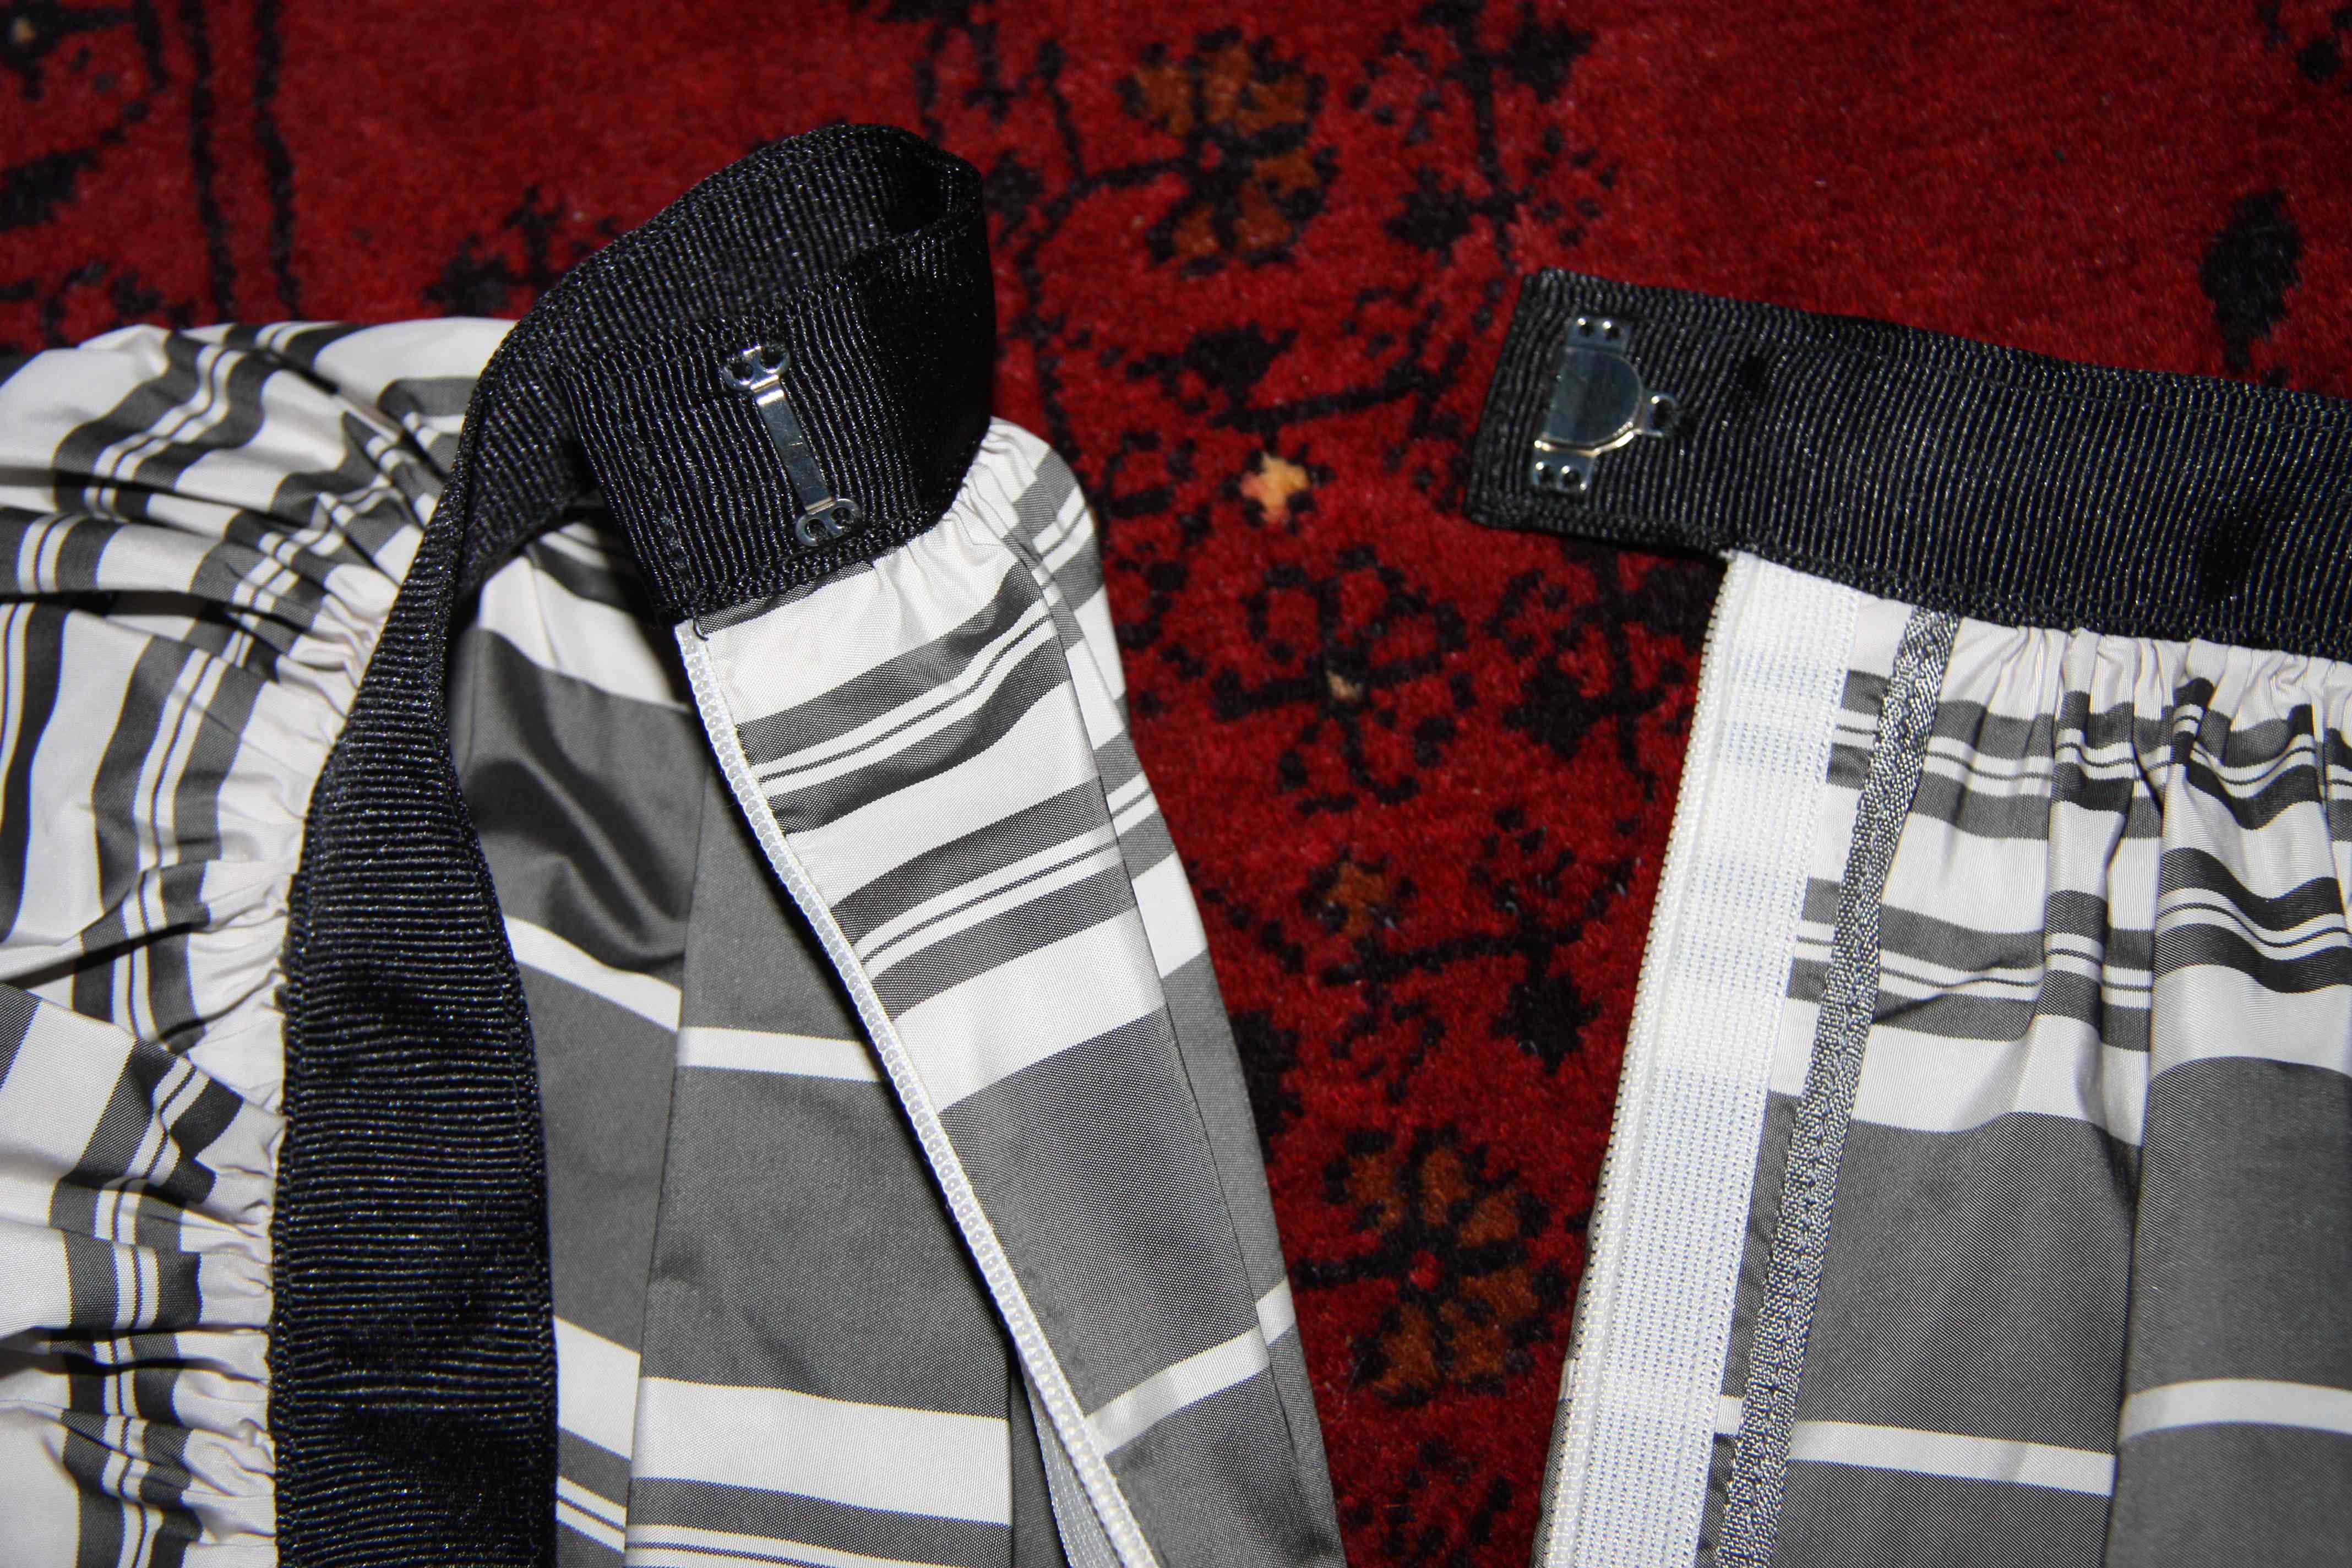
8. Sew on your bar and tack (making sure you get them aligned!):

I love taffeta too and what a fantastic skirt – looks gorgeous on you and the surrounds stunning – Yarra Valley??
Your keen eye is correct – yesterday was an amazing day to spend winery hopping! Thanks :)
Cute skirt & a lovely day out! :) N