

Been a while, crocodiles. And amazingly, I’ve actually been doing quite a lot of sewing. The majority of it is not in any way substantial mind you – nothing quite worth the effort of typing up a ye olde blog post – especially given that blogging has really long since been passed over for micro-blogging (ie the ‘grid’) which in turn, seems to have been superceded nano-vlogging (ie reels/stories and the like).
And I’m not complaining – Insta made micro-blogging far more accessible and it’s truly wonderful to be able to search a pattern hashtag and see it on SO MANY different human shapes. It’s potentially even contributed to an uptick in my own perception of myself and removed some of the relativity comparisons. Seeing makes on your average everyday person in real time has immense potential for inspiration. This new medium gives the masses a voice, and the novelty of choosing my own narrative not solely led by a select few is something I still revel in (even if yes, the algorithm keeps pushing one type of content over another). It’s also fab for finding your body double(s) to see what patterns you like the lines and silhouette of on others before trying yourself!
But I do find myself lamenting the new macro view approach to sharing makes – there is a reduced ability to revel in the details that blogging used to provide (perhaps somewhat ironic given these days I have so little time to even delve into the details… Have I hit my nostalgia era?).
Which is why I feel like this particular make deserves it’s own post. Detail heavy. New-to-me processes and materials. Close up landscape photos.
This, is my Oxbow Tote – in the overnight size:

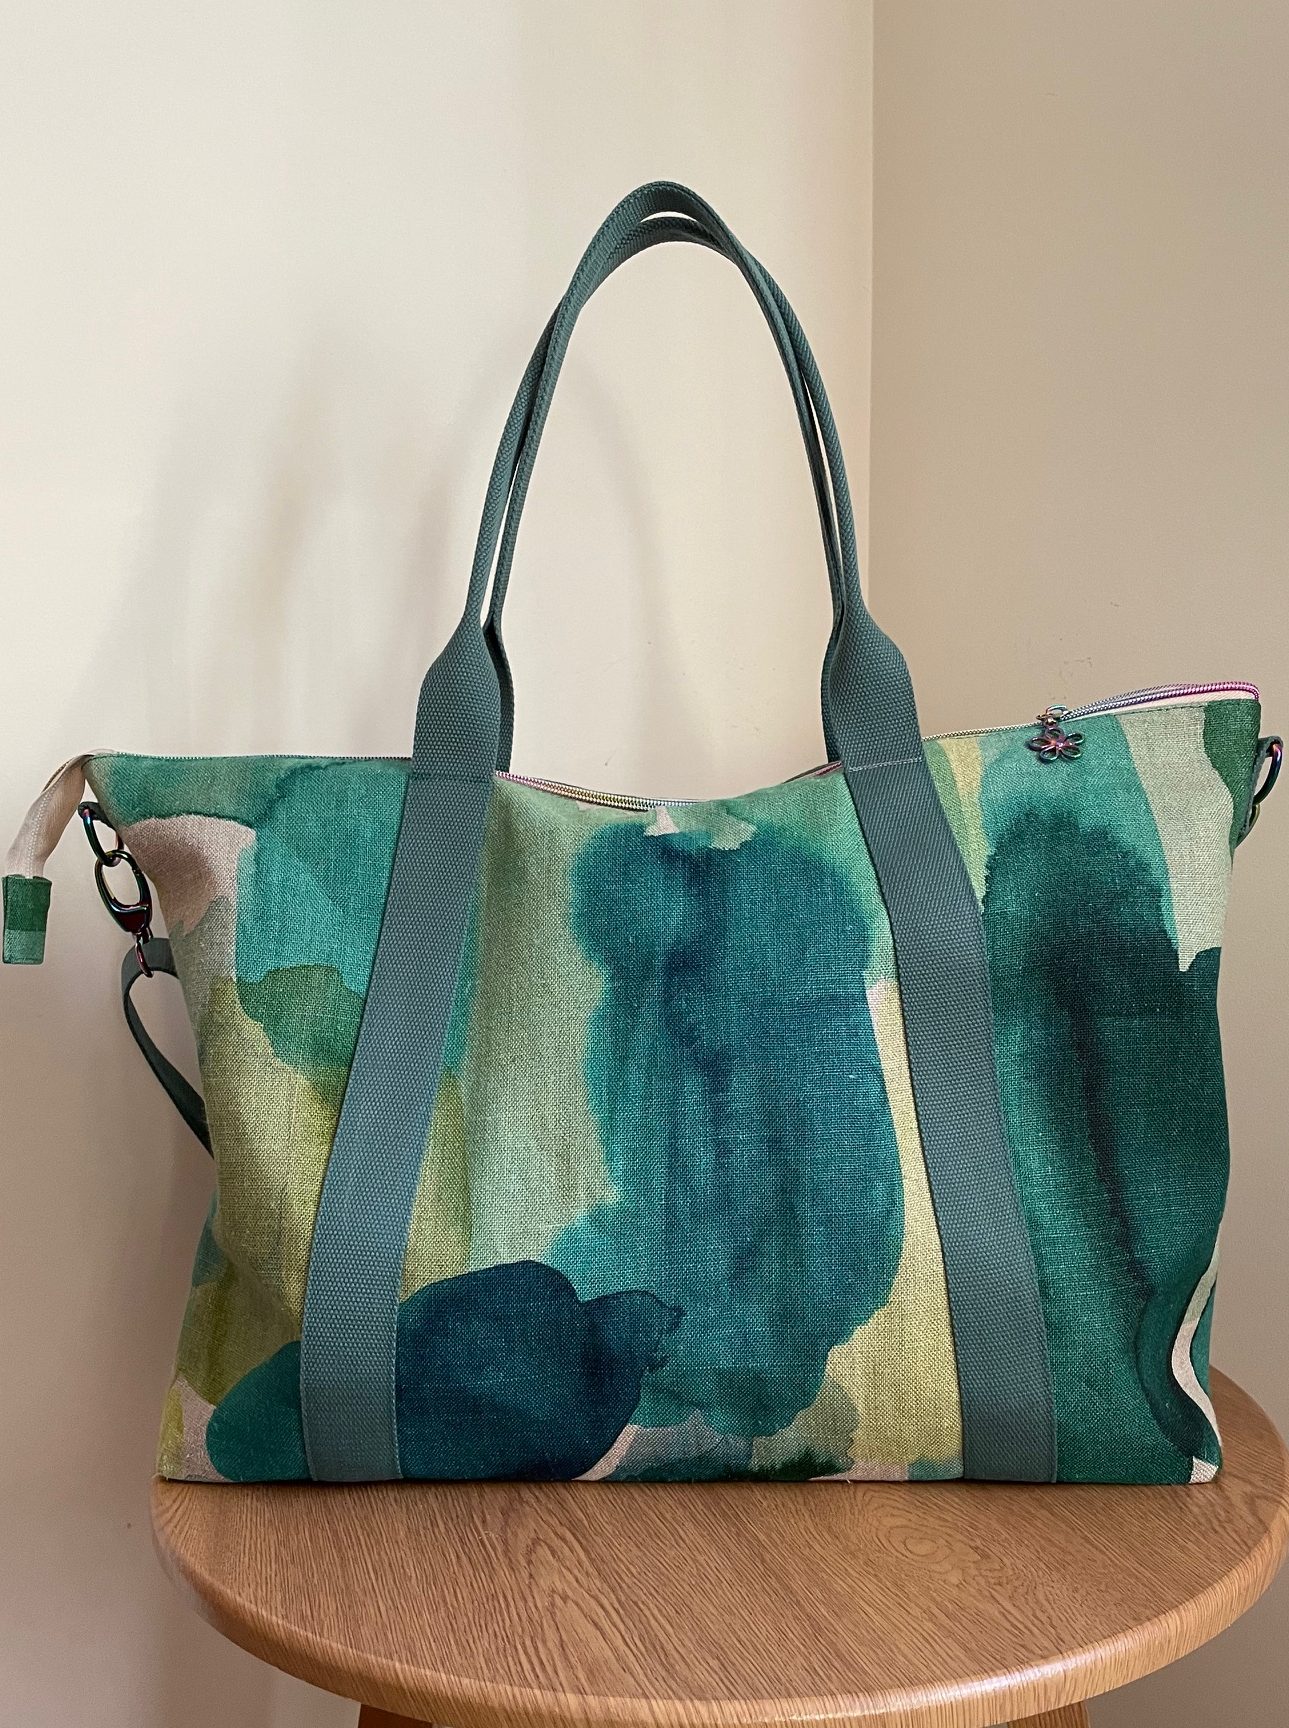


And it all started after I saw Liz’s Oxbow tote (@_busylizzie) in a solid dopamine hit of hot pink and red Marimekko fabric. I’d been using my original nappy bag (circa 2016) as my gym bag and had already been wanting to replace it with something, so this was just the bolt of ‘get-moving’ that I needed. The fact that Liz mentioned this was also the perfect carry-on luggage tote really got me moving to finish this in time for a family holiday – thanks Liz!
FABRIC, MATERIALS AND NOTIONS
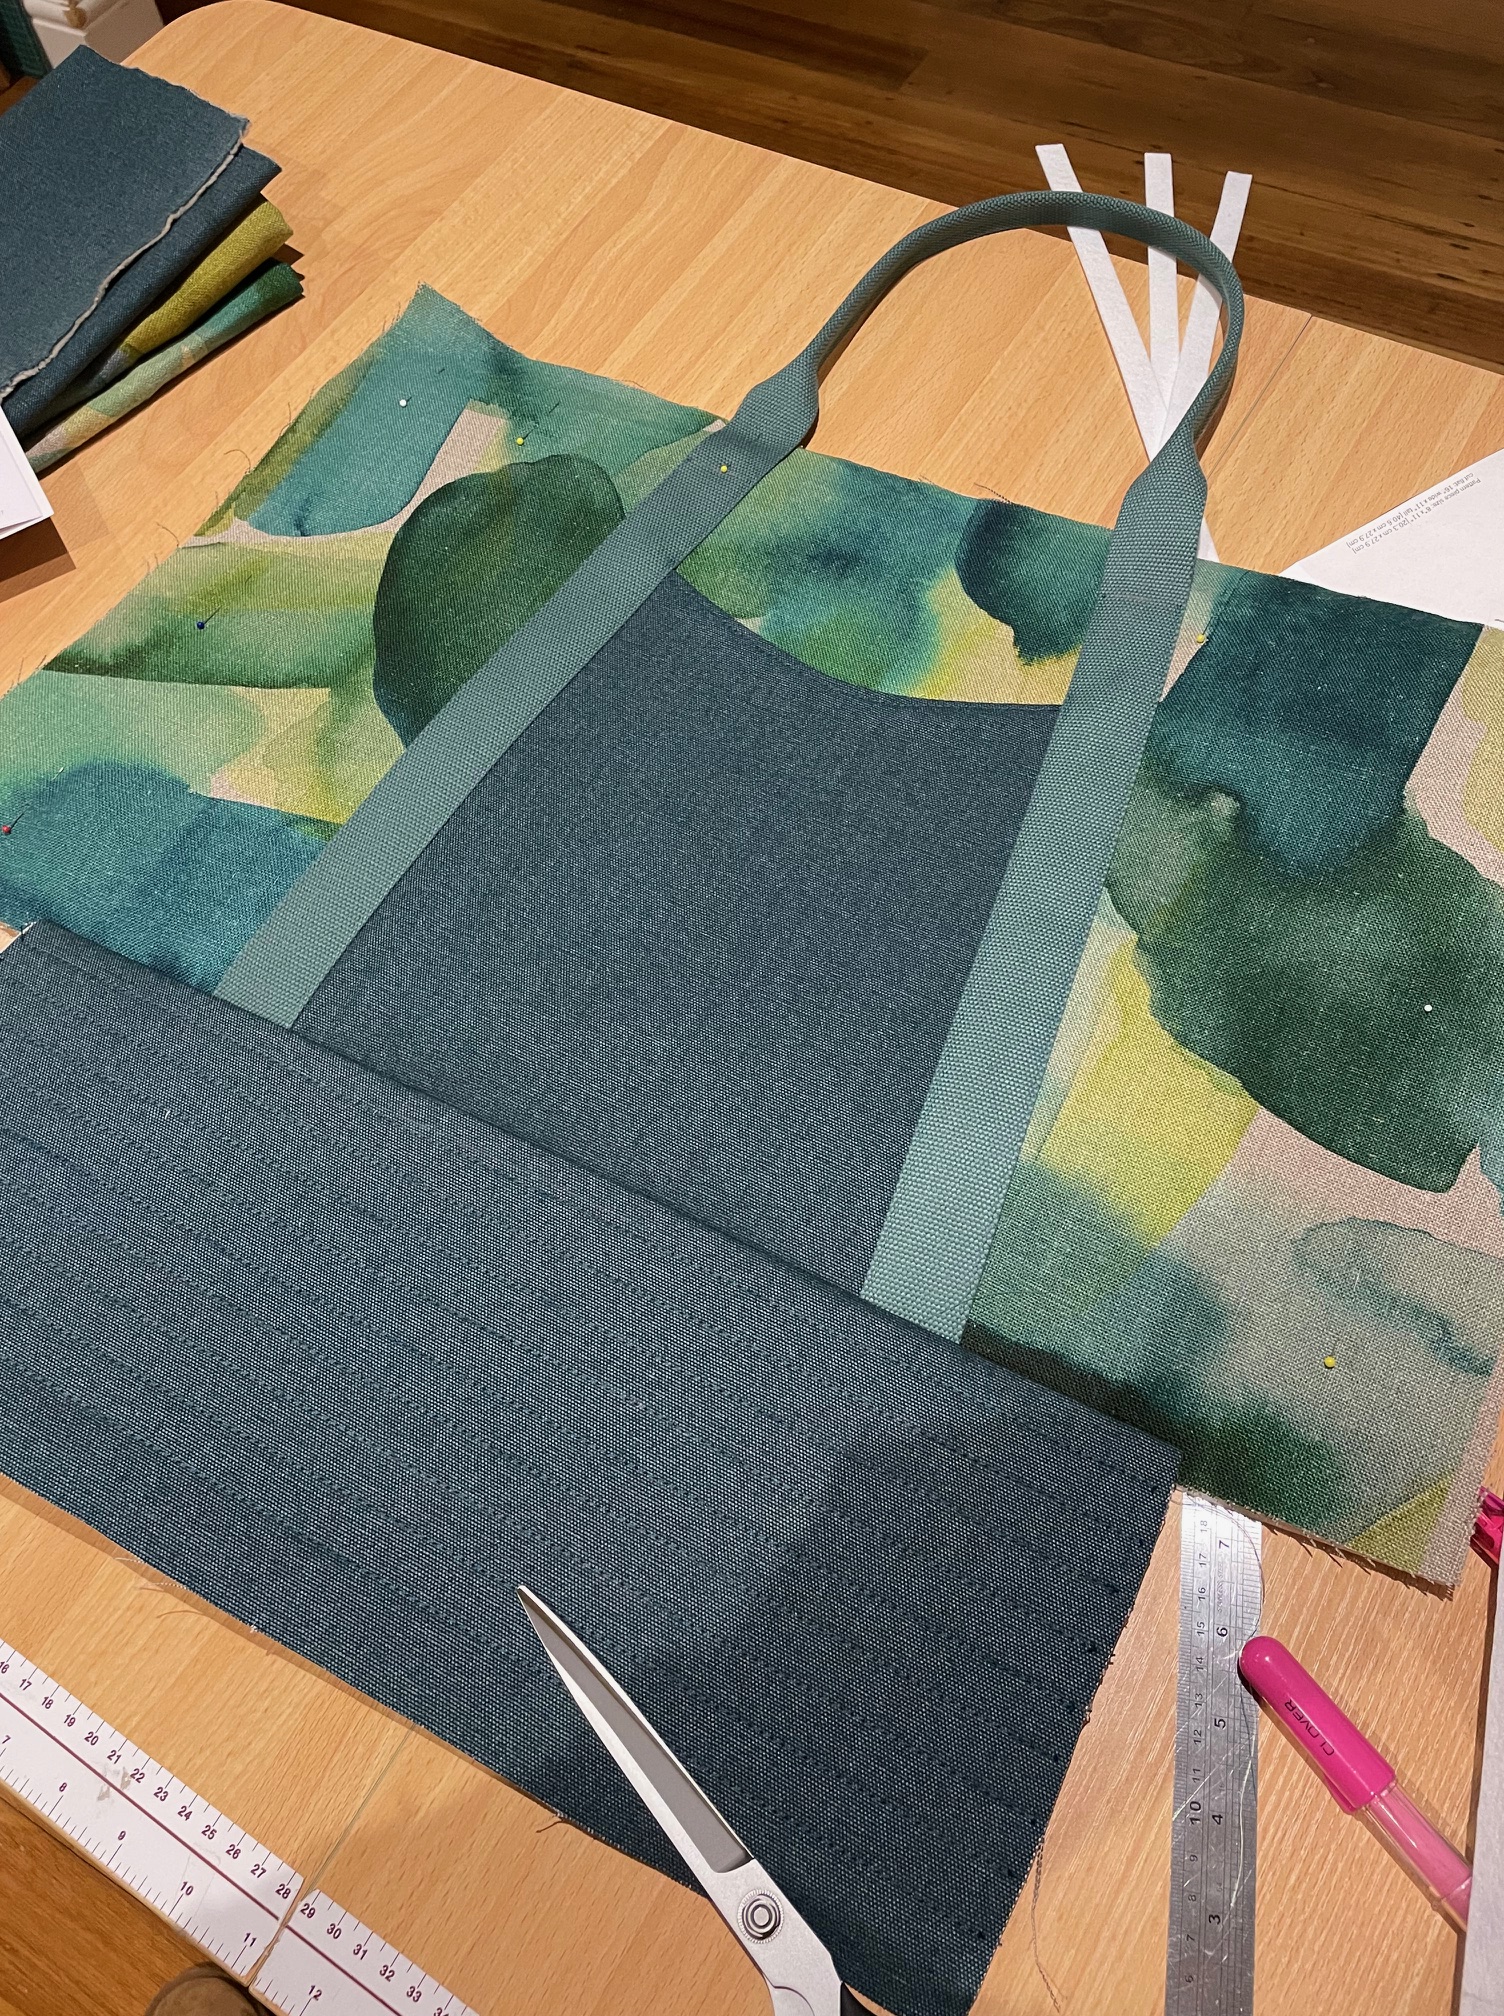
The outer fabric is a heavy upholstery weight linen from BlueBellGray, in a print that I can’t recall the name of and seems to not currently be in production. I managed to find (on the Noodlehead website, no less!) cotton webbing that was the most ideal match for this range of stormy greens, teals and blues!
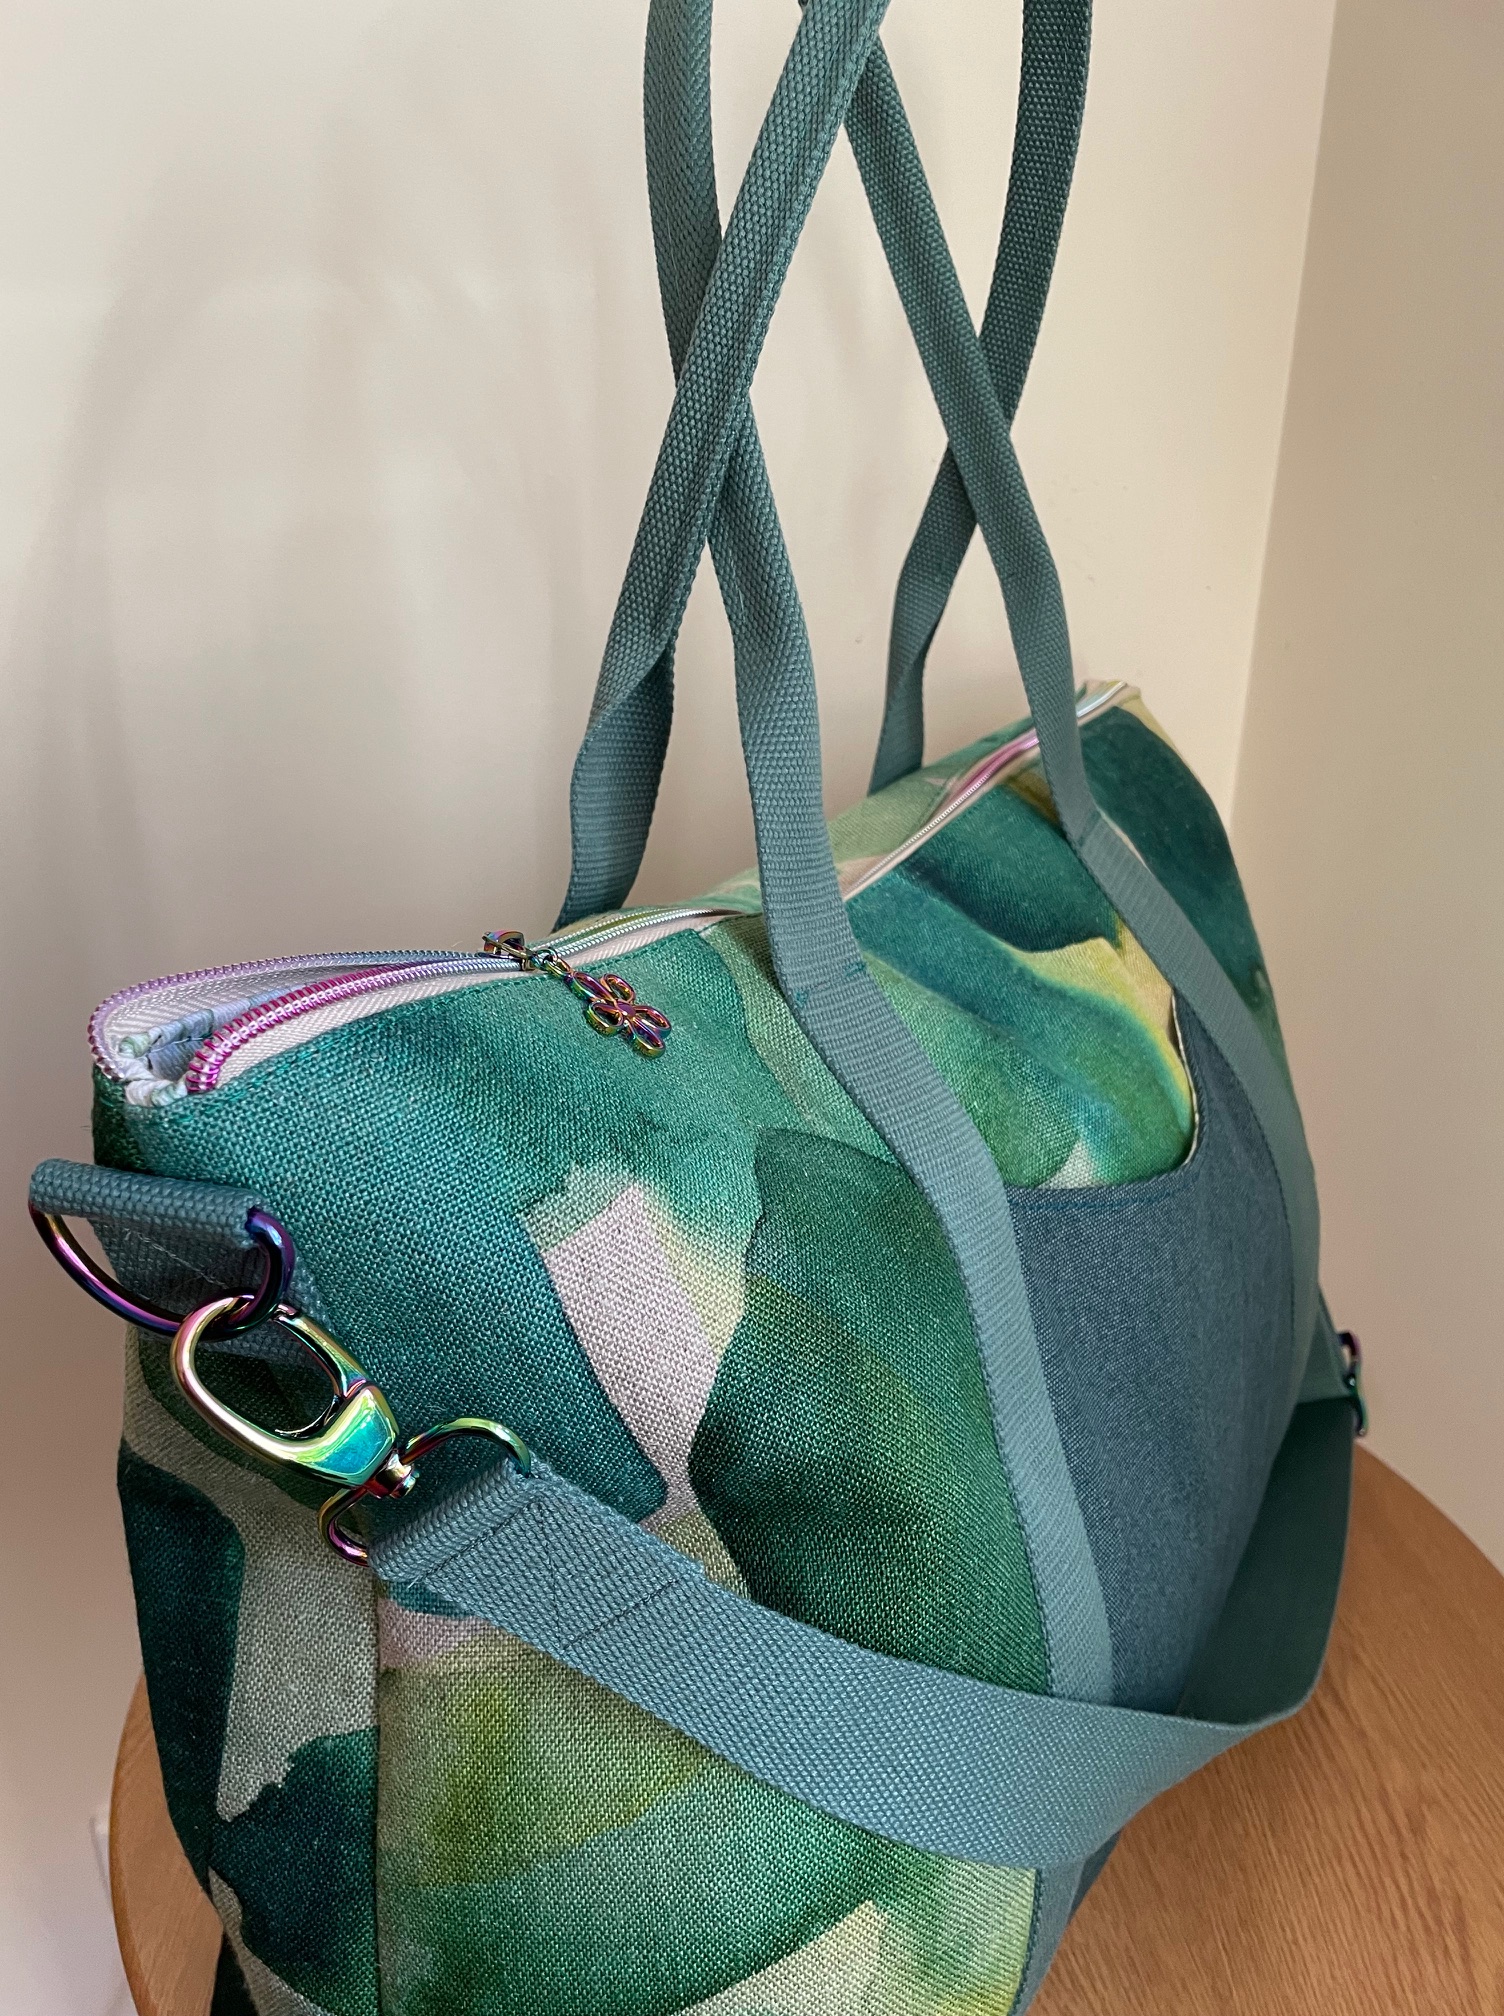
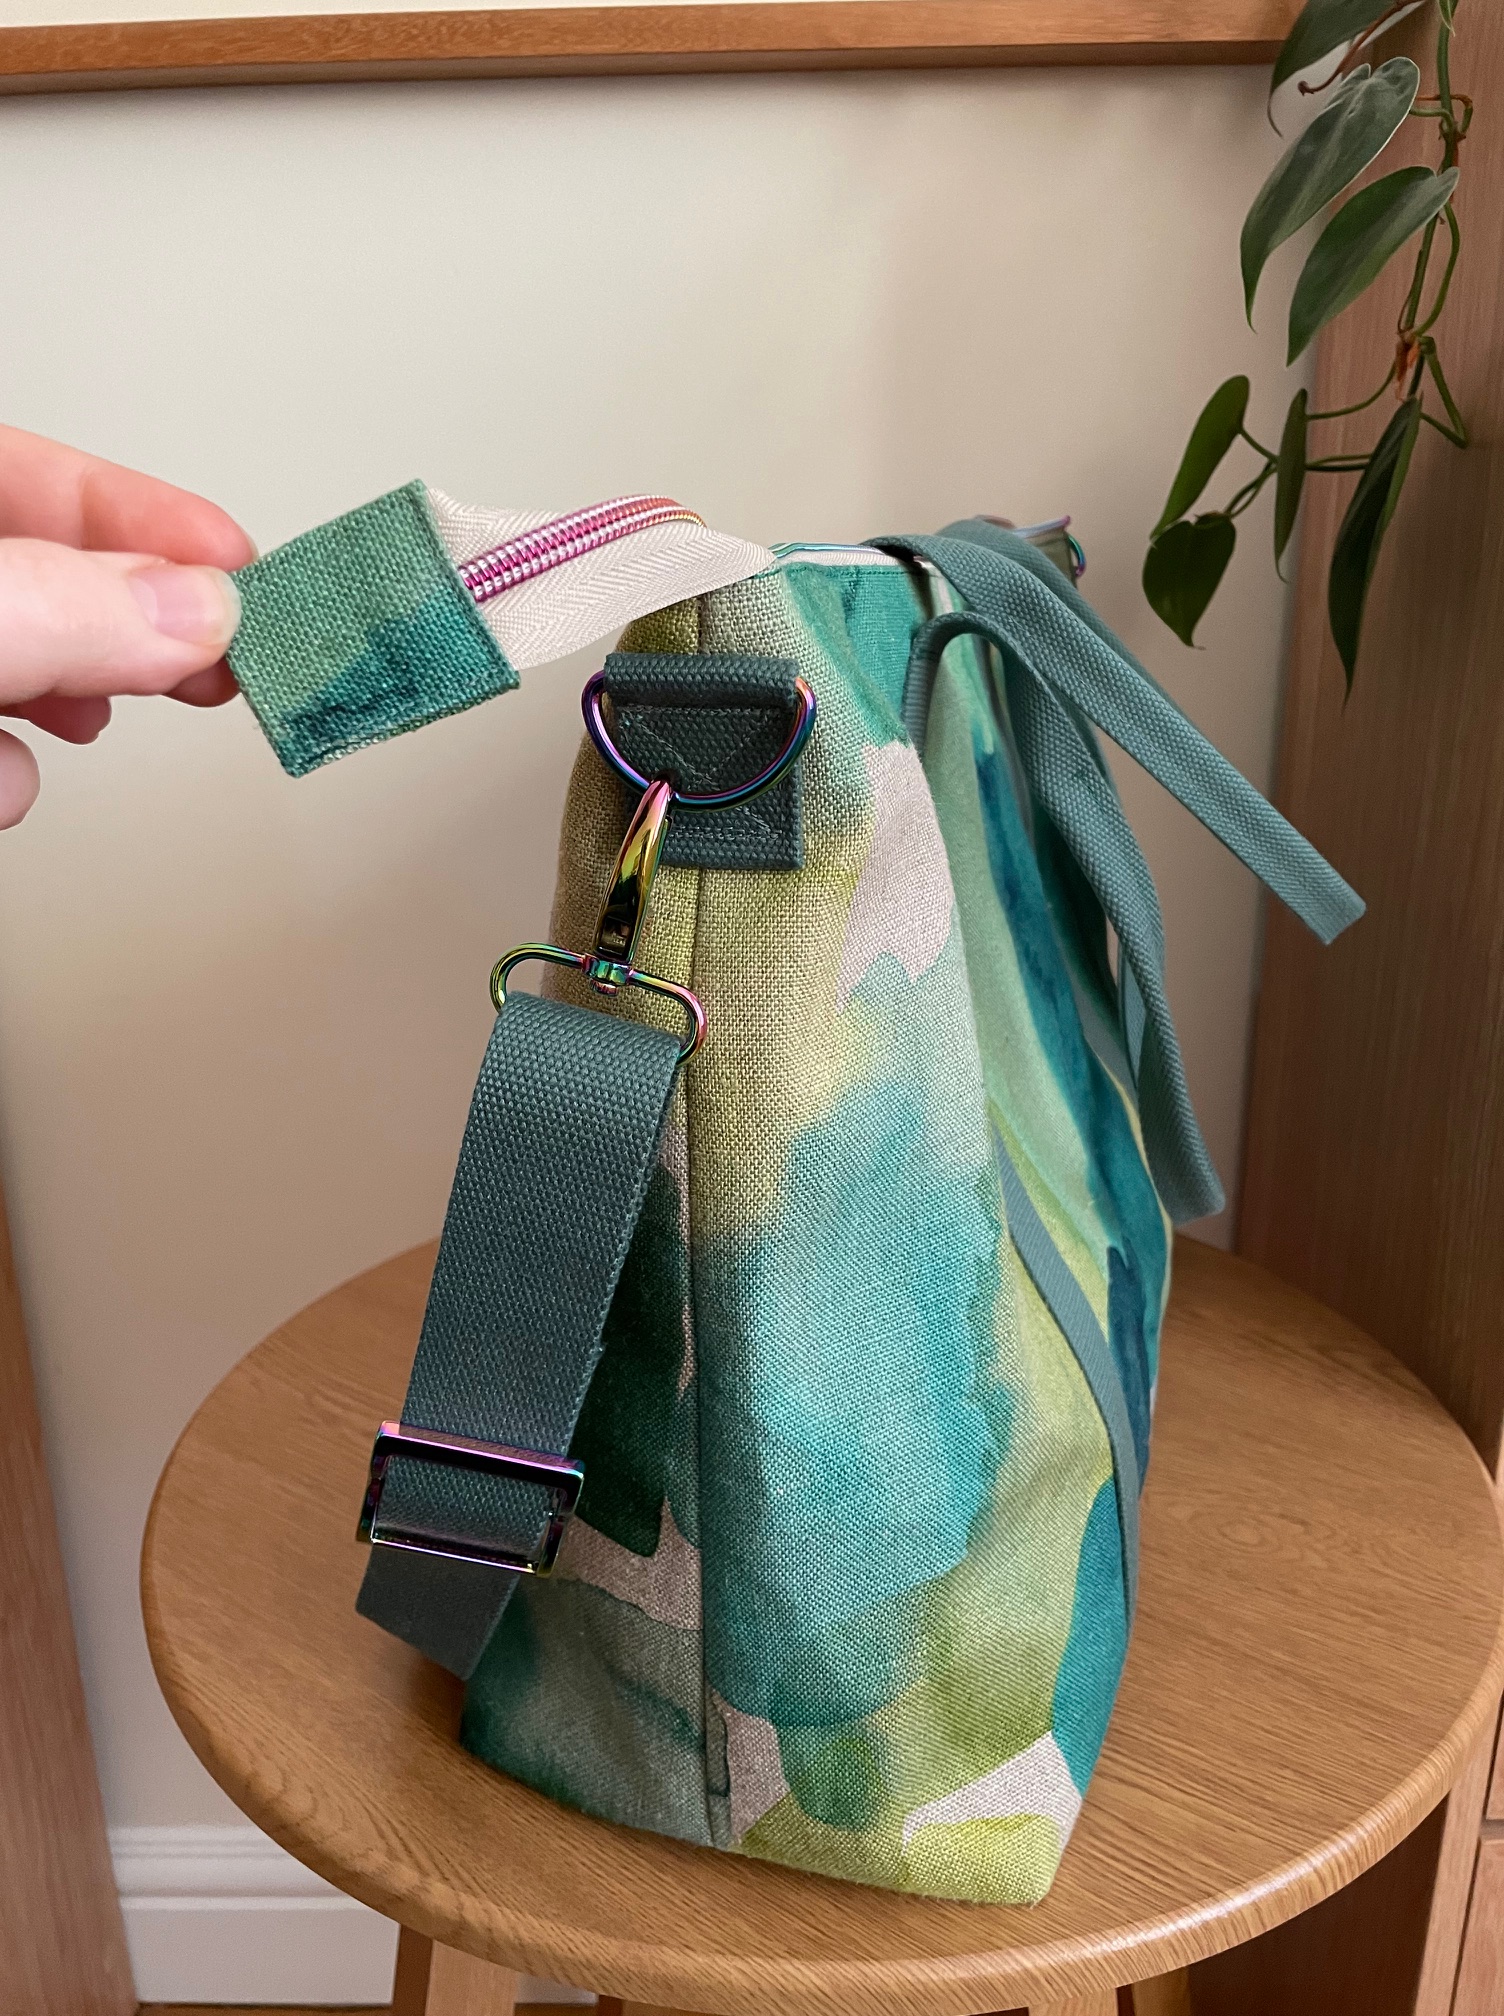
Zip and Hardware is the oil-rainbow finish from Voodoo Rabbit Fabrics – who are Aussie based and have a really fantastic range of bag making accoutrements – D-Rings, tri-glides, zip pulls, swivel snap hooks and magnetic closures. Quick and reasonable postage, too.
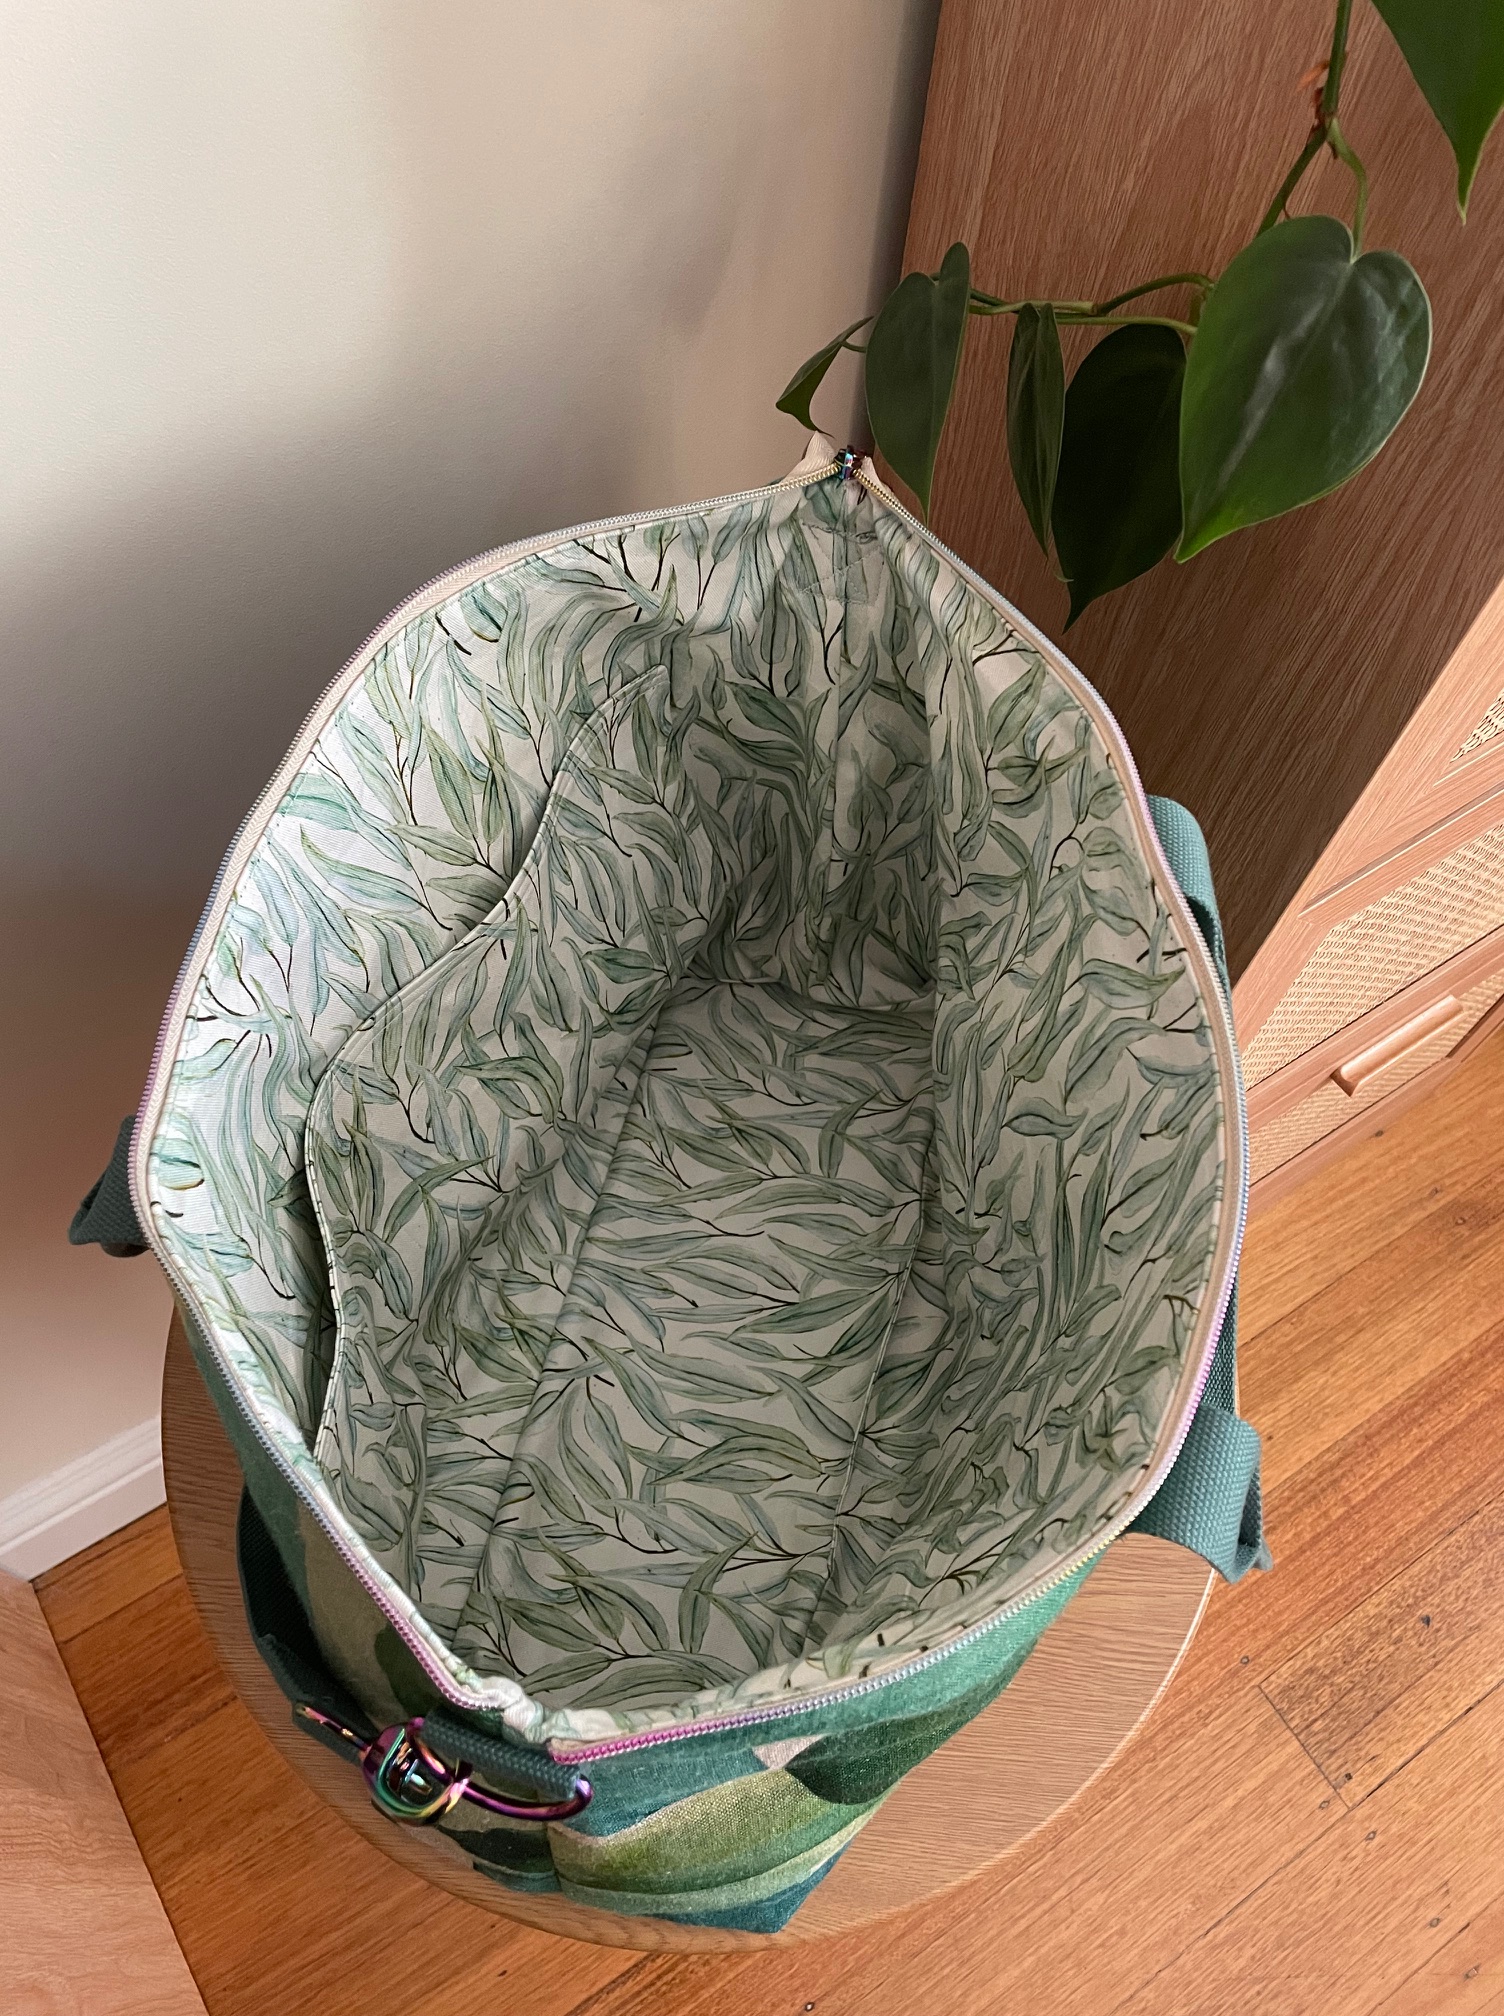
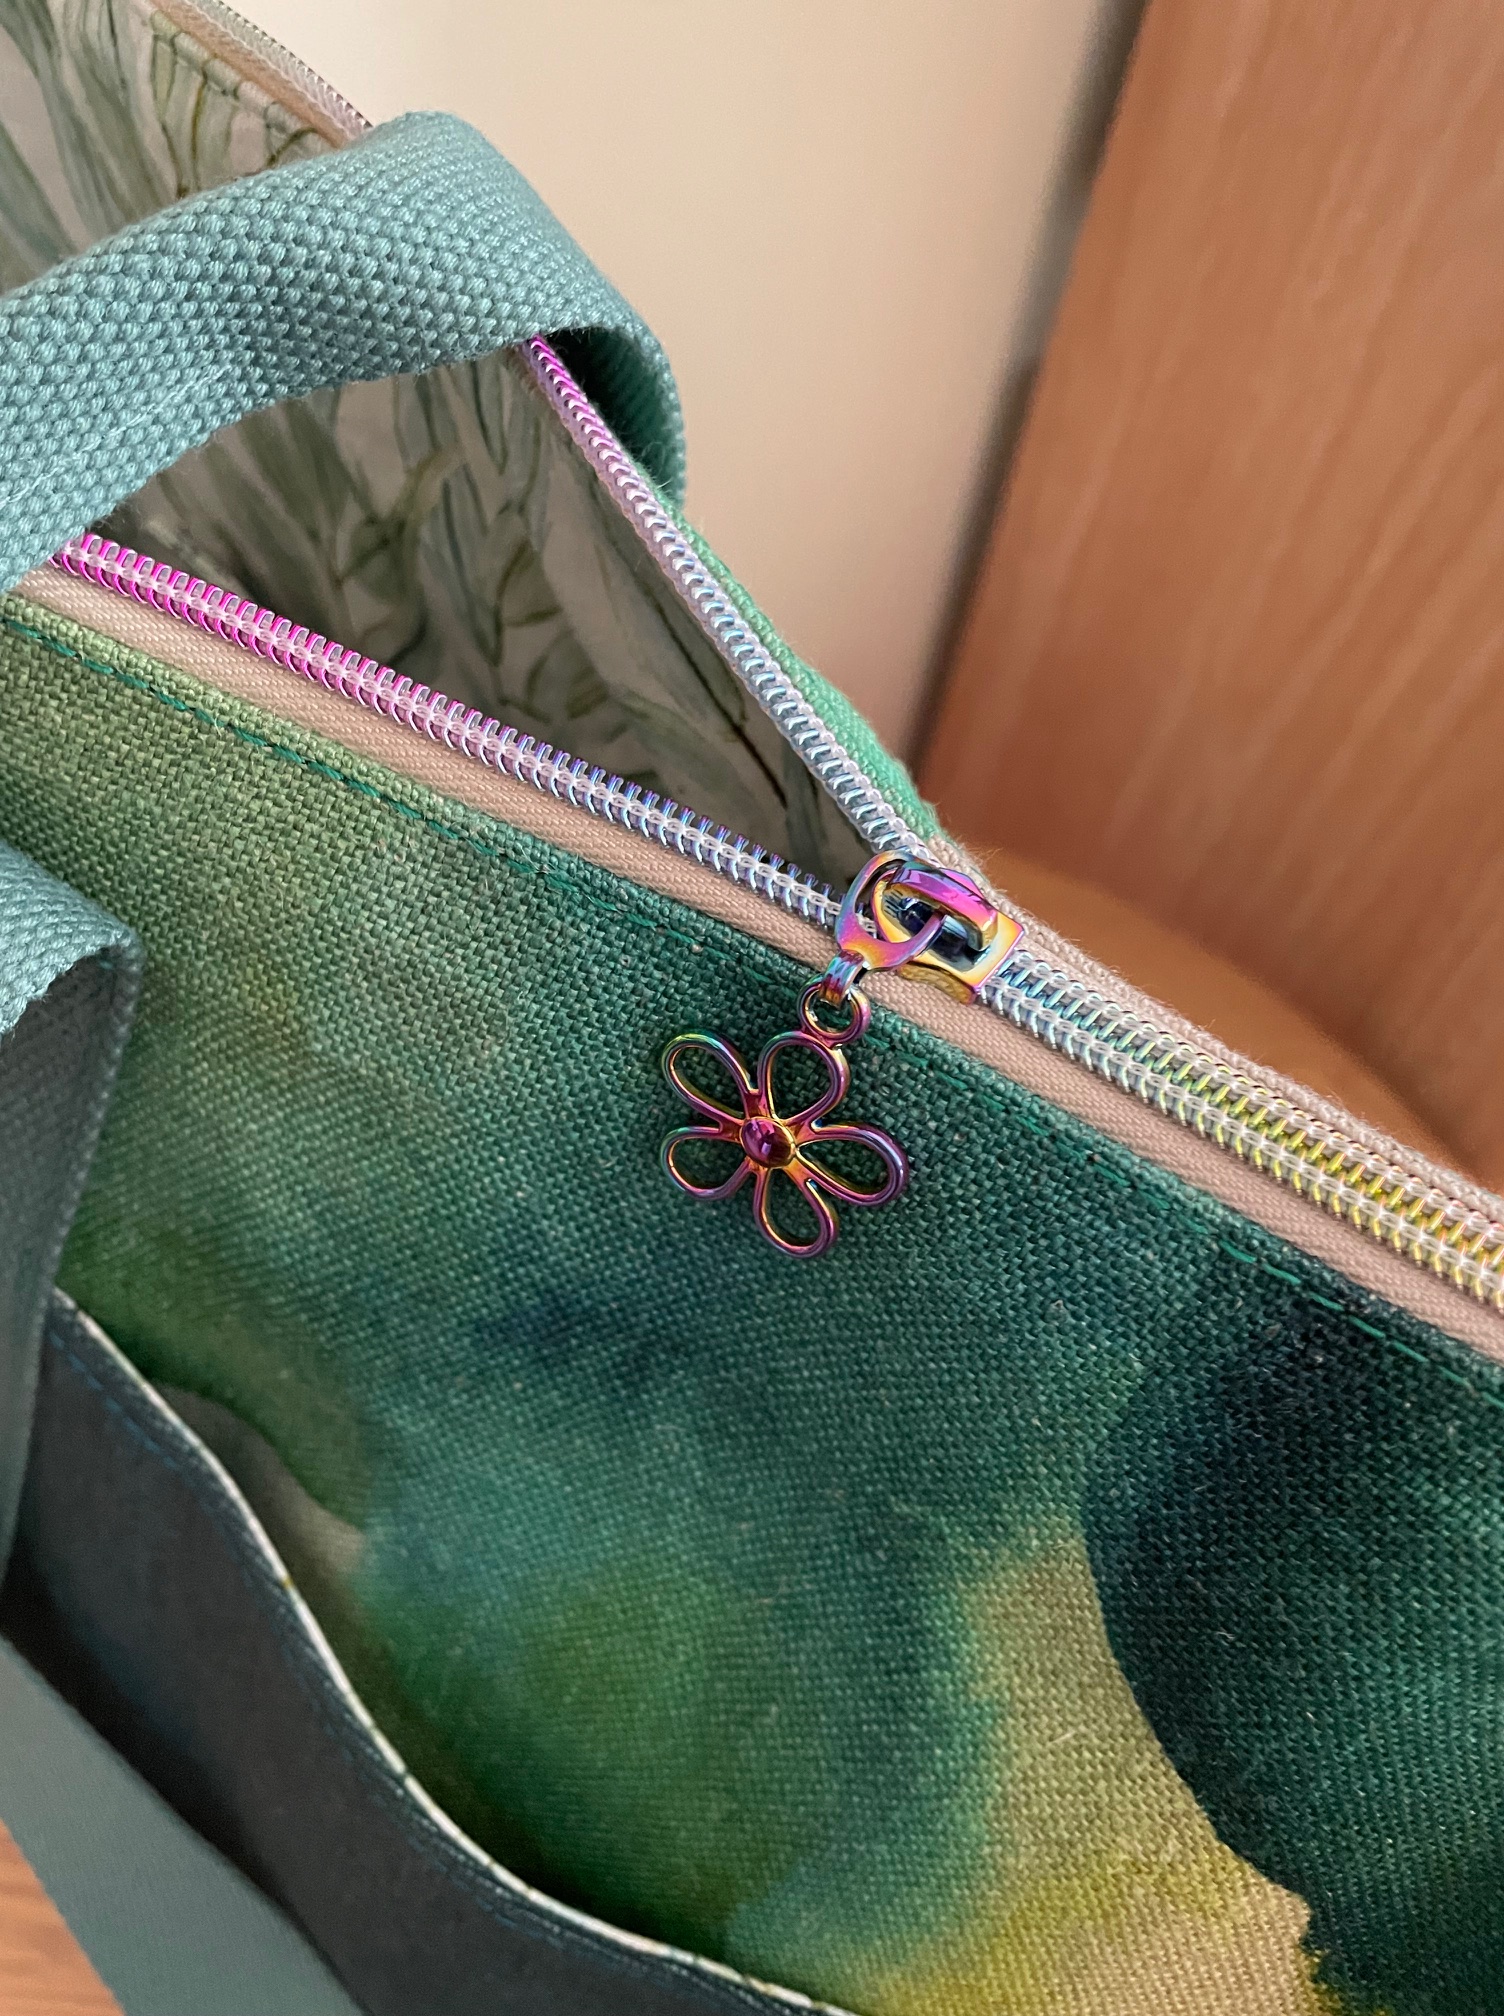
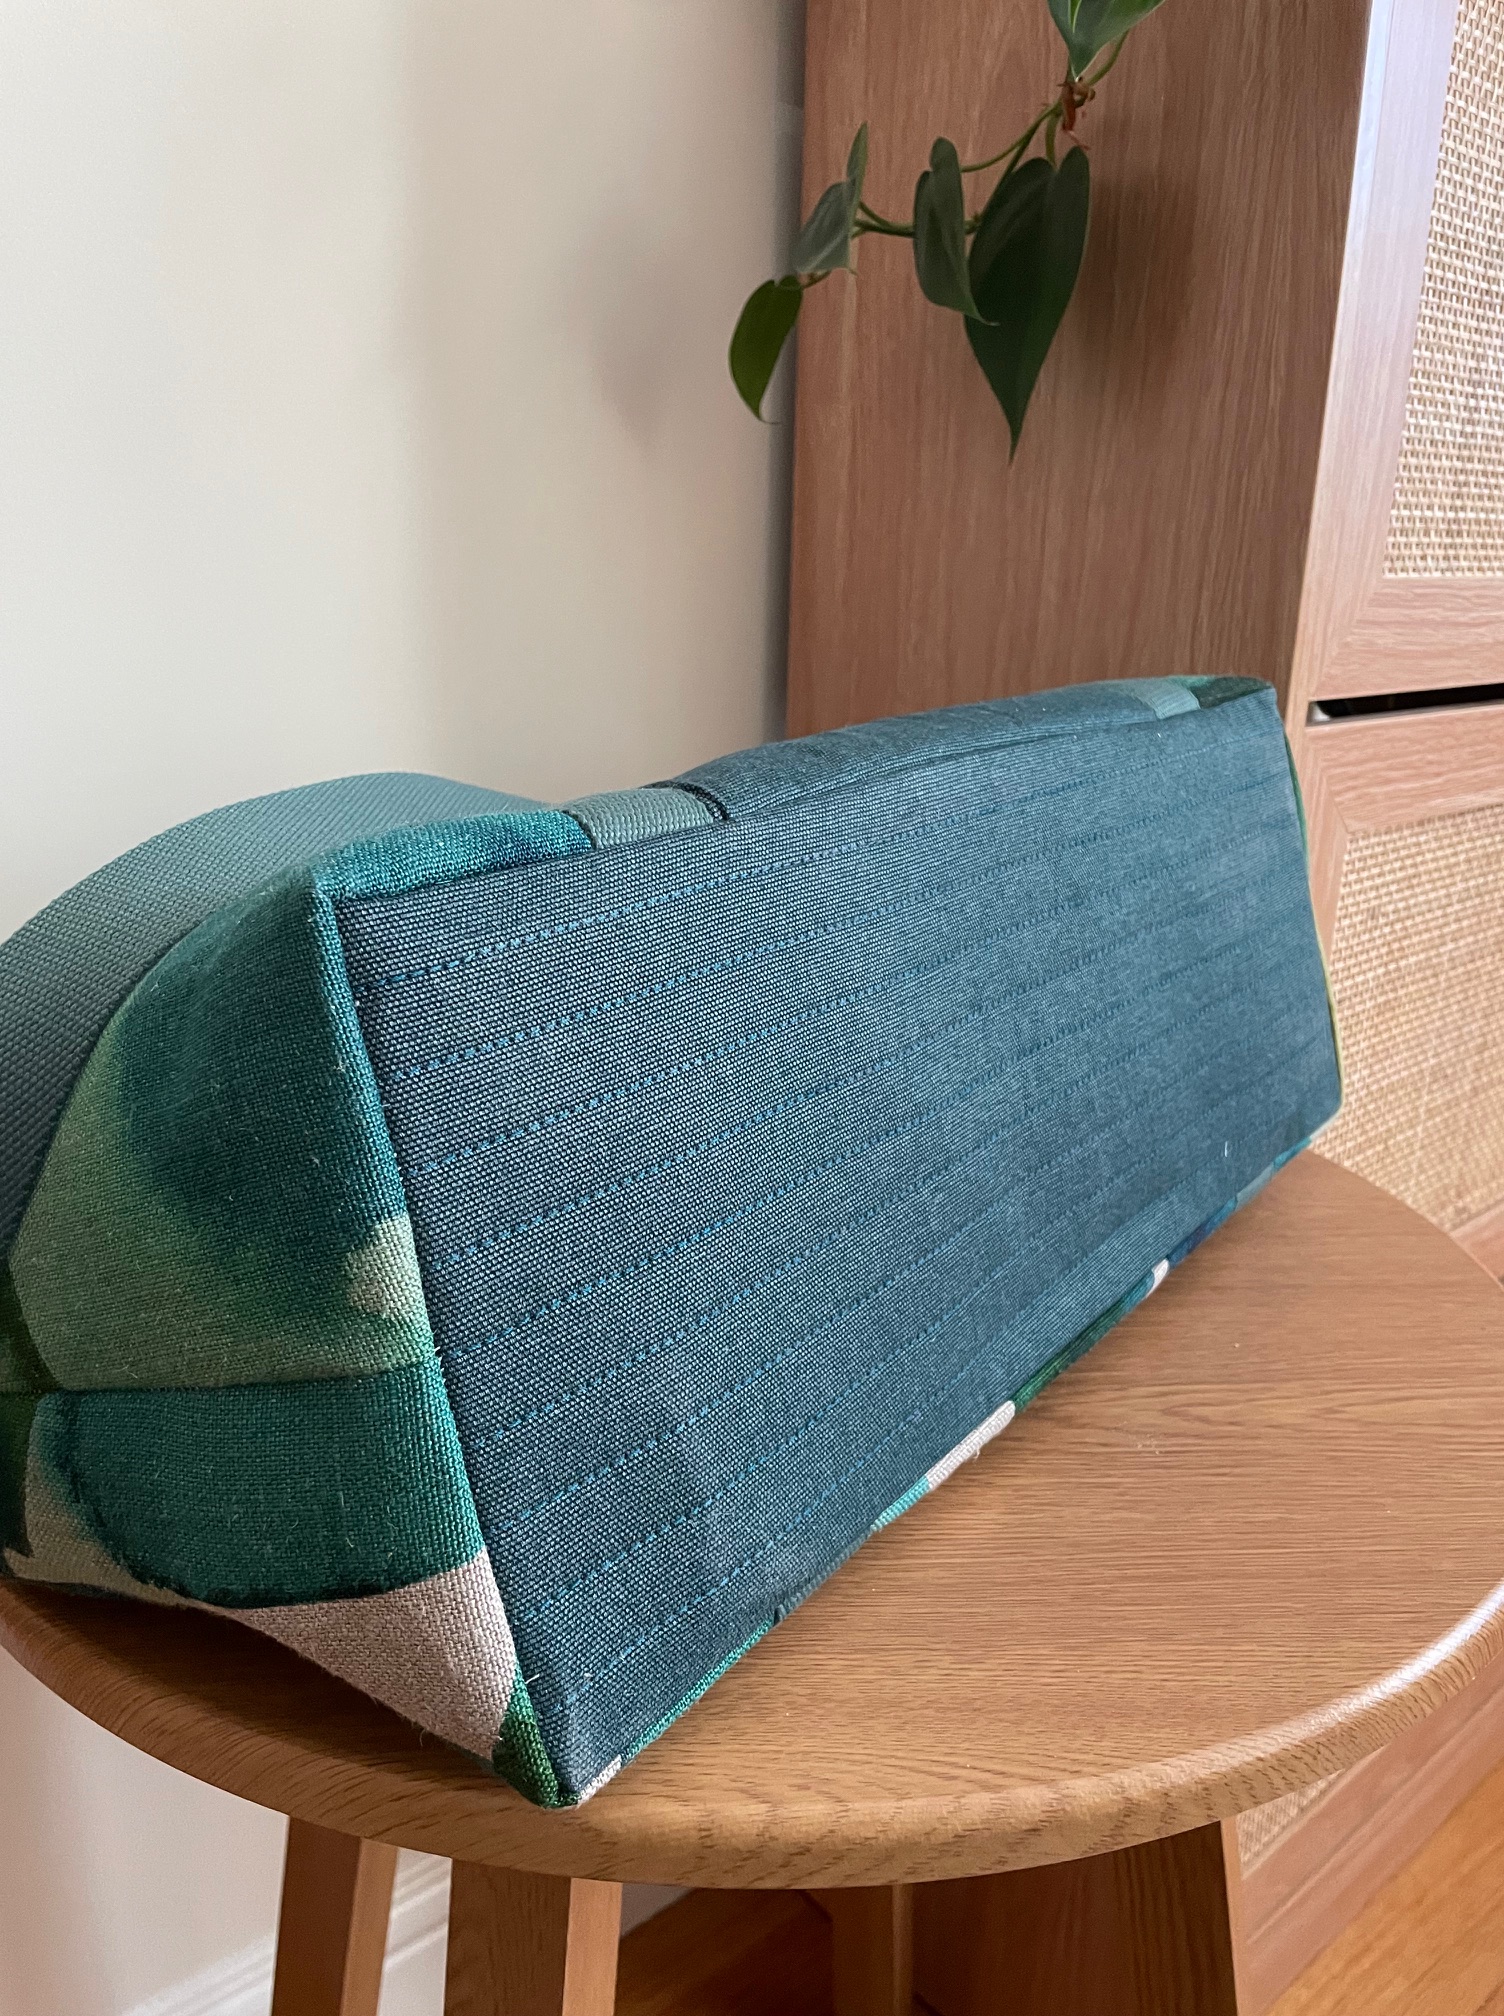
Lining fabric is a cotton canvas from Spotlight, in a lovely eucalyptus leaf print with blue and greens to tie in to the BlueBellGray watercolours, and the base of the bag is a heavyweight green canvas from FibreSmith, which I’ve quilted to attach the sew in interfacing (also from Voodoo Rabbit Fabrics). Voodoo deserves a special shout out because of how they packed my interfacing – it was wound up on a slim cardboard box so as not to have fold lines in it – which would impact the sewn outcome – so thank you Voodoo Rabbit Fabrics – that kind of attention to detail makes me feel all warm and fuzzy!!!!
Despite the size of the bag (I sewed the overnight version) it doesn’t seem to use much fabric so feels like a good value make as well.
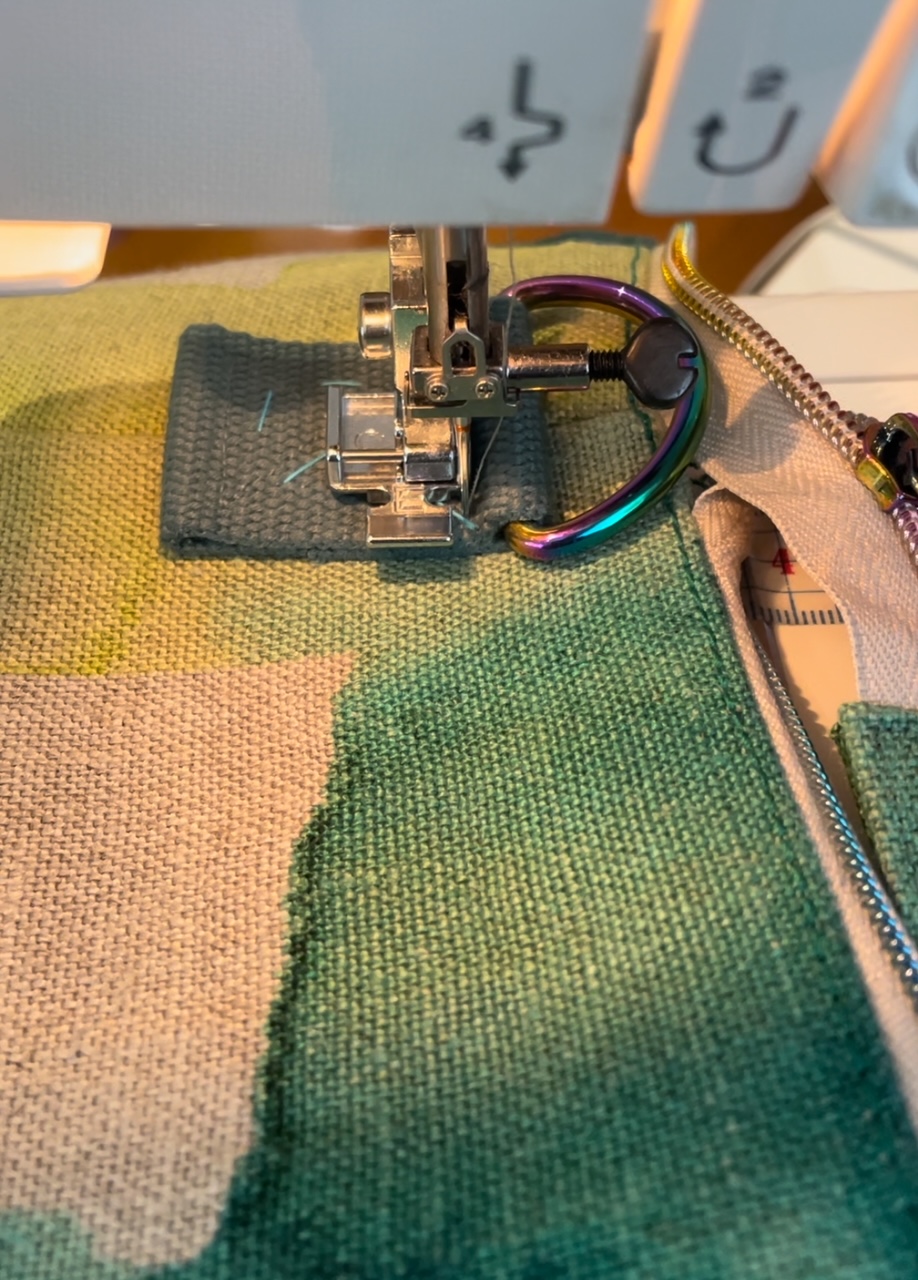
One of the big challenges with working with hardware is how close you can get the foot and needle up to the edge – always a challenge! I use a mix of the traditional dress zipper foot (ie not the invisible zip foot) and my rolled hem foot – these two seem to give the best mix of grip and ability to get the needle position right up close to where I want it to be. And yes, I do change them out mid-sewing! Basting together the ribbing then basting the ribbing onto the bag helps keep this in position as I’m working on it. One of the tricks I picked up from Noodlehead’s sewalong videos was more use off the backstitch to minimise the amount of position changes one needs to get the sewing done. Nice!
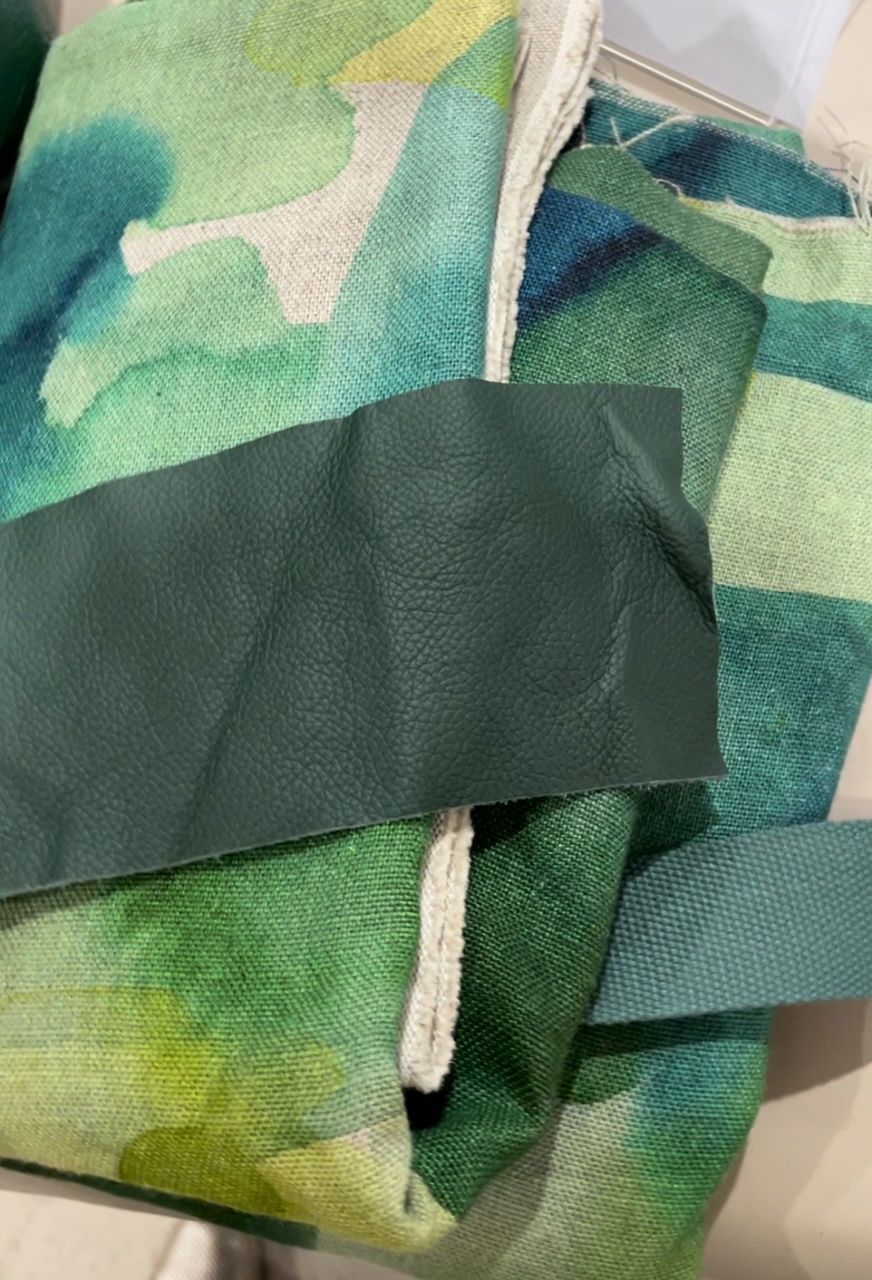
One of the features I quite like the practicality of on my now-retired nappy bag – is the leather additions on the cross body strap that stop the webbing from getting bunched up and twisting in the D-ring. Discovering that Leffler Leather is just around the corner from my house made it easy to drop in and check out their scrap bin, where I scored a perfectly matching green leather scrap to attempt to replicate this. But in the end I didn’t end up using this – largely sticking to the sewing instructions provided by Noodlehead. I love this mix and colours of materials so much that I may still make them up in another bag pattern – so there is still hope to use this perfectly matching piece of leather!
Despite there being a lot of components to bring together – the bag is wonderfully simple to construct (even if turning it inside out once bagging out the lining is a challenge with all of the heavy interfacing!). The instructions are clear, easy to follow and there are plenty of online videos talking about fabric weights and combinations (the official Sew-Along was my fav).

This is a nice bag! Is it your pattern and will you share? TIA Renee’
I’m envious! I spent my holiday carrying a Minecraft themed rucksack around. It’s a beautiful bag all around but I’m particularly impressed by the sharp corners on the base.
Thanks for blogging this. I really appreciate the in-depth details. It’s a beautiful bag. You did a wonderful job putting together that fabric combination.