

As I’m attempting to create a sort of archive for any sewing knowledge I learn along the way, as well as hoping to provide a potentially useful resource for other sewing enthusiasts, Every time I post a ‘101’ (which is a bit of an internal joke – meaning it’s like the foundation knowledge for other learning’s) it will be about a tip, trick, or technique used.
In yesterday’s post I talked about the use of a catch stitch to hold the edge of my seam allowance flat to my shell fabric. Here I’ll go through step by step how to do just that.
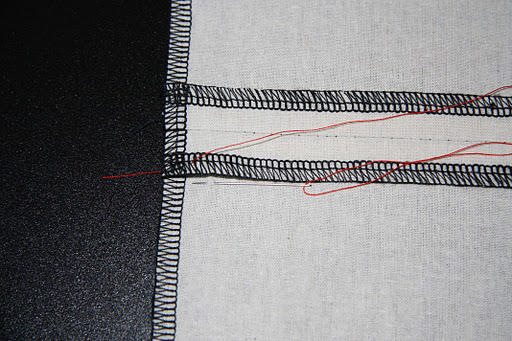
To catch stitch, we work from left to right. Firstly, thread your needle and secure the end. I generally like to use a knot in this instance. Anchor your thread to the seam allowance from underneath:

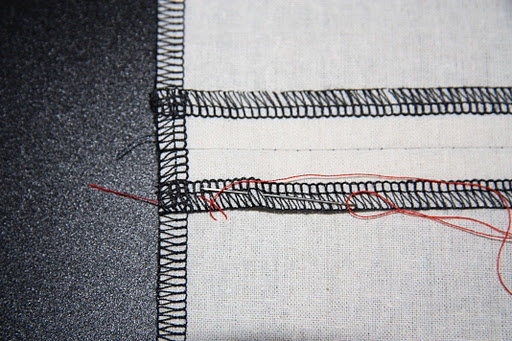
Pull through, and keeping your needle facing to the left take a small stitch on the shell fabric. You can see here that this stitch is generally used when your fabric is either interfaced or underlined so that the stitches don’t show through on thinner or more tightly woven fabrics:
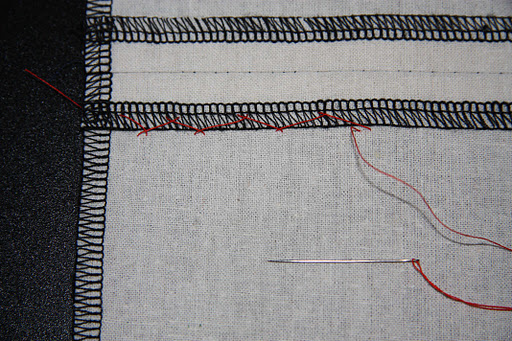
Pull the thread taut, and take another small stitch on the seam allowance, keeping your needle facing to the left:
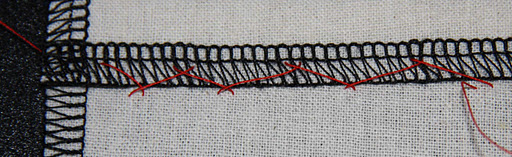
Pull taut, and keep alternating this stitch between the seam allowance and the shell fabric. You end up with what looks like two rows of X’s:
When you reach the other end of the seam, secure your thread and repeat down the other side of the seam allowance.

A very clear tutorial…and thank you so much for your lovely comments!
Thankyou :) It's easy to give lovely comments for lovely garments!