
I spent considerable time in Muslin-city before I felt confident to pull out the fabric bolt hiding under the couch!
I was using Marfy S655 as a base, but I wanted more volume, especially at the waist. I had two private lessons with Vikki Leigh Martin to get it right – first we played with a bias cut piece of calico, gathered and pleated and pinned to me to figure out an approximate ratio of volume that looked visually appealing – ending up with 1:3.
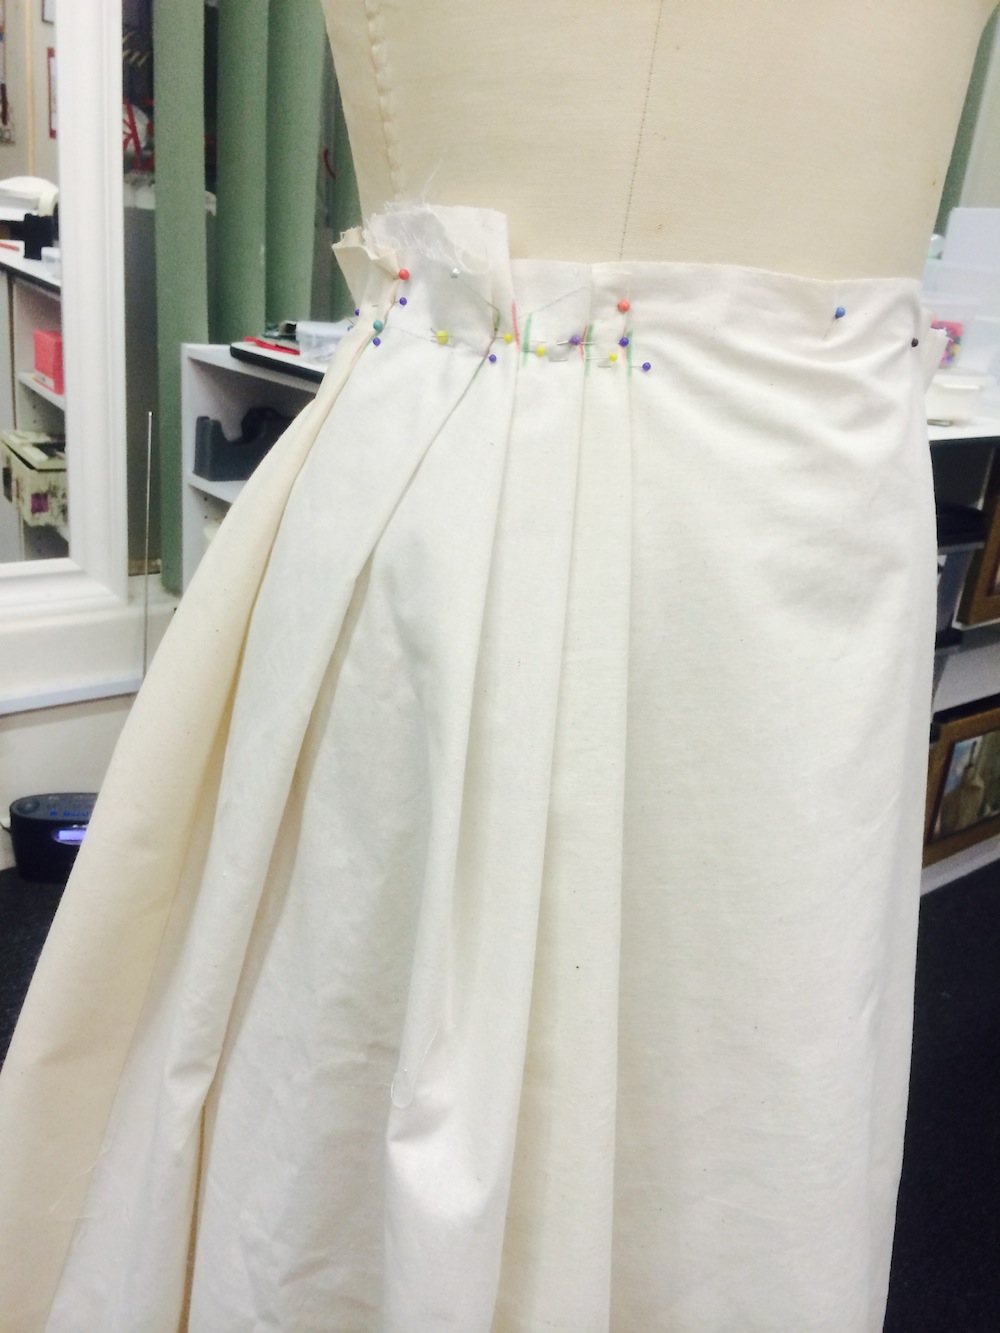
We then slashed each of the three skirt panels down the centre and along the grain line, adding in additional strips of calico to widen. We pinned and pleated on a mannequin, then we stood back to admire:
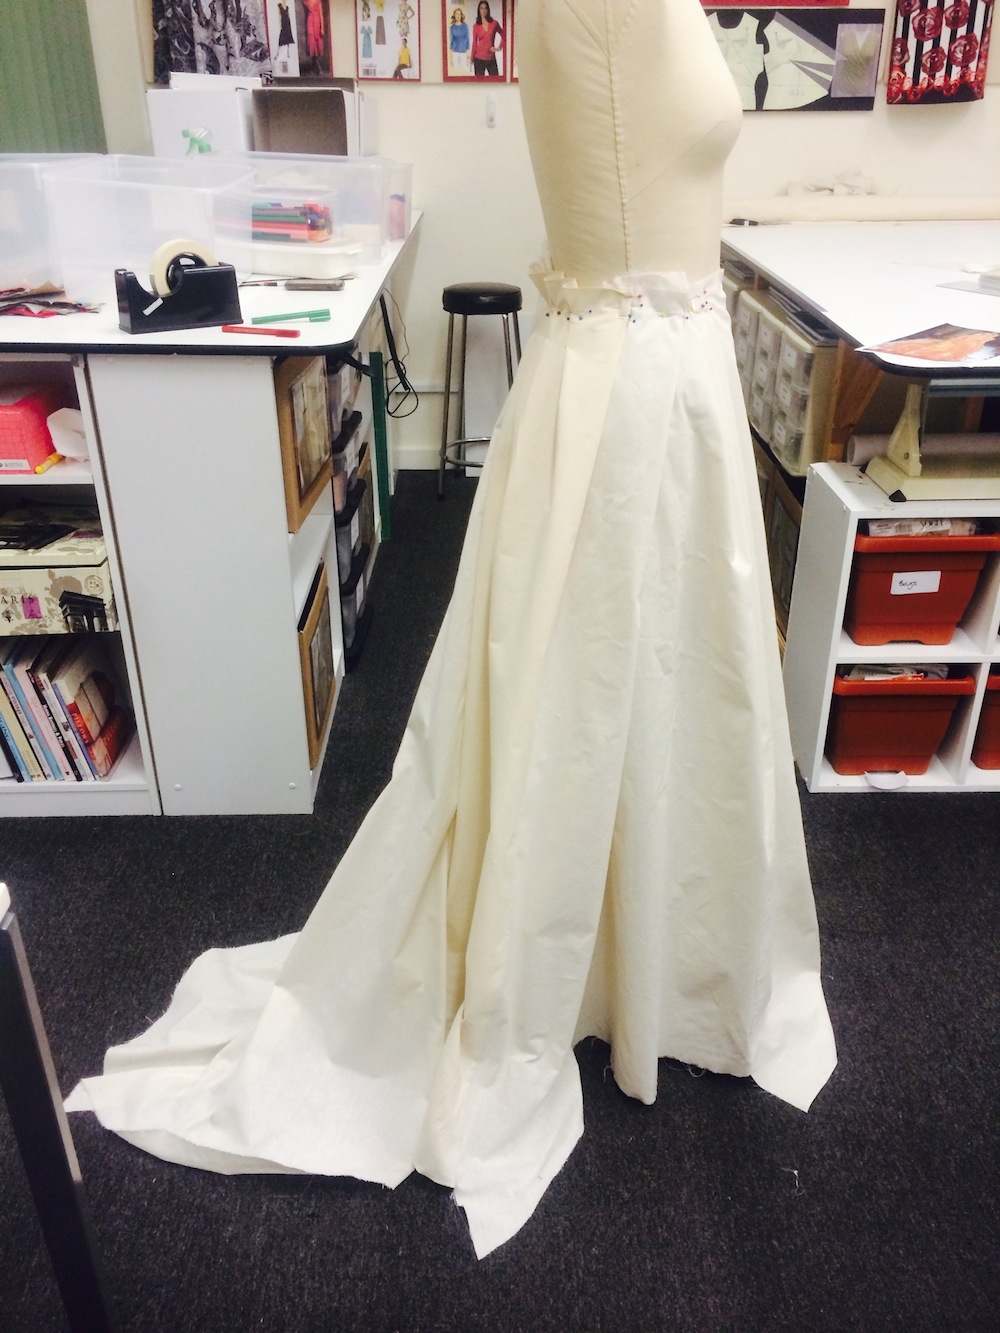
After I marked all the fold points and other necessary bits, I used this iteration as the pattern pieces for Muslin Mk II. This time I used an inexpensive poly taffeta underlined in organza to try and replicate how it would translate into the real thing. Unfortunately for my tactile senses, I’d already bought the silk taffeta I’d eventually be using so working with the poly taffeta was a relatively horrid experience!
I didn’t get a picture of the second version of this, but it didn’t look right on the mannequin, nor on me when I pinned it to my bodice and tried it on. The volume that looked great in cotton muslin didn’t appeal to me in the taffeta. And the train you see in the calico above got completely lost in translation – it pulled an distorted and collected in a heap large enough that it could probably have had it’s own post code.
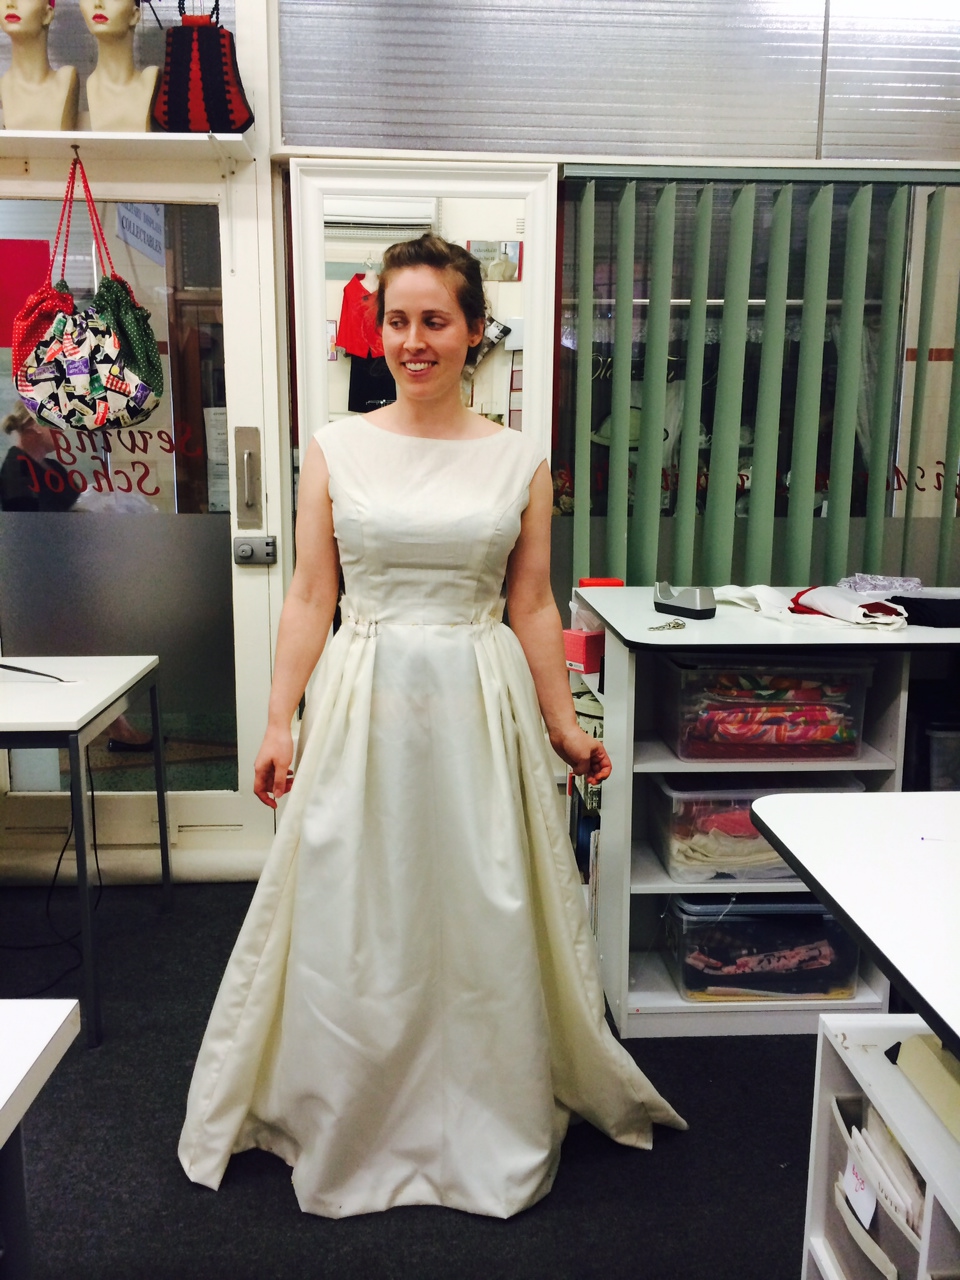
In my second lesson with Vikki (in late January) we worked on reducing the volume. It’s odd how reassuring it was having someone with experience and who wasn’t emotionally invested get involved. Here’s where we ended up:
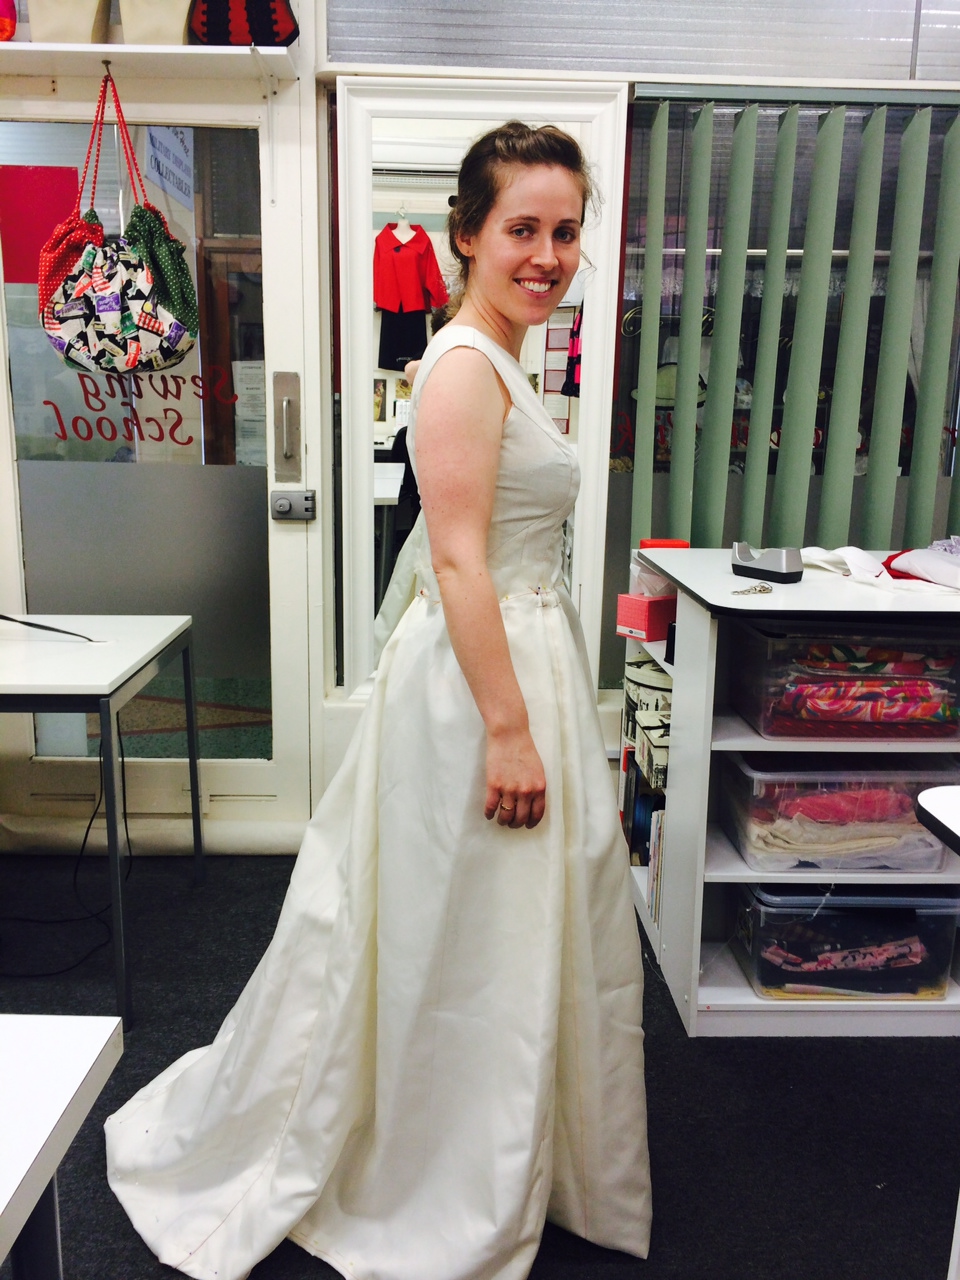
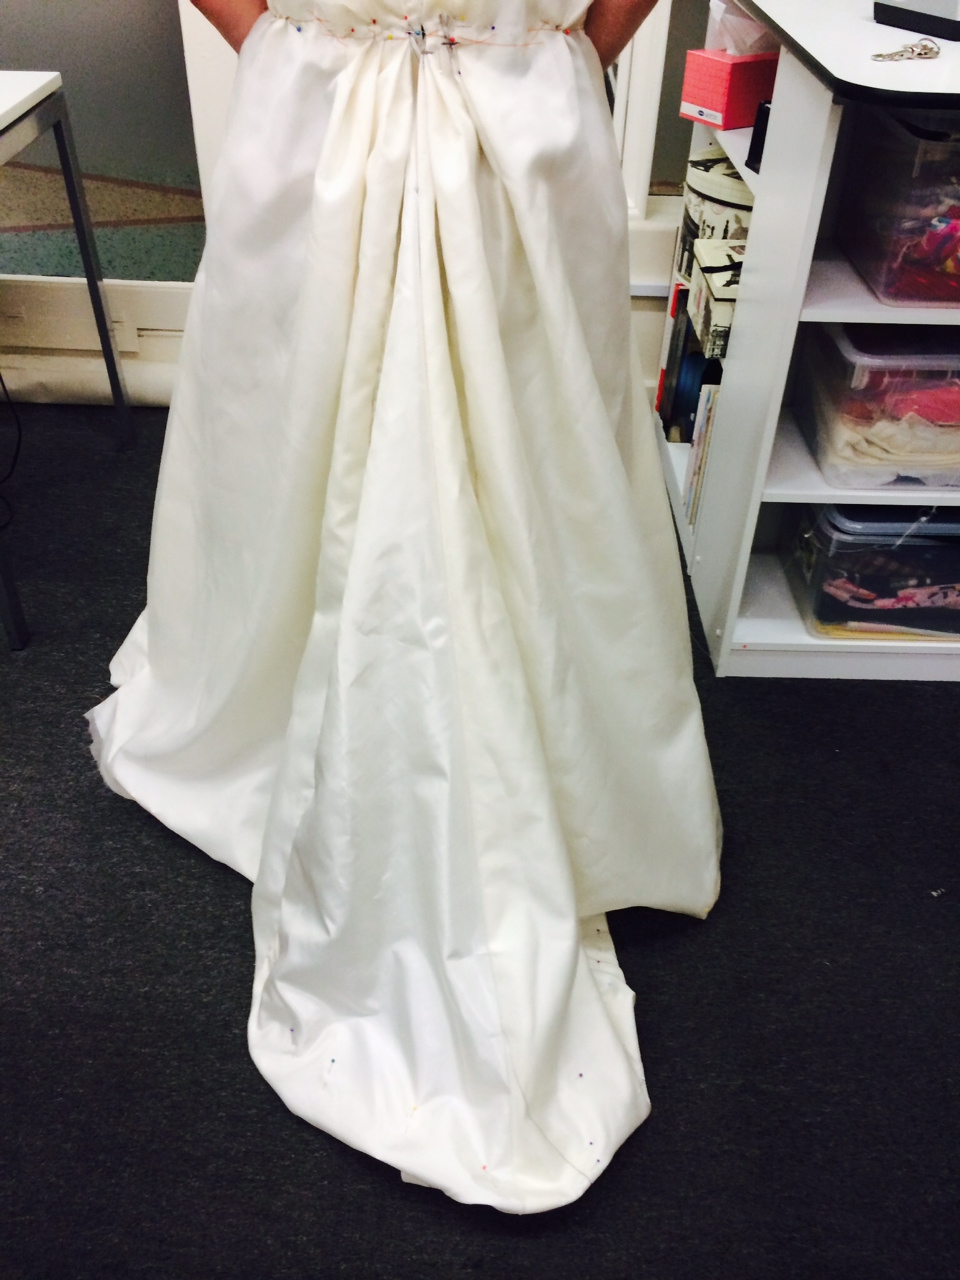
I felt great at the time I was wearing this, but later upon reviewing the photos, I was still a little worried about the ‘harsh’ look of the pleats at the front. Muslin photos always look crap, don’t they? I reasoned I could always play around with the real (uncut) fabric to get this right… and that perhaps the colour and pattern of the final fabric would camouflage this to an extent.
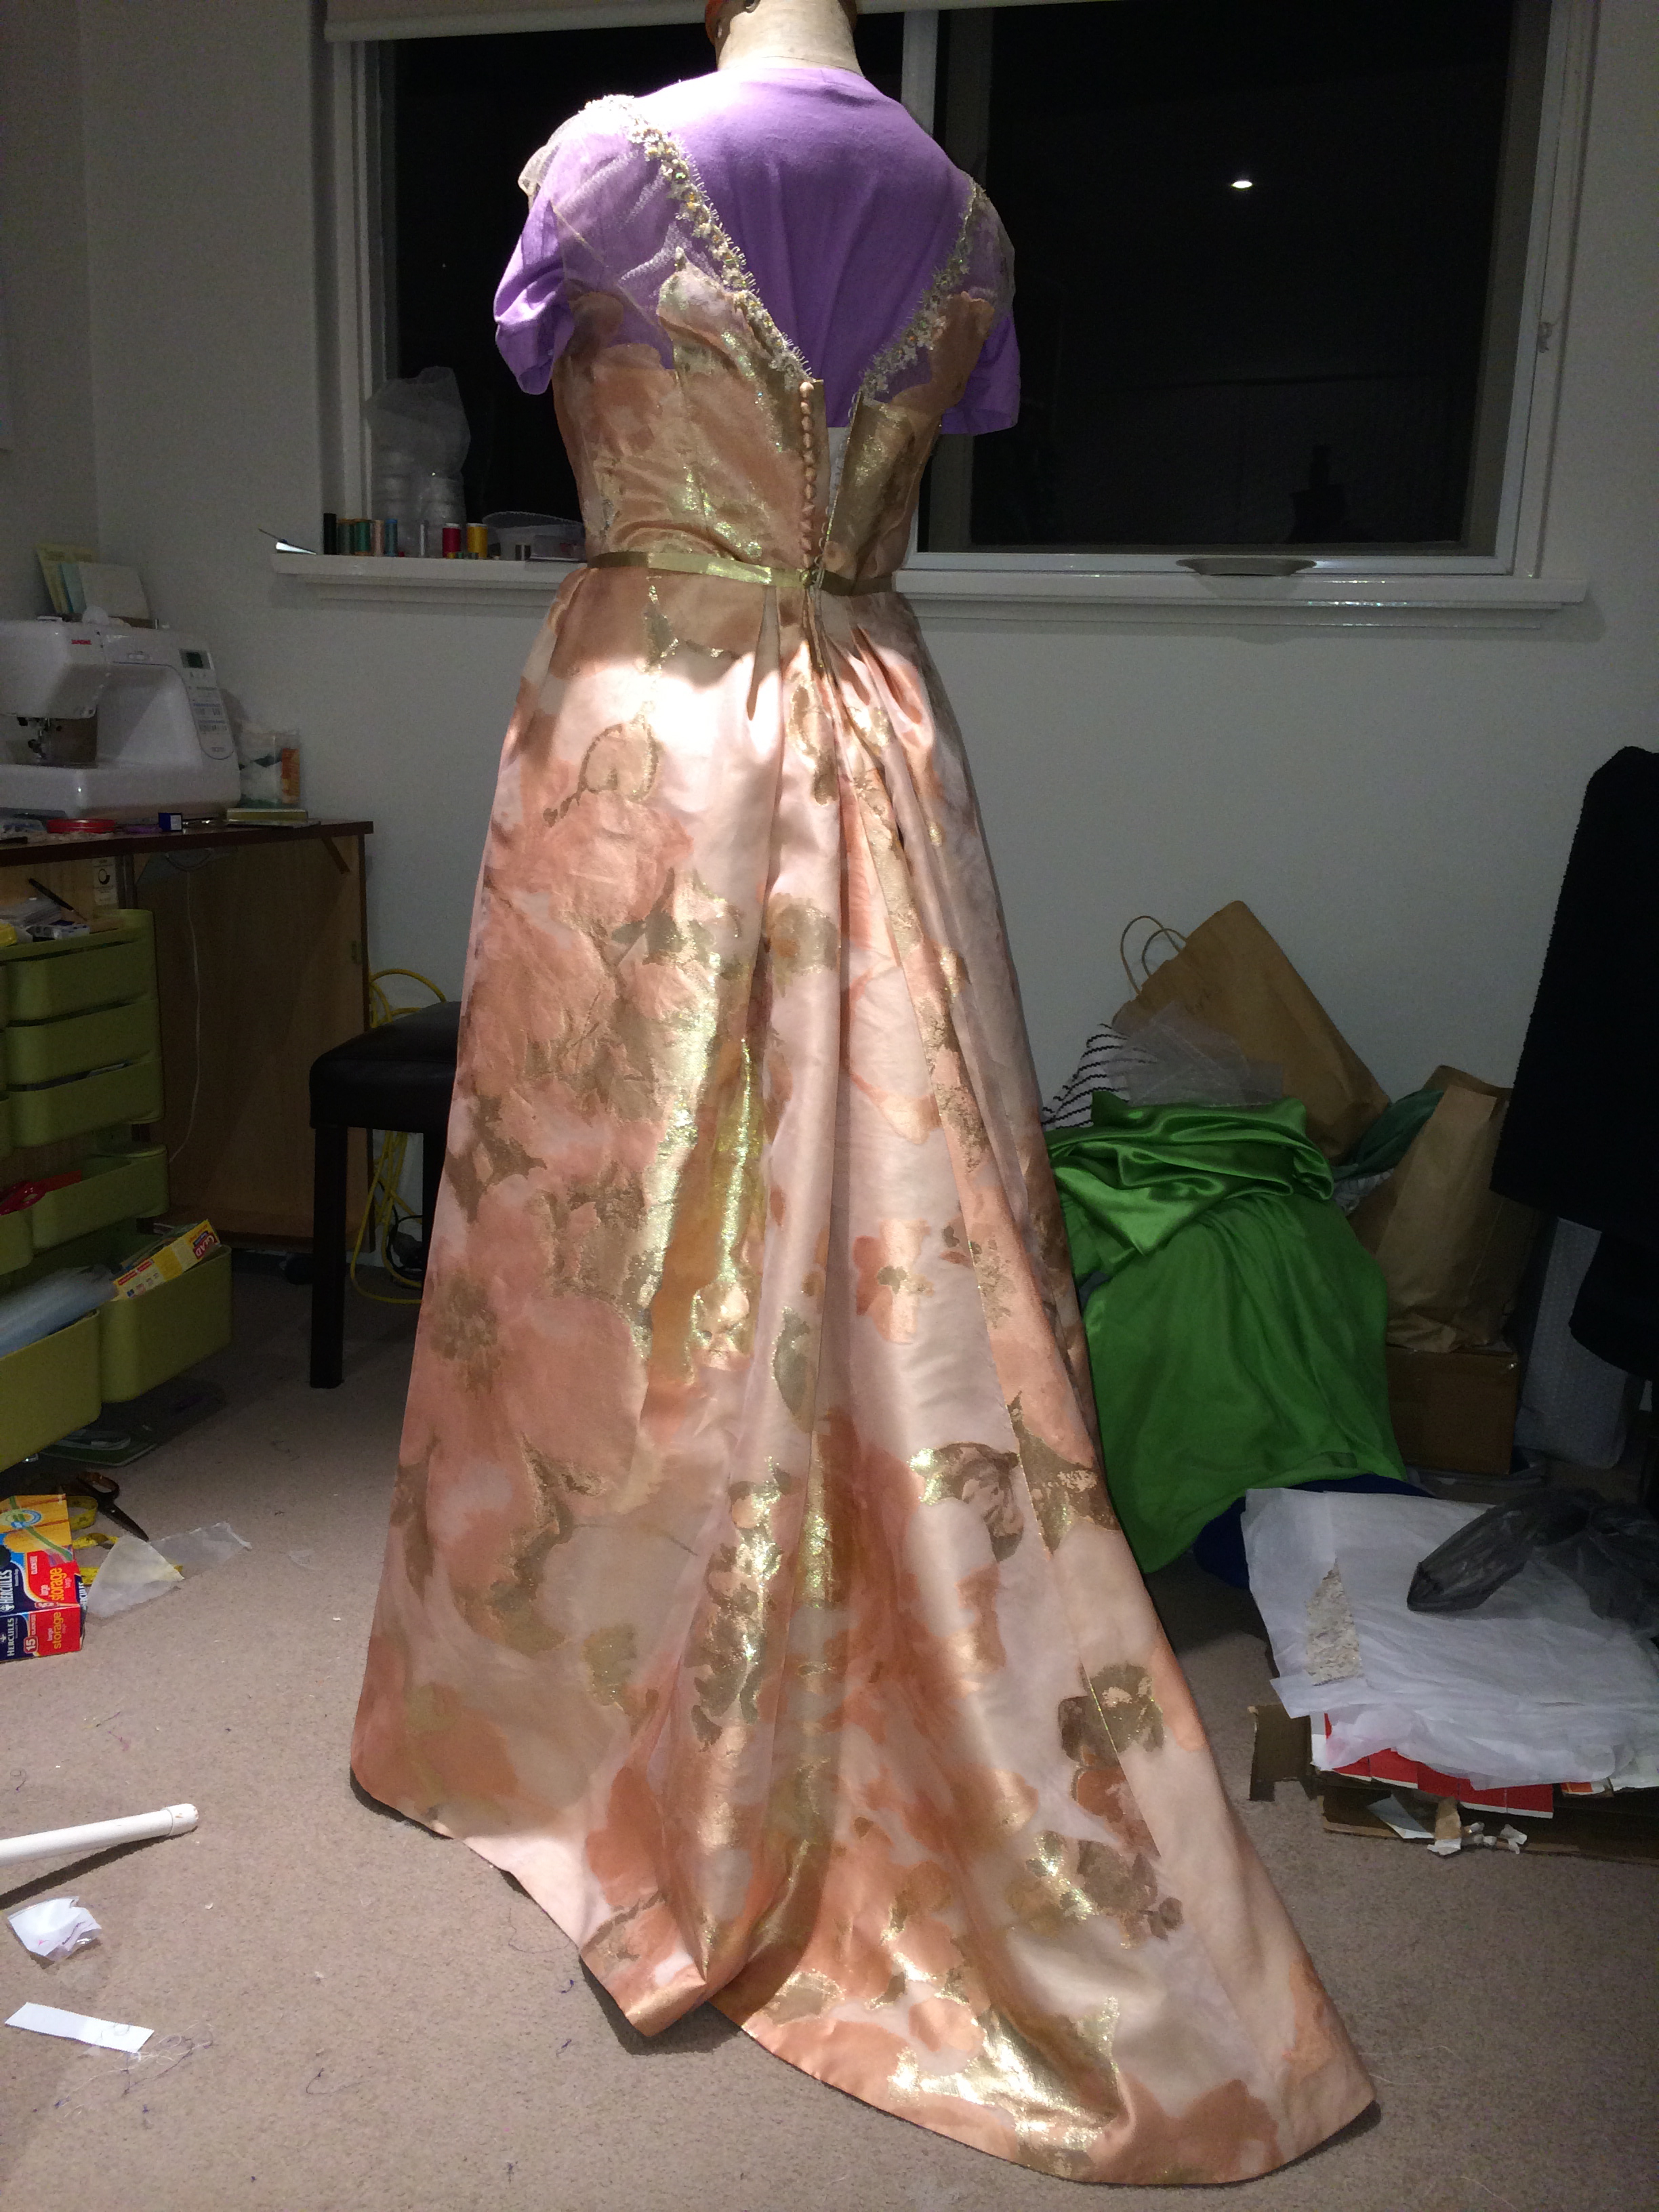
We used pleats on top of each other at the back (Vikki’s suggestion – I would never have thought of this) to get the volume without it being too visually busy, and a small amount of gathering at the side to soften the ‘flow’ from front to back, and we pulled the length of the train in – even with our new fabric arrangement, the length of the back looked wrong and when I walked – pulled the skirt and all it’s additional fabric in on itself. Off with its head!
Cutting:
I thought I would be super nervous cutting into the real thing, but with the whole muslin process behind me, I was more zen that I thought I’d be. Don’t get me wrong – the heart rate was still definitely up there!
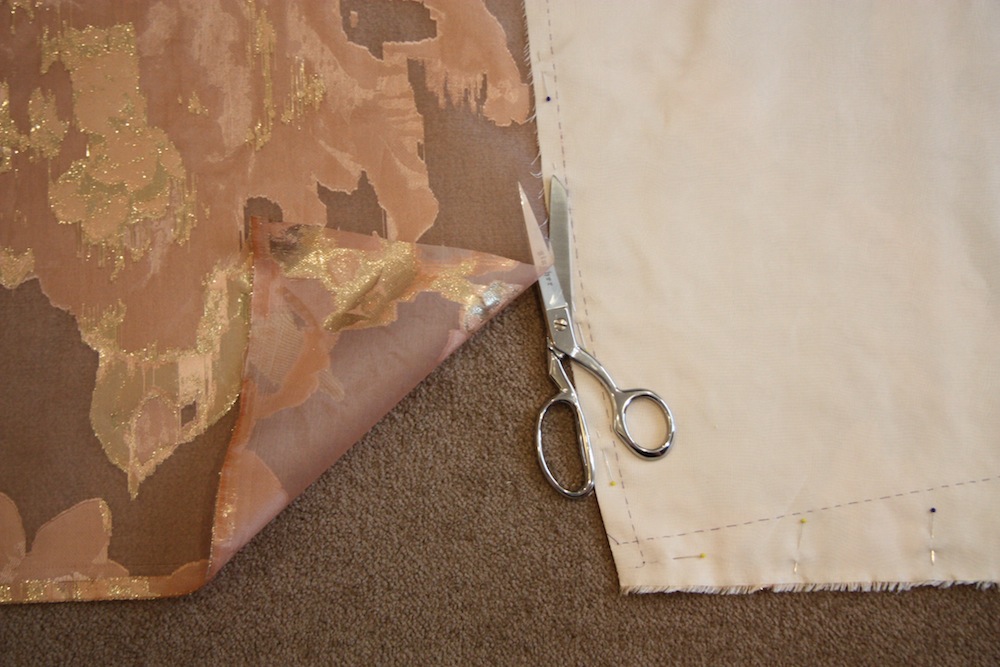
Before cutting though, I had to align my pattern pieces. I had exactly 3.5 meters of organza – I’d paid for 3.5 yards, but I found Alice to be extremely considerate (verging on overly generous) in her cutting. Obviously I’d been keeping in mind the amount of fabric I had during muslin stage, and I just managed to squeeze it all in with a very small seam allowance at the hem of each my skirt panels. Thankfully due to the super wide fabric (60 inches), I’d still have enough left over for my bodice and the covered buttons. Not much, though!
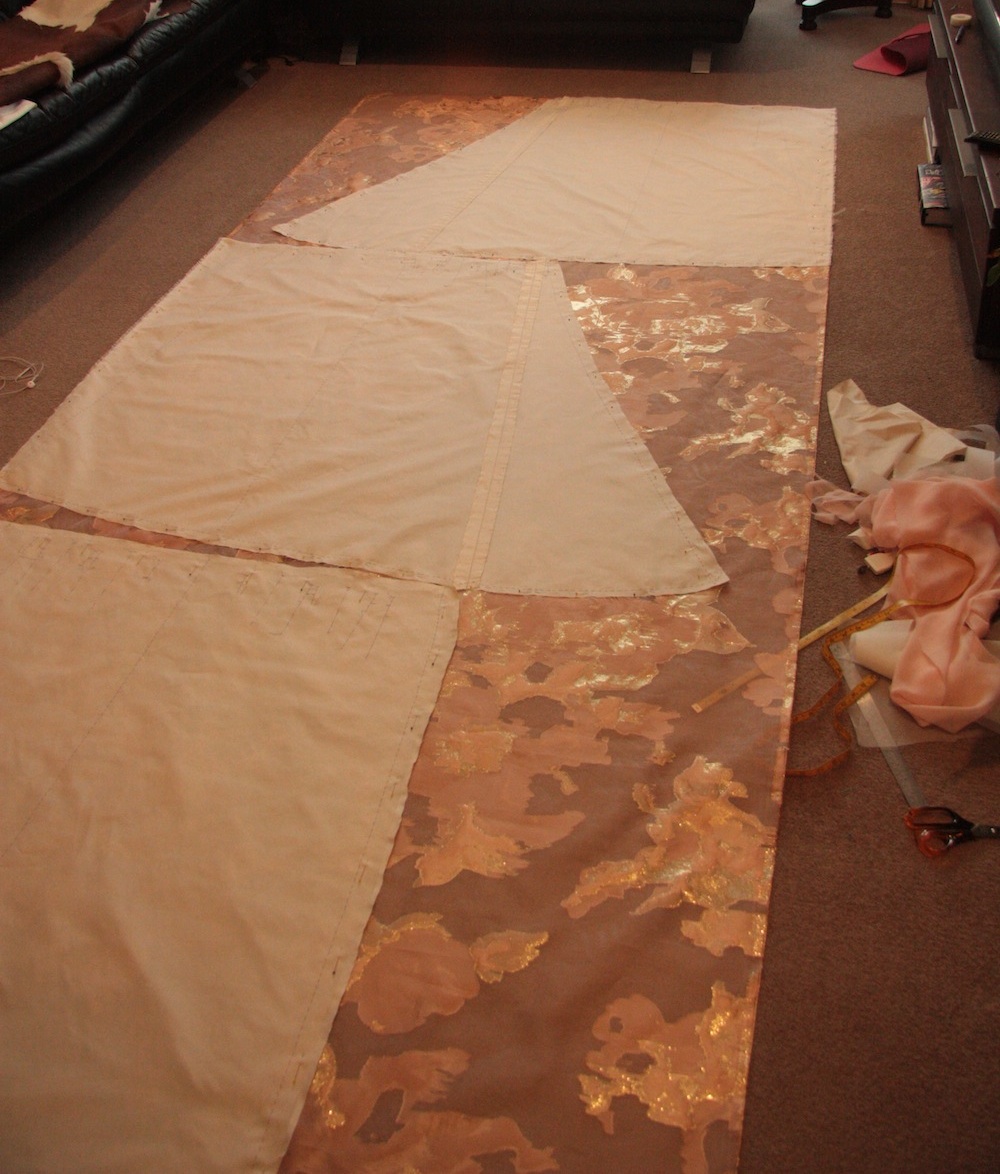
I played with the positioning as much as I could, and got my favourite part of the repeat (which was 1.2m wide) down the front skirt panel. I simply had no room to play with for matching at the side seams, and looking at the finished skirt – you’d never guess I tried my utmost to get the best match possible at the centre back seam.
I had known that when I was at muslin stage though, so I ensured the side seams were along a pleat ‘trough’ at the sides.
Construction – Preparation:
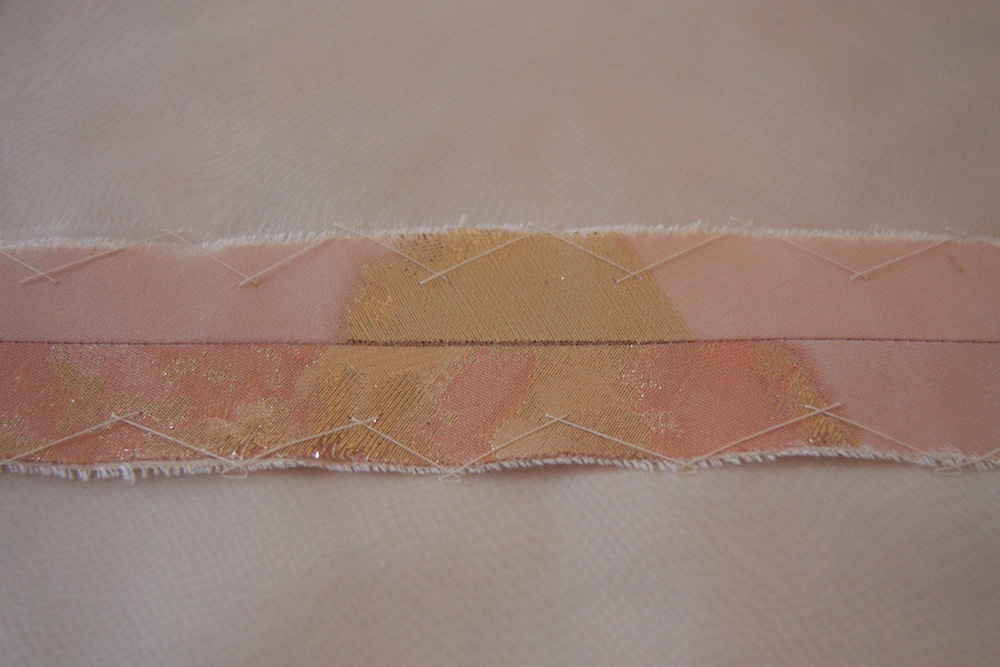
I used many of the couture methods I learnt whilst under Susan Khalje’s tutelage in Baltimore last year, from her bridal couture book and from watching the Couture Dress class on Craftsy. With my tracing wheel and carbon paper I marked the seam line locations on my silk organza underlining, before aligning on the silk taffeta and then thread tracing the two together. Only then did I align on my main fabric before cutting and thread tracing again.
Whilst the organza overlay was 60” wide – the silk organza I used for underlining and silk taffeta were not. I had to cut the two back skirt panels in two parts each, before sewing together to give me three skirt panels. I placed the located of these two seams at one of the inside folds when I was working with my poly taffeta muslin – but the hand of the silk taffeta and organza was a lot stiffer and didn’t fold in to the same degree, so they are visible if you know what you’re looking for. Ah well.
The three seams where then pinned together and sewn, then the seam allowances trimmed and catch-stitched.
At this point, I hung the skirt up on my dress form and got to work on the bodice.
Construction – pleats, gathers and folds
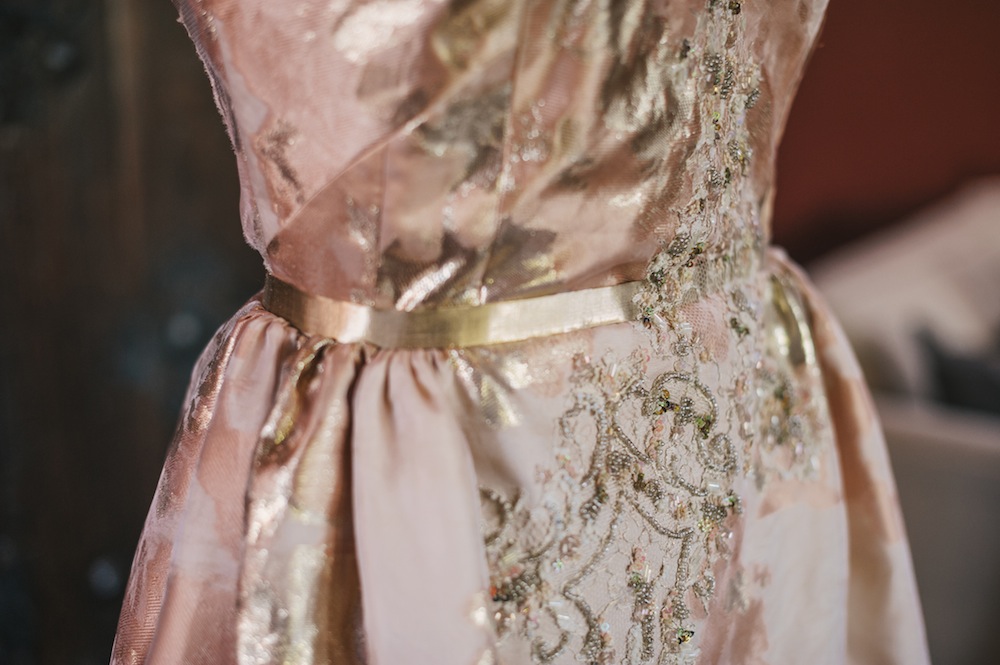
Once my bodice was at a point where I could attach the skirt, I got to work forming the pleats. I hand sewed the pleats at the back to keep the softness of the folds:

Then I attempted to coerce the rest of the skirt into the predetermined pleats. Quite simply, it just didn’t want to comply with my commands. I ended up scrapping all my carefully thread-tracing pleat markings and gathered the fabric instead. The organza/taffeta/organza fabric sandwich was considerably stiffer and more bouyant than I had anticipated – and the pleats just looked too structured and clinical. But the gathers? Divine! Like Susan Khalje says in her book though – silk taffeta is so tightly woven and thick that you need to use your widest machine stitch possible, and even then it will probably be too small.
Using a machine gathering stitch (with the strongest thread I had – poly cotton) left marks on the organza overlay fabric, and I was worried that if I did the two requisite rows of machine basting stitch for gathering that the holes would be visible once the thread was removed. As Bridal Couture predicted – the taffeta is so tightly woven that even on my machine’s longest stitch (5.0mm) I struggled to pull it through. I hand basted two rows instead with silk thread, and incorporated a single pleat fold on each side. With a bit of finger nail scratching and some judicious use of iron steam, I managed to coax the silk organza threads back to their positions pre-basting stitch.
Then, I sewed it to the bodice. Another high heart rate moment!!!!
Construction – A Waist Stay
An essential part of the dress. The skirt has both considerable weight and a drag effect – supporting that shouldn’t be a part of the bodice’s job description. The waist stay ensures that the skirt’s weight is secured to the waist and doesn’t pull down on the bodice.
I bought some of the cotton/rayon petersham ribbon from Susan Khalje’s online shop which I sewed into the skirt’s seam allowance just shy of the seam holding the skirt and bodice together. Using my waist measurement whilst wearing the bustier, I sewed some or the leftover hook and eye tape from the bustier to the ends at exactly that measurement.
This served a dual purpose of also hiding the seams from the skirt, which I decided to fold under instead of tucking up into the bodice – there was quite a bit of volume there and I thought it would be great to have that supporting the ‘bouffy-ness’ of the skirt, rather than adding bulk to the waist.
***photo to come once I pick it up from the dry cleaners!****
Construction – Closures
There’s no escaping that I made a complete hack job of the zip on this skirt. No couture methods here!! I used an invisible zip which I painted the zipper-pull with nail polish so it would match.

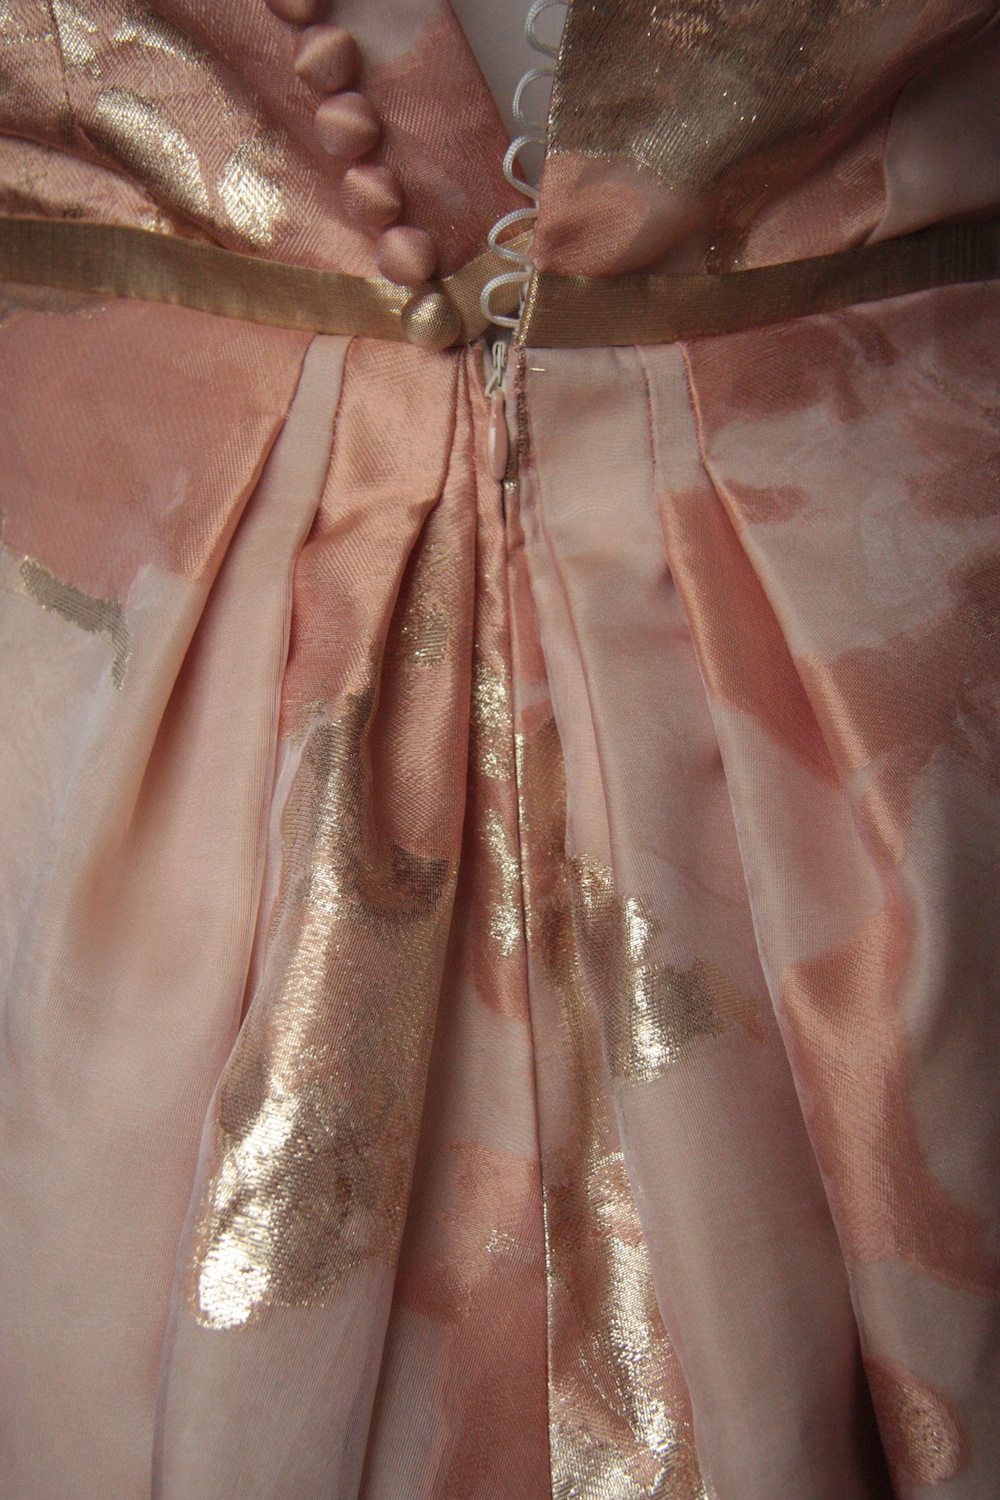
I machine stitched the zip to the seam allowances of the skirt, then used a pick stitch in ‘invisible ‘thread to hold the fabric in place to hide the zip. I figured I could get away with it because it was short, hidden by the pleats to some extent and also because there was no tension or pull on the fabric at this point.
Why such a dogs breakfast of zip sewing? Well, The fabric was too thick and bulky to successfully sew in an invisible zip the way an invisible zip is intended to be sewn in – but I couldn’t find a regular zip that had an attractive zipper pull. There was so much going on at that centre-back junction between skirt and bodice that the zipper pull of a regular zipper would potentially show through due to it’s bulk. At least – that’s what my instinct told me.
I’ve all but given up on the Birch zipper crap we sewists get force fed here in Aus – especially after seeing firsthand the quality of other zips when I was in New York. I’ve been buying YKK zips from this Etsy seller, and I see also that M Recht sell them (I’ve yet to buy from them but will be doing so at some point soon) in their online shop. What’s even crazier is that Birch zips are rather a bit more expensive than their YKK cousins. Sewing enthusiasts of Australia – we’re being duped!
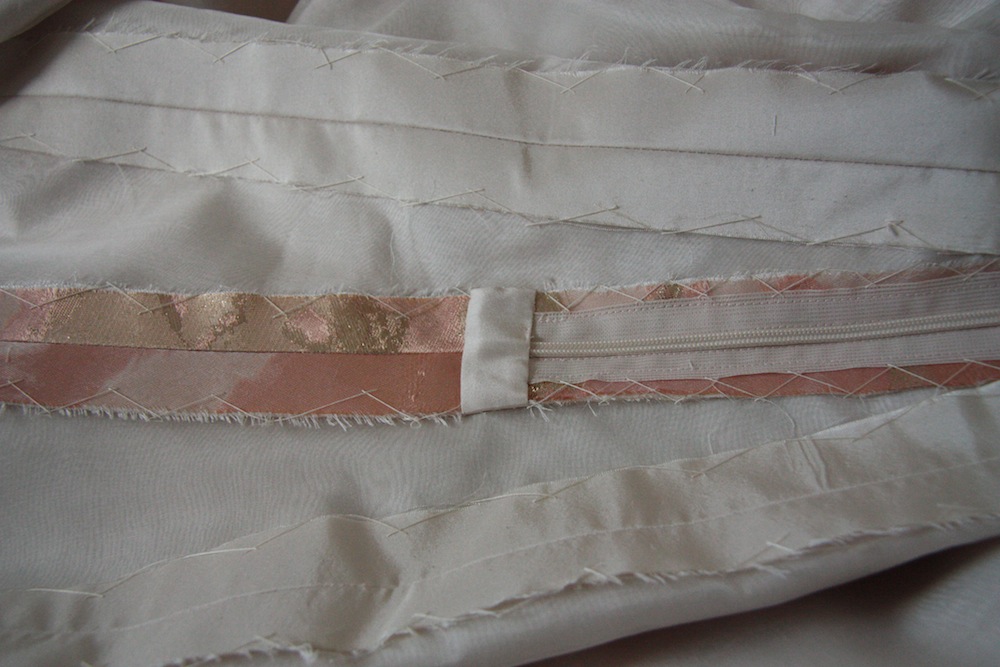
I would usually hand sew a cover in lining material onto the zipper end, but as the skirt layers were so structural, I instead sewed a strip of taffeta onto the seam allowance, encasing the zipper end in a sweet little pouch:
Construction – Hemming
Ah, hemming. Usually my most loathed sewing activity, but on this type of garment – just a little exciting! I decided fairly early on that I wanted to have a taffeta facing for the hem, mainly because it just gave such a wonderful shape to the poly taffeta I made up a practise skirt in. Thanks to my private lessons with Vikki Leigh Martin and the mannequin I loaned from Mr poppykettle’s brother’s partner’s mum (you figure that out) the hem location was worked out during muslin phase, so it was pretty easy.
Again, it was again bizarre that I had on the off-chance bought exactly the right amount of taffeta – after cutting out hem facings for each of the three skirts I had virtually nothing left of it. I sewed them together, pinned to the dress, sewed in place, pressed and clipped ,then catch stitched to the underlining. Easy as pie.
In the middle somewhere I toyed with a little horsehair braid – to see whether it would add or detract. Once pinned in place I decided against it – the facing already achieved what I wanted – with the horse hair braid it was too much. Taffeta is really rather a stiff, structural fabric!
The skirt hem before facing was applied:
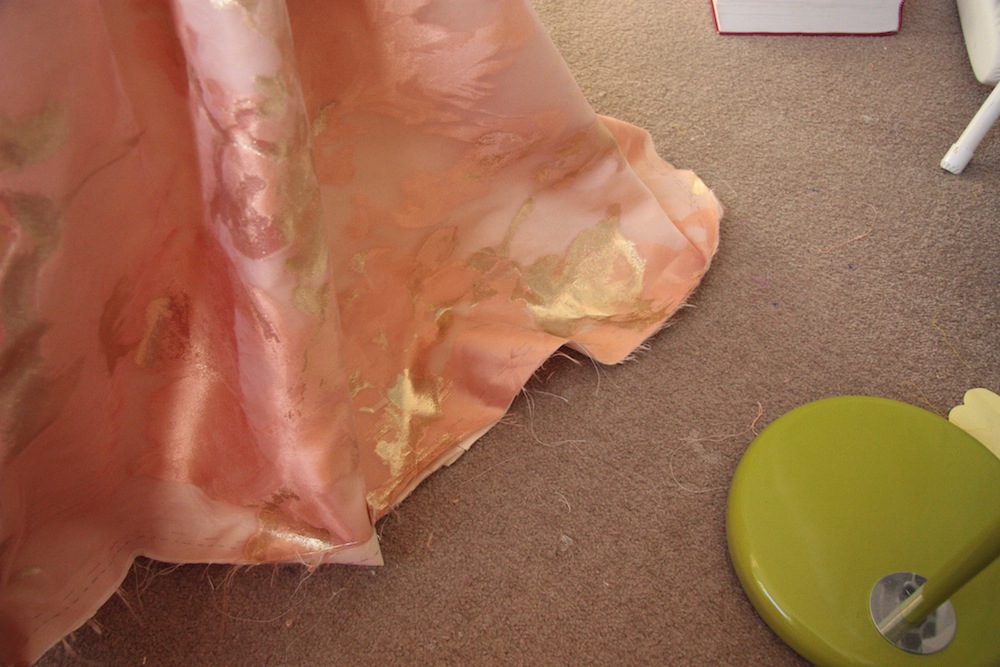
And after with facing applied (it’s a late night iPhone photo):

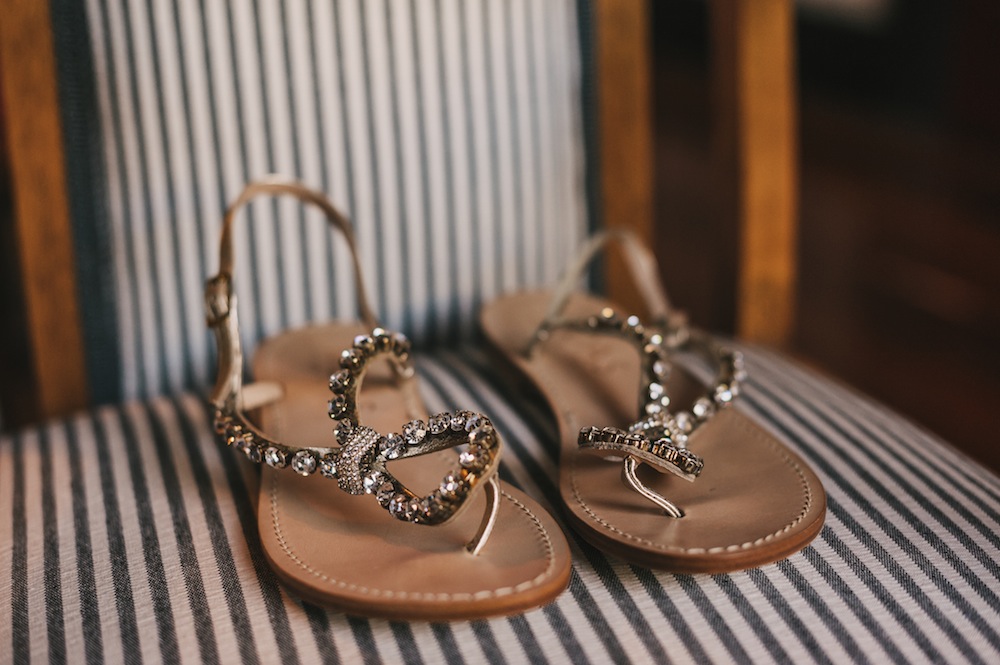
The width of the facing was half arbitrary, half determined by the remaining taffeta I had – I wanted it deep enough so my footwear wouldn’t catch on the catch-stitching! There was a LOT of diamantes and things for those stitches to be caught on:
To Bustle or Not to Bustle?
In the days leading up to me actually starting to sew the skirt, I clicked onto one of my favourite ‘for a laugh’ sewing blogs – Fit for a Queen – who sews and alters wedding dresses and blogs about the experience (and the crazy clients!). It’s wonderful picking up little gems here and there across the interwebs – but it was here I was confronted with the issue of bustling. Hmm.
Even with my short-arse train, it seemed like the right thing to do. Problem is, my skirt fabric being quite stiff was not exactly compliant to the concept of being gracefully draped back over itself. In fact – it wasn’t amenable to the idea at all. Every attempt and combination of bustle points looked both ugly and ridiculous. To be fair – the silk organza overlay behaved more like a gazar, and taffeta isn’t exactly known for its drape.
So that did it – no bustle for me!
Lining:
Yep… no lining here. I felt that it would be a little weird to have a drapey fabric hanging underneath such a structured skirt.
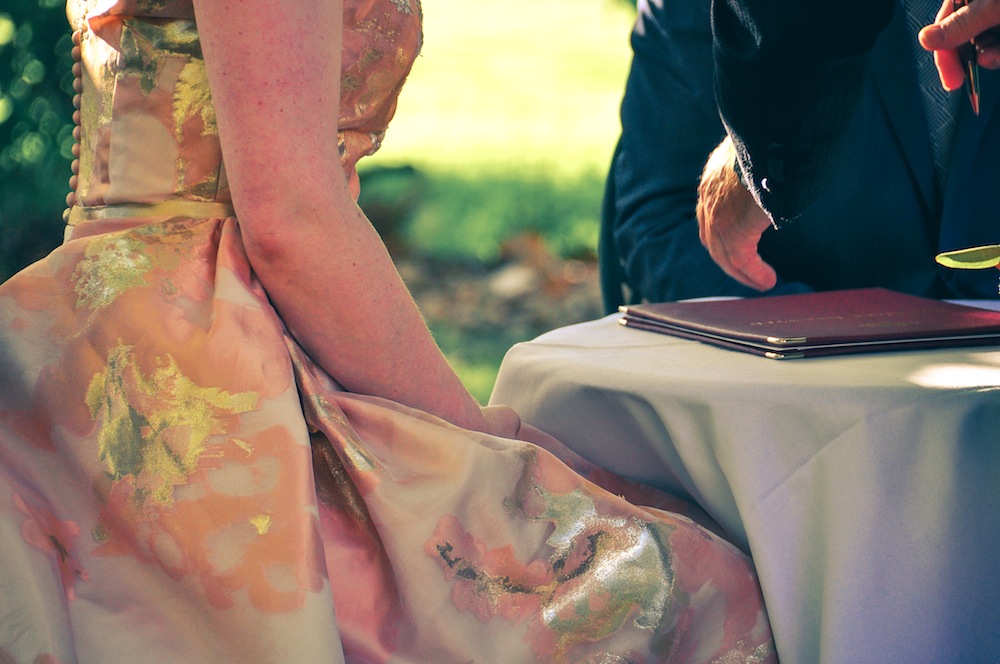
At the end of sewing the skirt, I was finally able to look at this part of the dress objectively. It’s actually a rather simple skirt, made to appear more complicated than it actually is from the number of fabrics involved and the dramatic impact of that organza. Basically, it’s just a rather simple-ish gathered skirt, made large by some stunning fabrics. But that’s just how I like it.

I kind of want to marry this skirt.
I told Trent if he failed to show, I’d marry the dress instead. And we’d totally have lived happily ever after together.
Thanks as always for such a beautiful and detailed post!
I loved hemming my own WD too – not only was it the last bit, but a narrow hem on silk georgette was easier and more attractive than I thought it would be.
I don’t think I ever asked – how did you end up hemming your gorgeous dress? Georgette really does handle beautifully I think. I bought some a few months back and I remember thinking of your dress when I was stroking it – it has such a wonderful texture to it!
Loved every bit of this! I’m just starting to play with some fabrics that are the same weight as my wedding dress fabric so it’s good to hear your journey in such great detail. You’re an inspiration!
Oh the excitement continues!! I love getting little snippets here and there about your work on your dress… because it allows me to reflect back on mine :) That and I can’t wait for your reveal! Glad you’re enjoying :)
Every time I see this dress, I swoon. Love hearing about all the details—again, what a remarkable accomplishment. How brave you are to have only bought 3.5 yards of fabric!
I know. When I was discussing it with her, Susan originally thought I’d only need 3 yards… but I think she was thinking more simple A-line skirt and I was thinking VOLUME at the waist. There was a bit of a communication error there, I think! In the end, it couldn’t have worked out better. It was very much like I had some kind of divine intervention all the way along when it came to determining how much fabric to buy. Thank you, Jeannie!
I was talking to a friend about the TV show “The Good Wife,” and she said, “You know, even though it’s not a shoot-em-up kind of show, you’re still on the edge of your seat the entire time.” That’s this post. I’ve been sitting here, alone, gasping “What do you mean the skirt wouldn’t pleat?!” or “5.0MM STICH WITH DIFFICULTY?”
Off to get the smelling salts. I suppose I’m trying to say this: Nice skirt, Mel. Phew.
I covet your ability with the English language. The skirt looked horrid with the pleats. Totally off balance. Turns out what’s good for muslin is not good for silk taffeta! Glad you like it as much as I do :)
I think I love that fabric a little bit more every time I see it.
Yeah, me too. I’m going to pick it up from the dry cleaners this weekend and I’d be lying if I said I wasn’t looking forward to seeing it again! x
Amazing – I can’t even fathom the hours of work that went into this, even after reading your post. I hear you regarding zips – I cannot believe how crappy our selection is here, and how many I’ve had break, especially at the waistband of something due to their flimsy quality. Perhaps we need a petition to get better zips…
I think we do, Rachel. I can’t believe such a thing is not readily available here. I’d happily pay more too, because the quality is just vastly superior. And they FEEL nice, too. Thank Rachel – many many many hours! haha, but worth it all.
Loved following your journey. The fabric makes it and you are so right about how difficult it became with the layers of fabric. Great idea with nail polish for the zip. I’ve also used permanent Sharpie markers to color elastic, button loops, etc. your back zip doesn’t look bad at all. I’m looking forward to the next installment.
Thanks Mary! Yes, the fabric is everything. Beautiful fabric is pretty much the sole reason I sew, I think. Love the idea of colouring in notions with ink!
I have to admit, I’m only a couple of paragraphs into this post and will definitely be revisiting all this week. I absorb better when take in information piecemeal. But I wanted to say how much I appreciate you taking the time to document your journey. It was a beautiful dress and you were a beautiful bride.
It sure is a LOT of text to read through, Maddie! :P Thank you.
Thank you so much for sharing Fit for Queen. I can NOT stop reading.
Yep, her blog is a GEM. A hilarious gem.
Wow, that beautiful fabric makes a beautiful skirt!
Thanks shams, it certainly does!
So many details, your skirt journey was amazing and the final outcome divine. Thank you so much for sharing.
The pleasures all mine :) Thanks Sharon!
I love seeing your progress photos! It is evident how much love, care, and attention to detail went into the making of this dress. Every time I see that fabric I sigh at its loveliness. So pretty…
So very pretty :) Thank you!
I cannot stop saying wow as I read your post. I am so fascinated by every little detail. You did such an amazing job and I appreciate you taking the time to share the little details.
Will you be posting up how the bodice came to be with the placement of the applique and the fabric over the mesh? I am intrigued how that all came together, did you drape it or have someone assist in placement?
Yep, bodice post will be up next! All the details will be revealed then… when I get around to writing them up, of course.
I hope you got home without a hitch yesterday – what a freaking amazing weekend!!! I want to do it all over again :)
Thanks Lizzie!
Looking forward to that post. Such an interesting project. So much more than my Robson :)
I had such a great time over the weekend. It was just what I needed. Time out, no stress etc. Aside from the sewing it was lovely to see everyone again and catch up. I didn’t care how much I got done really, I just really appreciated the relax time.
Thanks, this was so interesting to read and I’m learning loads!
Thanks Lauren! :)
Thank you for treating us with yet another yummy post about the skirt! Reading your series of post makes me dream about sewing a ball gown or an evening dress :)
Writing them makes me want to sew another one! Thanks Inna :)
I cannot believe in all the stress of making your own dress you remembered to take in progress shots about construction along the way (that almost blows me away more than the dress…almost)
Haha, thanks!
Beautiful! And so much careful work! Do you think in the end you spent less than on a standard dress (altho clearly the fabrics and techniques you used were far from standard! )
Thank you :) I presume you’re referring to cost? It’s all relative. This dress dollar-wise cost me a lot less than the dresses I initially looked at and tried on, but I wasn’t exactly going to buy the dresses I was trying on. And the Elie Saab dress made up in these fabrics would have retailed for a phenomenal cost (being couture, I’m guessing upwards of 30k) – the fabrics were definitely not cheap. I guess I never really thought about it from that angle. Sewing for yourself means you can effectively control how much it would cost through fabric choices, but for me it was all about creating a dress I loved and that challenged my sewing skills :)
Love you work beautiful bride. The sewing nerd in me has eagerly digested all the details. Thanks for sharing.
Thank you – it’s been my pleasure!
I can’t even begin to imagine how long this ended up taking… please tell me you didn’t keep track. You’re really giving me a renewed appreciation for couture techniques. Not many folks in my blog reader mess with it and I forget that there is a whole other Jedi level of sewing that I haven’t even dipped my toe into. Thank you Obi-Wan for reminding me.
I did start keeping track… But have up after the first week. I don’t want to know, honestly! But holy smokes did I learn so much – I’m a better sewist because of it. That said – I’ve been enjoying some much simpler – very definitely non-couture things since! There’s a time and a place :) thanks Heather!
thrilling. better than an action movie.
Kapow!!
How did you not cry enormous tears when it came time to take this gorgeous dress off????
My alcohol fueled state at the time probably helped null the emotions ;)
fascinating! i never would have thought to use both pleats *and* gathers for the skirt, but it is obviously the perfect choice! i’m so impressed that you used fingernail polish to paint the zipper tab (genius!!) and i love how crisp the hem looks with the facing. i’ve been contemplating how to go about assembling my “fancy dress” and you’ve given me a ton of ideas. and i swear i saw very similar fabric to your overlay at my favorite fabric store and i swooned more than a little. the price tag had long since fallen off the roll, but it was gorgeous!
Yeah I’m probably the only girl in the history of the world who can say her pedicure matched her wedding dress zipper pull. What is weird is that my most favourite nail polish colour so perfectly matched my fabric!
It certainly pays to ‘listen’ to your fabric… The gathers gave the look and the pleat hid the volume at at waist that I wanted at the hem. The hem facing just worked so well with the taffeta – it’s such a structural fabric! I loved working with it.
From what I saw on Instagram, your fancy dress bodice is looking pretty swoon-worthy!!
This was so much fun to read. I love the decision making inherent in every step to see what worked best. And I’m glad you could not/did not bustle – why hide that gorgeous, gorgeous fabric and skirt? What an amazing project.
It was such a big learning curve for me, and I loved every minute of it! I wonder if in a few years time when my skills are more advanced again if I’ll look at this and semi-cringe about my lack of knowledge, like I sometimes do towards the garments I completed when I first started sewing.
I couldn’t agree more about the bustle – it would have been silly to have one in the end!
I loved reading your process in making the dress, especially when you had to listen to the fabric, as that has also taken me on unexpected (and sometimes wholly delightful) turns in dressmaking. Your dress turned out beautifully…
Thank you! ‘Listening’ to your fabric is a really challenging lesson… But oh so worthwhile :)
You are so clever. It’s amazing!
Thank you Amanda! :)
All the effort was duly rewarded. You looked beautiful and totally original.
Thank you, Gail! :)
Thanks for sharing all of this! I am sure writing this up took almost as long as making the skirt :) I love all of it but am really impressed with the hem. The facing really made a crisp non puckery (is that a word?) line. Wonderful dress!
Yes the posts always take me forever. I’m much better with my hands and a sewing needle than I am with words and a keyboard! And thank you – yep, the facing worked as well as I’d hoped it would! :)
I am so impressed. The fabric is just stunning, and I love all of the details. Sewing is a process, and it is interesting how, after a few twists and turns and anguished moments, you eventually end up with something truly beautiful.
You’re absolutely right! Thanks, Jean :)
This skirt is quite as complicated as it needs to be. I always have the problem that I try to put the amazing(ly detailed) pattern with the amazing fabric, but that’s not really the right thing to do. The pleats are a nice detail.