
One of the lovely things about sewing has got to be all the awesome people you meet. Especially when said awesome people are also super skilled sewists and you are able to gain access to those skillz!
I’ve been meeting regularly for a day of sewing with quite a few of the ladies I did the French Jacket Class with in Melbourne at the beginning of this year – one of which happens to run her own nightwear label, Tatyana Design. As a third generation couturier (having been taught by her Russian Grandmother) her collections have walked the runway at MFF and there’s a lovely into to her brand here. Her collections feature gorgeously floaty silks, opulent heavy weight silks, embroidery and amazing details… So when Tatyana offered to put on a bias cami class on for us – we jumped at the chance!
INSPIRATION
No shortage of that floating around – especially when you’ve got Carine Gilson‘s artwork in the form of clothing to daydream about. I was so very taken with this particular lace and silk colour combo, perhaps one day I’ll find the right lace to pay homage to it with my own version of this dressing gown:

FABRIC
The two necessary ingredients are of course, lace and silk. I was keen to use some of the lace I had in my stash – specifically the taupe and periwinkle lace from my pleated birthday dress, way back when? But it was only when I started visiting fabric shops that I remembered how difficult it was to get it to match anything… being the most unusual shade of periwinkle blue – it looked purple against the blues, and blue against the purples. In the end, I did actually end up finding a matching gold-hued rather heavy satin backed crepe silk to work with it – which will become something else special – as the cording on the lace ruled it out as a option for sleepwear. I’ll have to work it into a drapey top instead, I think.
Instead, I purchased a really soft and malleable green and gold lace and matching green charmuese to work with.

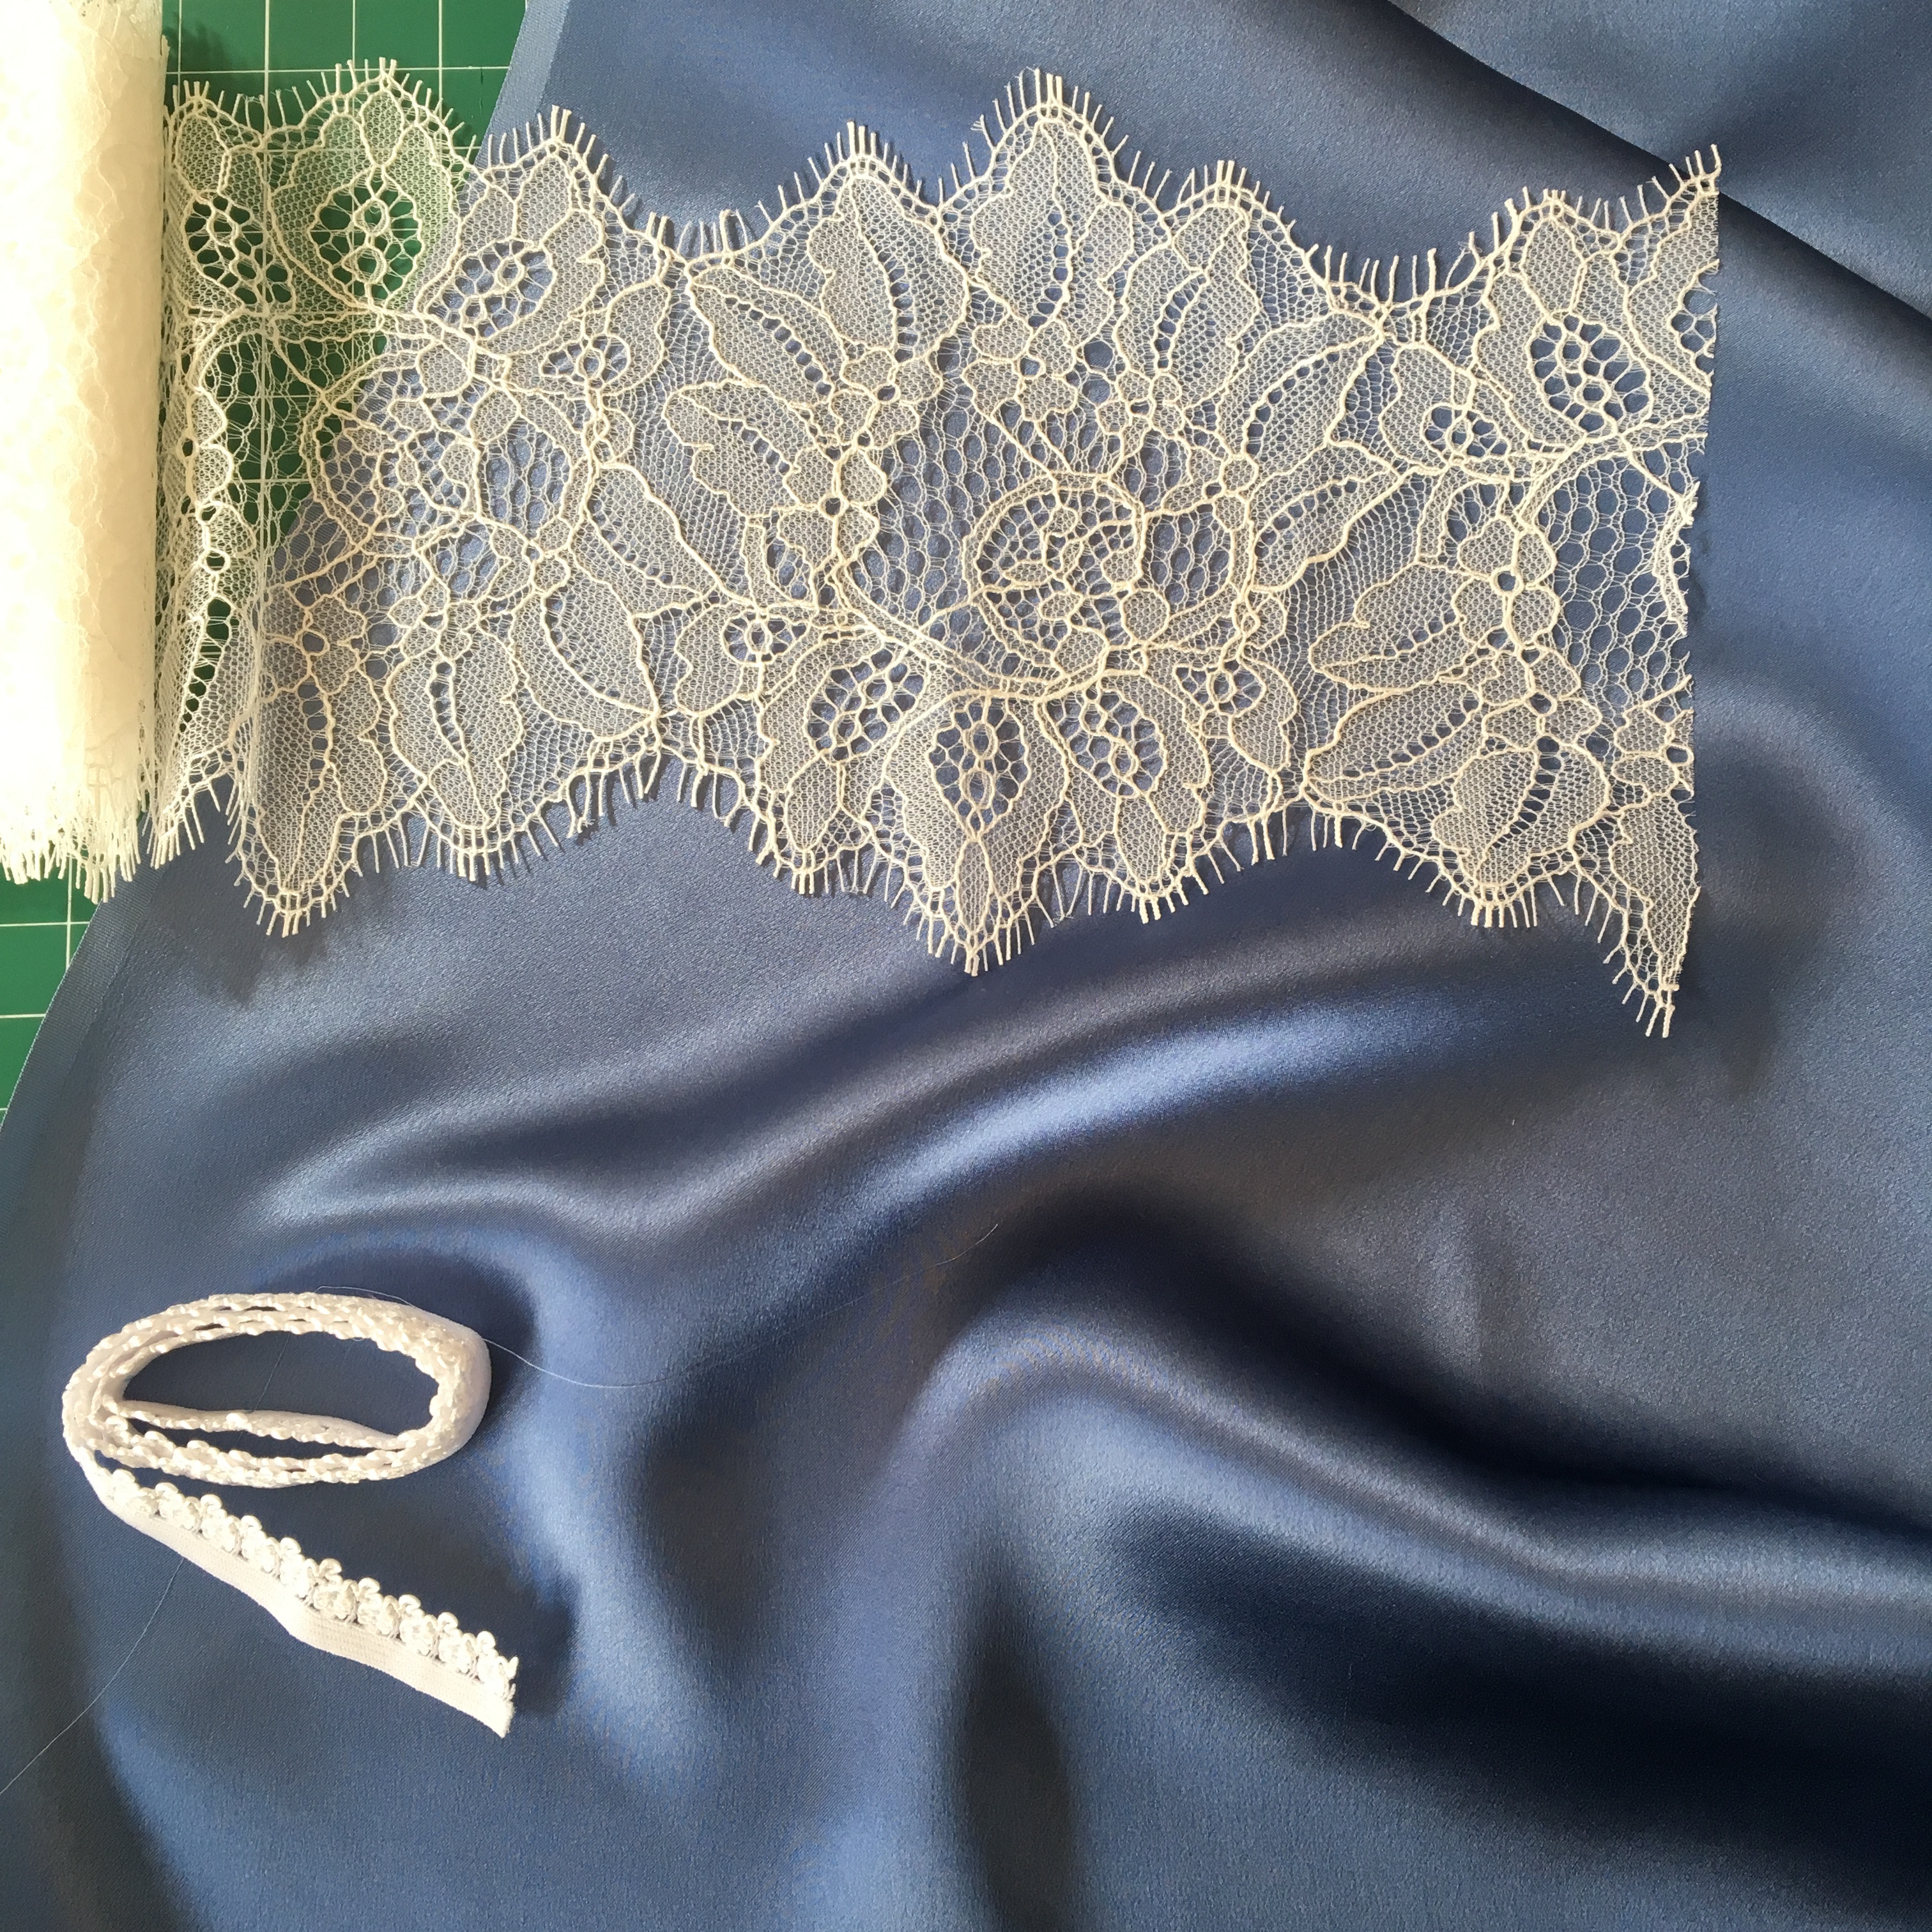
However on the day of the workshop, one of the ladies just recently back from a shopping trip in Hong Kong pulled out (unbeknownst to me) the most gorgeous cornflower blue charmuese – which she’d bought with me in mind. Thanks Ros! I fell in lust and quickly bought it from her. I made a quick dash to Tessuti about a block away from where we were having the class, in the hope of finding thread and a matching lace… and I got very lucky with a short width white floral lace:
THE COURSE
We were effectively Tatyana’s guinea pigs for her offering this course, with one day set aside to see if we could work through it all. Spoiler – it’s a two day job.
There were a few mind blowing moments fairly early on in the piece – like apparently if you handle bias cut fabric in Tatyana’s way correctly, you don’t need to hang the bias panels to let them drop before hemming. She’s got an amazing rack of samples in her workshop, some of which have been hanging for 10+ years – and no drop. Which I suppose is exactly what you need when working in a production environment! No small business can afford to have a production run of garments hanging around to ‘drop’ before hemming.
I spent a considerable amount of time just staring at this french seam – as it looks like a seam sewn with cotton on the grain, not with bias charmuese! And this is with barely any pressing… you can even see the still perfectly straight grainlines of each piece of fabric reflected in the lighting if you look closely enough:

DAY 1
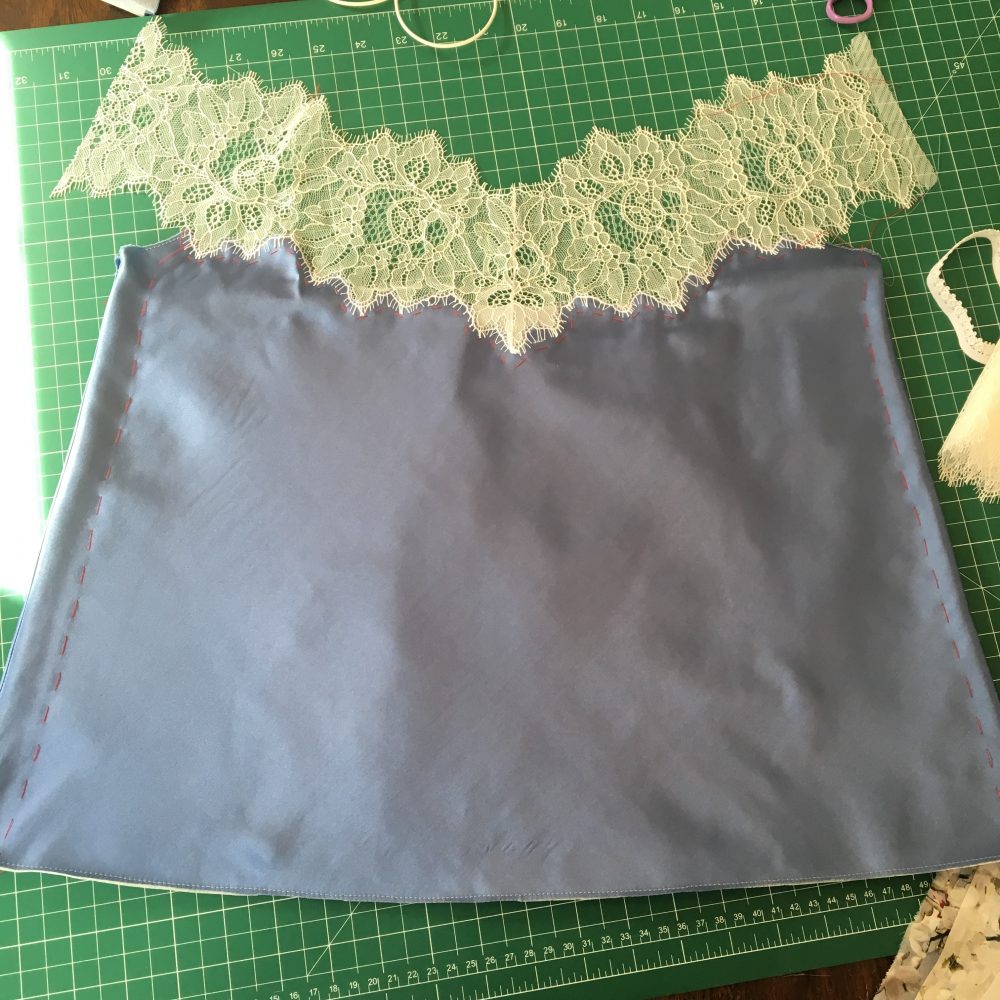
Most of the day was spent working on the lace – figuring out how best to position it, cutting and shaping it, sewing it onto the silk and cutting back behind it. Everyone’s lace was different, so everyone’s placement options were different. I ended up going with a V style shaping which was pretty quick and painless…
Unfortunately we didn’t get it all finished – still the straps, elastic back and hemming to go.


DAY 2
After setting a date to suit most everyone – we reconvened at the end of September to finish them off.
We started with the elastic – I bought some white lingerie elastic with picot along one edge from Tatyana’s work stash for my blue cami (and conveniently she also had the most perfect shade of green for my yet-to-be-started green and gold set, which I also bought).
After the elastic was installed, being able to take off the tearaway fusible interfacing and finally see the bias drape on our fabrics was wonderful!

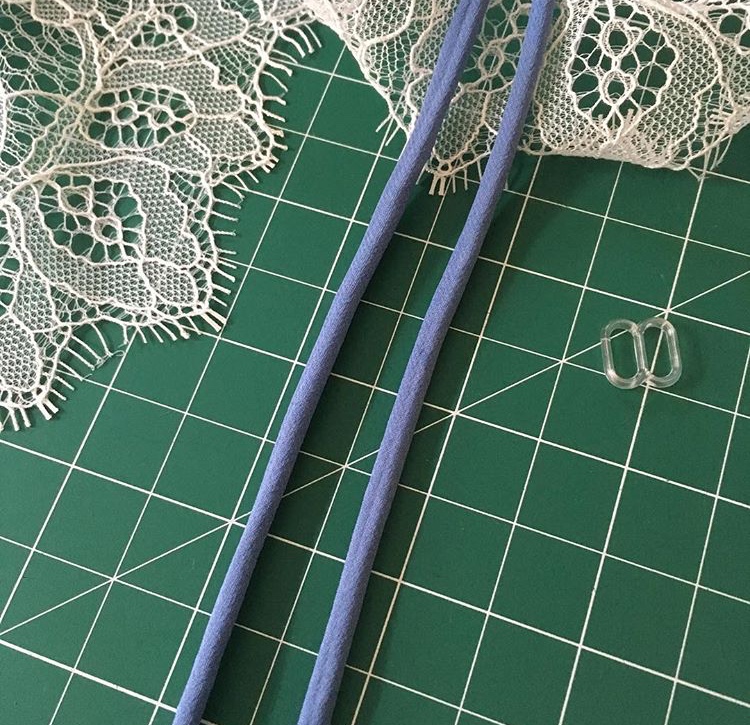
Then it was onto making the straps – cut on the bias in the same way that you would make bias binding. Sewing them up, trimming back and then turning them around… took a while.
There was two options for straps – wide and flat, or narrow and round. I chose the latter as when putting the samples up against my cami – this appeared to suit it better… but changed my mind after I’d made them. After making up the second set, I changed my mind again and went back to using my originals. They were rather a bit lumpy (although Tatyana assured me that after time and washing they would soften out and look beautiful like her sample, which was quite a few years old).
There was also hardware to install – same as what you would use were you making bra straps, making it adjustable.
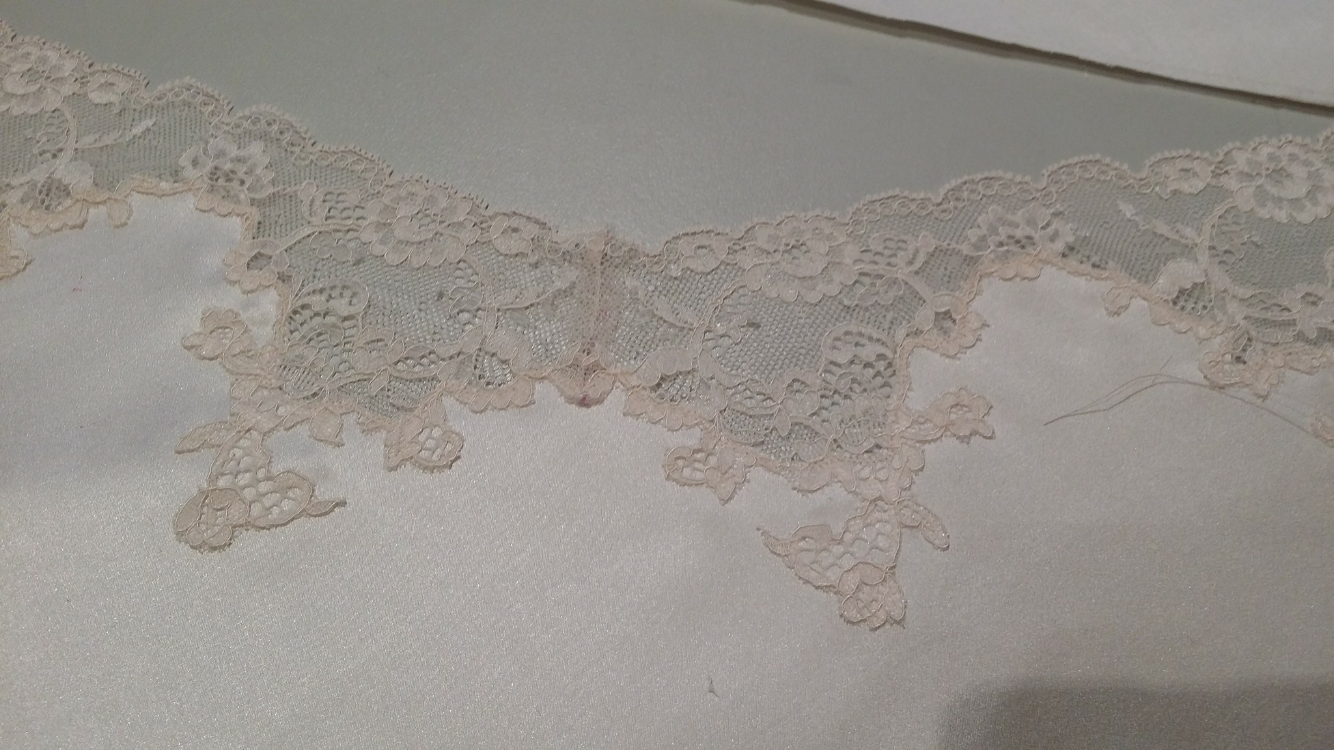
I used the small straps to try on the cami and determine where they would be attached, and how I would finish the lace at the front. As an insurance policy the straps were made extra long, and I was able to use the extra length to create a ‘triangle’ detail onto which the lace could be finished on.
Once trying it on (and loving it way more than I thought I would – it was mentally hard to do all this work and have no idea what it would look like once on – I’m so used to sewing toiles!) I also decided that instead of hemming, I wanted to have another row of lace around the bottom.
I was disgustingly lucky that the repeat on my lace fit the hem length almost exactly (I think I had about 3/4 of a cm to ease in total), so I started working on that (and finished it off at home).
And now, many gratuitous finished garment photos, on a mannequin that’s a wee bit big across the bust!


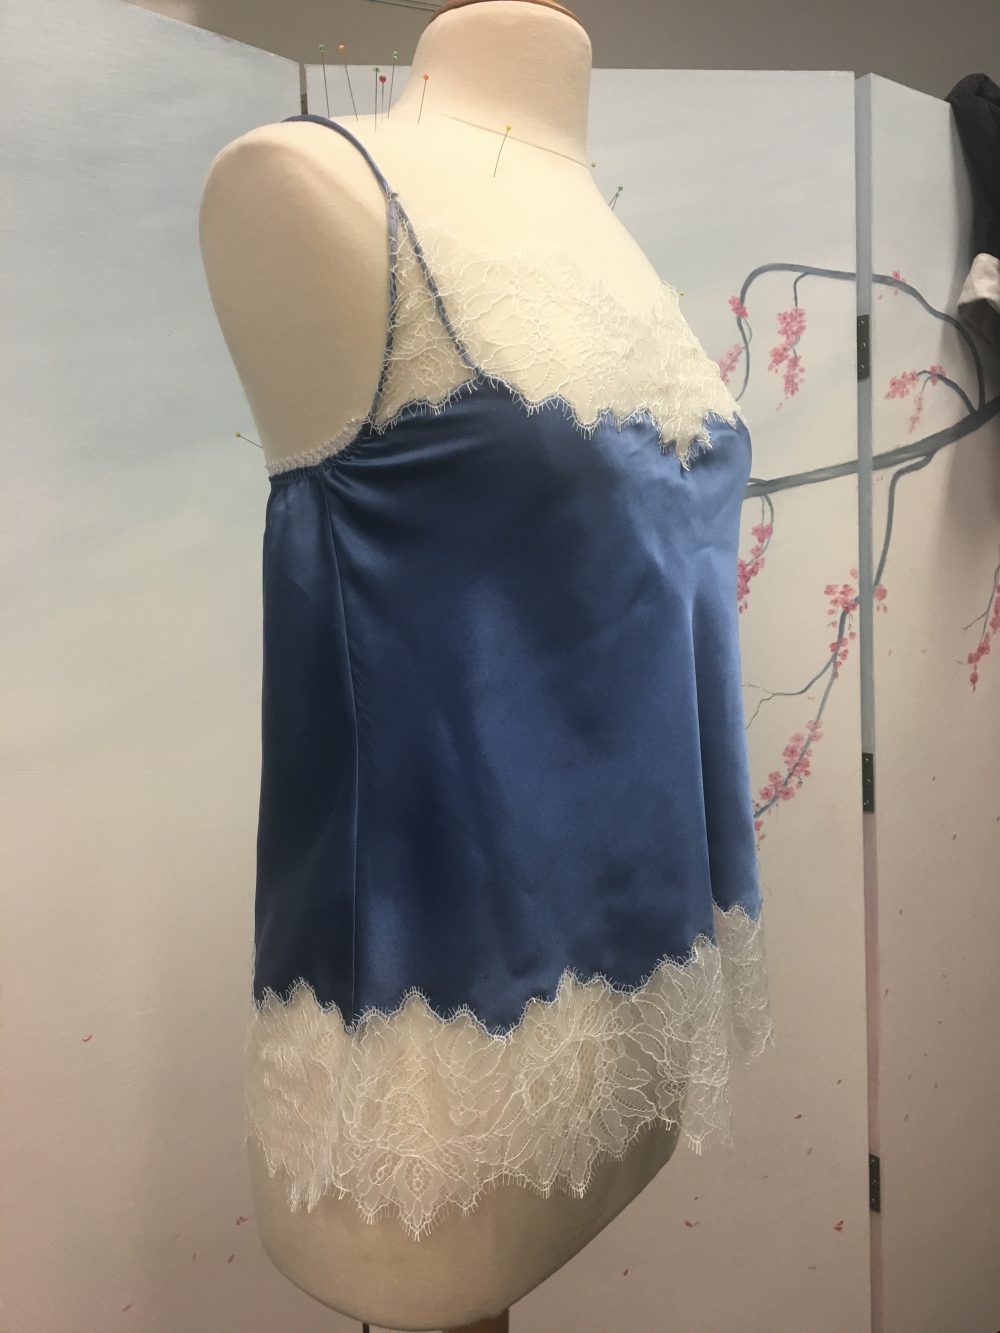


I wanted to get some photos of it on a mannequin as laying it flat just doesn’t do it justice and it’s definitely a bit too saucy for me to model! But I hadn’t actually finished it when the opportunity to put it on a mannequin arose, so it is not finished there.
It’s a really beautiful garment, and I’d love to sew some French Knickers to match – so I think sometime next year Tatyana will be putting on a course for those which I will definitely be attending, (I also see she’s putting on a second Bias Cami workshop early in the next year, if you’re local and such a thing interests you!).
I’m already mentally gearing up to work with the green silk and lace – with an idea for a variation on the back pilfered from this gorgeous Sass & Bide top….


What fun to get to play with all those luscious silks and laces! All the combinations look absolutely exquisite. I’m also a fan of Carine Gilson’s work; she combines lace and silk in amazing ways. The workshop sounds wonderful.
Carine’s garments do look amazing! And I haven’t even had the chance to see one in real life (just online). It was a LOT of fun :)
This is so gorgeous! Someday I am going to make some bias slip nightgowns festooned with some wonderful lace….not much in the way of that out here in the South Dakota prairie, but maybe after a trip to a city somewhere I’ll have the necessary goods to give it a try. Your camisole is so elegant, and my favorite color too, so if you decide you hate it, I’ll gladly take it off your hands!😂
Glad you like it – the colour is my favourite as well! Sorry Kathy but I think I’ll be keeping it ;)
Gorgeous work, as always!! I love the Carine Gilson too! I have made quite a few bias silk cami since releasing a pattern with Just Patterns and I completely concur that hanging an accurately cut bias garment is unnecessary (if the pattern has been designed specifically for a bias cut too)!
Funny you say that – I hadn’t given much thought to how design is influenced by straight grain or bias until I started chatting to Tatyana about wanting to knock off a bias version of the Sass & Bide top I pictured. A rather lot of points I hadn’t taken into consideration that will influence the outcome that will need to be taken into account to make it work! Thanks Delphine :)
Exquisite! There can’t possibly be anything better than silk and lace. Lucky you to have a personal tutor.
Very lucky. I’ve had the pleasure of meeting so many skilled sewists in the years since starting up with this. Thanks Ruth :)
Lovely, I can see that once you make one you would just have to make more.
Oh absolutely :) Thanks Ann!
Beautiful! Now I’m more than a little curious about Tatyana’s way of handling bias.
Tear away interfacing! Although, there is still unfortunately a fair bit of technique that will only look good after practice, unfortunately… ah, the learning curve!
Always so much to learn! The tear-away looks like an awfully good start.Thank you.
Gorgeous results and you cannot even see any stitches on the edges of the lace!
One of my favourite little things about this project, actually! It’s fiddly but not too tricky, using a small zigzag around the outer edge border of the lace :) Thanks Mrs Mole!
It is exquisite. What beautiful work (and fabrics!)
Thanks! :)
Those Saturday sewing sessions sound delightful, Mel. What a wonderful community :D
And I am in awe of that French seam – what wizardry is this?!
We are very lucky, that’s for sure :) It’s done with tear-away interfacing, of which I now have a lot of!
This is so beautiful. I love the double strap in the front that you’ve done.
Thanks! It was a bit of a non-option due to the straightness of my lace, but I’m super please with how it worked out :) The other ladies had lace that could be cut and shaped without it showing – so the possibilities are endless, depending on what lace you decide to work with!
So pretty!
Thanks Vicki :)
Your sewing is always beautiful. Love the colour!
It is hands-down my most favourite of all the colours, I reckon. Thanks :) x
Such a pretty cami. So feminine and delicate. Lovely.
Thank you Tomasa!
Your work is incredible, and also a great solution for a low bulk edge finish.
Do you have any tips for buying and choosing quality lace for this technique?