
Does this post indicate a return to blogging? Perhaps. Maybe. Who knows. Whilst I have been sewing, it’s been sporadic…
A blog about sewing – muslins, fitting, fabrics and on occasion – a finished garment.
Does this post indicate a return to blogging? Perhaps. Maybe. Who knows. Whilst I have been sewing, it’s been sporadic…
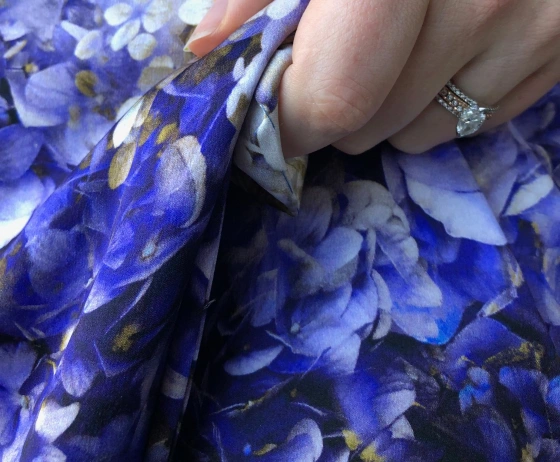
I’ve had this Blue Birds Eye Nani Iro fabric in my stash for far too many years, and it’s been…
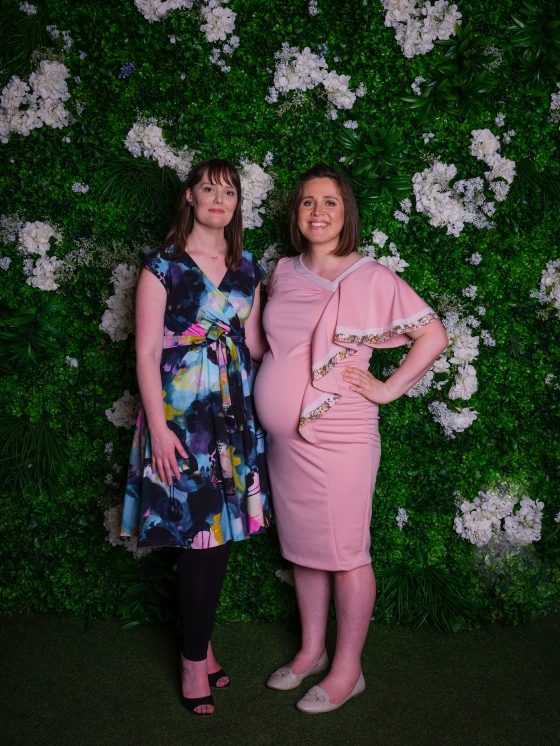
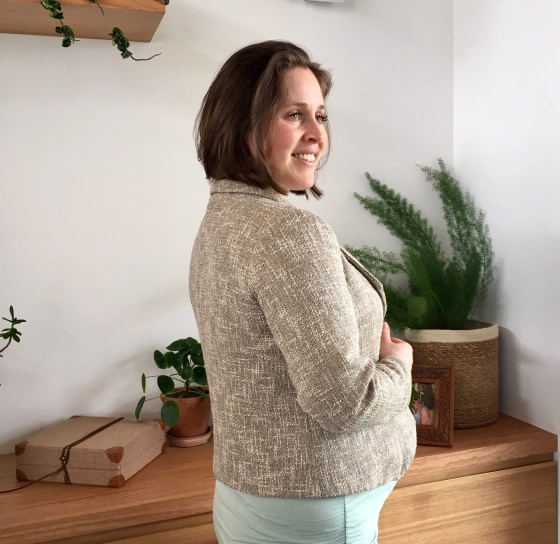
Presenting one full-term preggasaurus rex, attending the 2019 Melbourne Frocktails: It’s been a while since I attended a Frocktails event,…
Fresh on maternity leave before bub#2 arrives earthside, in possession of a recently-received pattern order from Marfy (from their Evergreen…
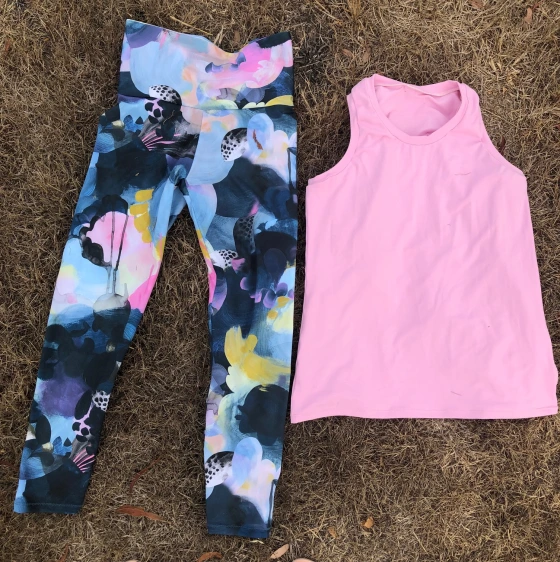
There have been two things that have recently converted me to the dark side of sewing with knits (three, if…
Hello Strangers! I’m just a little excited to have something to blog again!! Actually I’ve been sewing quite a lot…
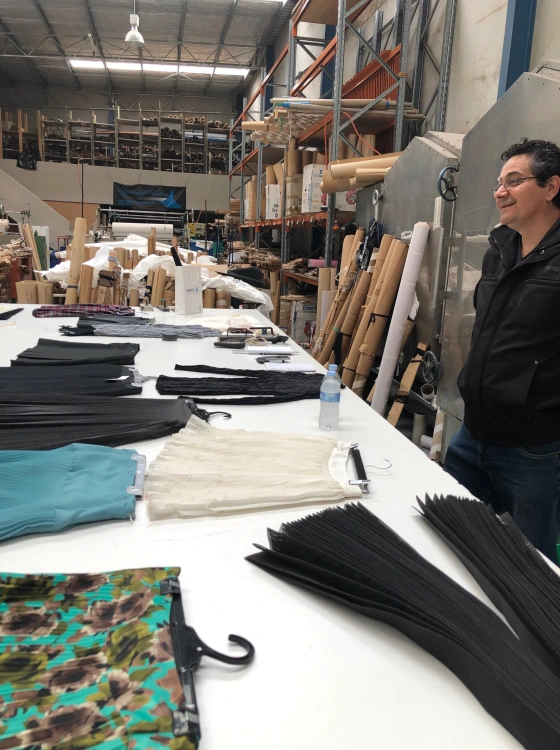
On the 24th of November, myself and a dozen others spent the afternoon with Simon Zdraveski, his interns and 90 years…
2018 is going down as the year I lost my sew-jo. Perhaps mostly because it got relegated to the back…
I’ve spent a lot of time thinking about what best to sew for the momentous occasion that is both my…
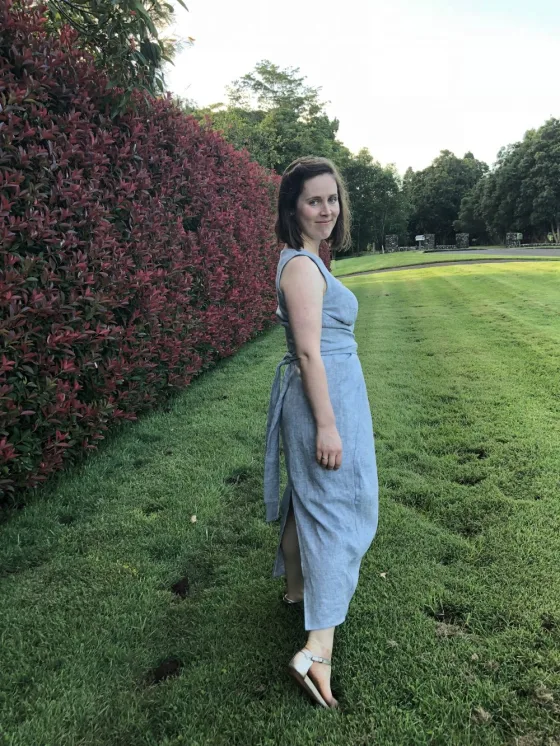
Linen. I’ve always admired this textile from afar, patting bolts in gorgeous natural and subdued colours in fabric shops, wistfully…
